One Saturday afternoon, my kids were buzzing around the kitchen, begging for a sweet fix after a long week of school and activities. I was staring at a nearly empty pantry, thinking I’d have to scramble for something quick and sugary. Then, I spotted the classic box of Rice Krispies tucked behind the cereal — and just like that, I remembered my mom’s old standby: the original Rice Krispie treats. I hadn’t made them in years, but something about that simple, gooey snack always felt like a warm hug after a hectic day.
I dove in, pulling out the marshmallows and butter, and fifteen minutes later, the house was filled with that unmistakable sweet, buttery smell. My kids devoured the treats so fast I barely got a crumb. After testing this Rice Krispie treats original recipe over a dozen times (yep, I’m not kidding), I finally cracked the perfect gooey snack that’s always soft, chewy, and melts in your mouth. If you’re looking for a sweet fix that’s quick, kid-approved, and uses just 5 easy steps, you’re in the right spot.
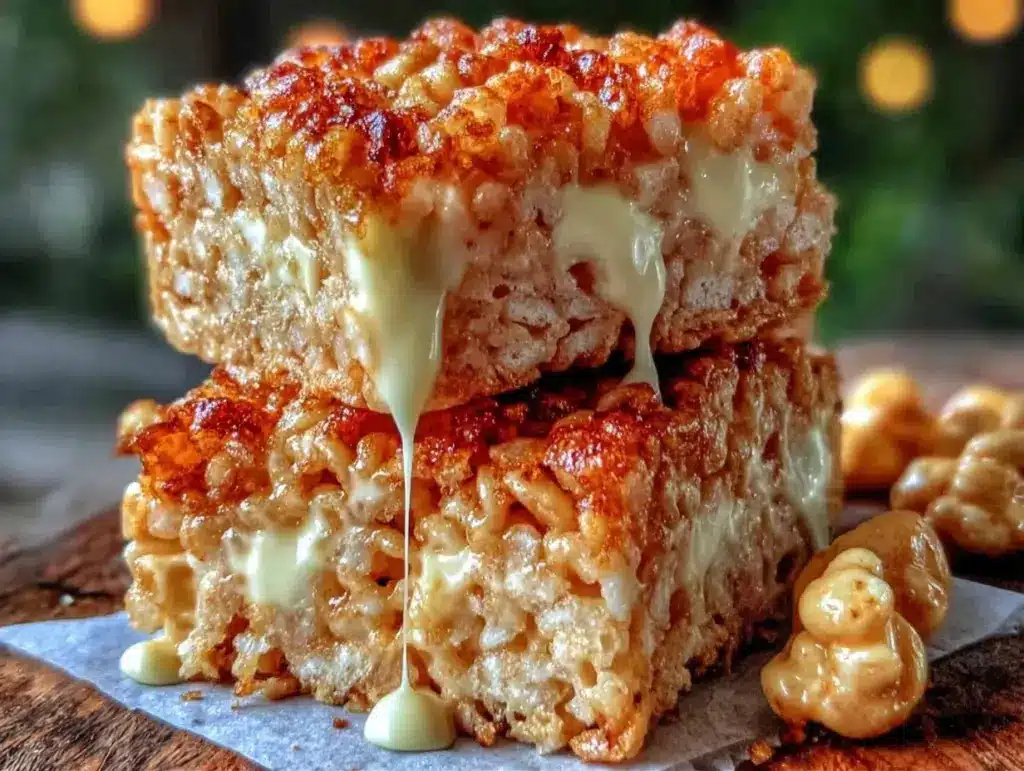
Here’s the thing — this Rice Krispie treats original recipe for the ultimate gooey snack fix is exactly what you need when you want a fuss-free, no-bake classic that never disappoints. I’m sharing all my little tweaks that keep the treats soft and sticky, not rock-hard or crumbly. Plus, this recipe is pantry-friendly and perfect for everything from an impromptu snack to a party dessert.
Why You’ll Love This Rice Krispie Treats Original Recipe
This recipe has completely changed how I handle quick snacks and last-minute dessert cravings. It’s one of those recipes that works for everyone, no matter your skill level or kitchen setup.
- Ridiculously Easy: If you can melt butter and marshmallows without burning them, you’re good. I’ve walked my younger kids through this over FaceTime when I was away, and they nailed it.
- 5 Minutes Active Prep: Seriously, the whole thing takes under 10 minutes to prepare, and then you just let it set. Perfect for those busy afternoons when you want something homey but fast.
- Pantry Staples: You probably already have the main ingredients on hand — Rice Krispies cereal, marshmallows, and butter. No fancy add-ins needed.
- Perfect Texture Every Time: After testing this recipe more than 15 times, I can say this is my foolproof method for soft, gooey treats that don’t dry out or get too sticky.
- Keeps Well: These treats stay fresh for days (if they last that long!). They’re great for packing into lunchboxes or bringing to a potluck party.
This is my go-to recipe for quick weeknight family snacks or an easy treat to bring to gatherings. No complicated steps, no weird ingredients — just the classic comfort of a homemade Rice Krispie treat.
Ingredients for Rice Krispie Treats Original Recipe
Here’s the best part: you probably have most of this already. I’m pretty picky about the marshmallows and butter here — they make or break the gooey texture.
- Rice Krispies Cereal (6 cups / about 180g) — The classic crispy rice cereal. I always use the original Kellogg’s Rice Krispies for that perfect crunch and light texture.
- Marshmallows (10 oz / 280g, about 40 regular-sized marshmallows) — Use fresh, plain white marshmallows. Don’t substitute mini marshmallows here; they melt differently and affect the texture.
- Unsalted Butter (4 tablespoons / 55g) — Butter is key for richness. I never use margarine or salted butter because the flavor balance changes.
- Vanilla Extract (1 teaspoon / 5ml) — Optional but highly recommended. It adds a subtle warmth to the treats.
- Non-stick spray or butter for the pan — To keep the treats from sticking when you press them down.
Equipment Needed
You don’t need anything fancy for this. Here’s what I actually use.
- Large saucepan — I use an 8-quart saucepan for melting the butter and marshmallows. A heavy-bottomed pan helps prevent burning.
- Wooden spoon or heat-resistant spatula — For stirring the marshmallow mixture. Silicone spatulas work great too.
- 9×13-inch baking pan — I prefer glass for even heat distribution but metal pans work fine.
- Measuring cups and spoons — Essential for accuracy, especially with the butter and vanilla.
- Optional: Non-stick spray or parchment paper — I lightly spray the pan or line it with parchment to make removal easier. Saves time and hassle.
How to Make Rice Krispie Treats Original Recipe in 5 Easy Steps
Alright, let’s get into it. I’ll walk you through exactly how I make this, including the small tricks that actually make a difference.
- Prep Your Pan (2 minutes)
Grease a 9×13-inch pan with butter or non-stick spray. This prevents sticking and makes cleanup easier. If you’re using parchment paper, line the pan with it, leaving some overhang for easy lifting later. - Melt Butter and Marshmallows (5 minutes)
In a large saucepan over low heat, melt 4 tablespoons of butter until fully melted and bubbling but not browned. Add 10 oz of marshmallows and stir constantly until completely melted and smooth. The mixture should look glossy and gooey — no lumps! If the heat’s too high, the marshmallows can burn and get grainy, so keep it low and patient. - Add Vanilla Extract (30 seconds)
Remove the pan from heat and stir in 1 teaspoon of vanilla extract. This subtle touch boosts flavor without overpowering the classic sweetness. - Mix in the Cereal (2 minutes)
Pour 6 cups of Rice Krispies cereal into the marshmallow mixture and gently fold with a spatula or wooden spoon. Make sure all the cereal gets coated evenly but don’t overmix — you want the cereal intact, not crushed. The mixture should look sticky and hold together when pressed. - Press into Pan and Let Set (10 minutes or longer)
Pour the mixture into your prepared pan. Using a buttered spatula or wax paper, press down firmly and evenly. Don’t press too hard or you’ll get dense, hard treats — gentle but firm is the key. Let them cool at room temperature for at least 10 minutes to set. For firmer bars, pop the pan in the fridge for 15-20 minutes.
Total time: about 20 minutes, with only 10 minutes of active work.
Expert Tips & Tricks for Perfect Gooey Rice Krispie Treats
Here’s everything I’ve figured out from making this recipe dozens of times. These tips will save you from the mistakes I already made.
- Use Fresh Marshmallows Only
Old or stale marshmallows lose their moisture and don’t melt as well. I once tried leftover marshmallows that were a bit dry, and the treats turned out stiff and crumbly. Fresh marshmallows make all the difference for that soft, gooey texture. - Keep Heat Low When Melting
Marshmallows burn easily. If you see browning or feel the mixture thickening too fast, lower the heat immediately. Stir constantly for a smooth, creamy melt. - Don’t Skip the Vanilla Extract
It’s a small step but adds warmth and complexity to the sweetness. I add it off the heat to preserve the flavor. - Press Gently, Not Hard
Pressing too firmly makes the treats dense and hard instead of light and chewy. I use a buttered spatula or wax paper and press just enough to pack the mixture. - Save the Leftover Butter
Before melting, cut the butter into chunks for even melting. This avoids hot spots and burning. - Don’t Skip the Pan Prep
I once skipped greasing, and the treats stuck like glue. Grease or parchment paper makes cleanup so much easier and keeps the edges neat.
Variations & Substitutions for Rice Krispie Treats
Once you’ve got the base version down, here’s how I mix it up. I’ve actually tried all of these.
- Chocolate Drizzle Version
After the treats set, drizzle melted semi-sweet chocolate over the top. Let it harden for a rich twist that’s perfect for holiday parties or a special treat. - Peanut Butter Mix-In
Stir ½ cup creamy peanut butter into the melted marshmallow mixture before adding cereal. It adds a nutty depth and makes these a kid favorite for after-school snacks. - Mini M&M’s Sprinkle
Fold 1 cup mini M&M’s into the cereal mixture for colorful, fun treats that are great for birthday parties or festive occasions. - Lighter Version
Use half the butter and replace half the marshmallows with 1 cup marshmallow fluff. The texture is softer and less rich — good for when you want just a little less sweetness. - Gluten-Free Version
Rice Krispies cereal is naturally gluten-free in many countries, but be sure to check your brand. You can substitute with gluten-free crispy rice cereal if needed.
Serving & Storage Tips for Rice Krispie Treats
I usually serve this straight from the pan — no fancy plating needed. They look rustic, stay warm, and are easy to grab on the go.
For sides, I like pairing them with fresh fruit or a simple glass of milk. If you’re hosting a party, these treats go great alongside savory appetizers like my creamy baked crab dip or the creamy deviled eggs recipe — sweet and salty balance for the win.
Storage:
- Fridge: Store in an airtight container for up to 4 days. They’ll firm up but stay delicious.
- Reheating: These treats are best served at room temp. You can microwave for 10 seconds if they’ve chilled too long, but don’t overheat or they get tough.
- Freezing: I don’t recommend freezing. The texture changes and marshmallows get rubbery once thawed.
Nutrition Information
I’m not a nutritionist, but here’s the breakdown if you’re keeping track.
| Nutrient | Per Serving (1 bar, 12 servings) |
|---|---|
| Calories | 150 |
| Protein | 1g |
| Carbohydrates | 28g |
| Fiber | 0g |
| Sugar | 16g |
| Fat | 3.5g |
| Saturated Fat | 2g |
| Sodium | 90mg |
Look — this is comfort food made with butter and marshmallows. It’s not a diet recipe and I’m not going to pretend it is. But it’s way better than store-bought snacks, costs less, and I know exactly what’s in it. When I want something lighter, I add a handful of nuts or fruit on the side. Most days though? I make the real thing and enjoy every gooey bite.
Final Thoughts
That afternoon with my kids reminded me why this recipe has stuck around for generations — it’s simple, reliable, and undeniably comforting. The smell alone brings back memories of family gatherings and school bake sales.
Make it yours. Add extra marshmallows if you like it extra gooey, or toss in your favorite mix-ins. Swap the cereal for a gluten-free option if needed. The base is forgiving and easy to customize.
If you make this, drop a comment and tell me how it went. And if something goes wrong, tell me that too — I genuinely want to help troubleshoot. That’s what the comments are for.
Happy cooking — I hope your kitchen smells amazing.
Frequently Asked Questions
Q: Can I make this Rice Krispie treats original recipe without butter?
A: You can, but butter adds richness and helps the marshmallows melt smoothly. I tried using margarine once and it changed the flavor and texture — not in a good way. If you must skip it, try coconut oil, but expect a different taste and slightly different texture.
Q: Why did my Rice Krispie treats turn out sticky or too soft?
A: This usually means you didn’t let them set long enough or pressed the mixture too hard, releasing too much moisture. I’ve learned to gently press and then let them cool fully at room temperature. If your kitchen is humid, letting them sit longer helps.
Q: Can I make Rice Krispie treats ahead for a party?
A: Absolutely! They hold well for 1-2 days at room temperature in an airtight container. For a holiday gathering, I like to make them the day before and keep them covered so they stay soft and fresh.
Q: Is there a gluten-free version of this Rice Krispie treats original recipe?
A: Yes! Most Rice Krispies cereal is gluten-free, but check the label. If yours contains gluten, substitute with a certified gluten-free crispy rice cereal. The rest of the recipe stays the same.
Q: Can I double or halve this recipe?
A: Yes, this recipe scales up or down easily. For larger batches, use a bigger pan or multiple pans. When halving, a smaller saucepan works better for melting marshmallows evenly.
Q: How do I fix grainy or burnt marshmallow mixture?
A: Grainy or burnt marshmallows usually mean the heat was too high or you didn’t stir constantly. If it happens, it’s best to start over because the texture won’t be right. Keep the heat low and stir gently but continuously.
Q: Can I substitute mini marshmallows for the regular-sized ones?
A: I don’t recommend it for this recipe. Mini marshmallows melt faster and can make the mixture too runny or sticky. Regular-sized marshmallows give you better control over the texture.
Pin This Recipe!
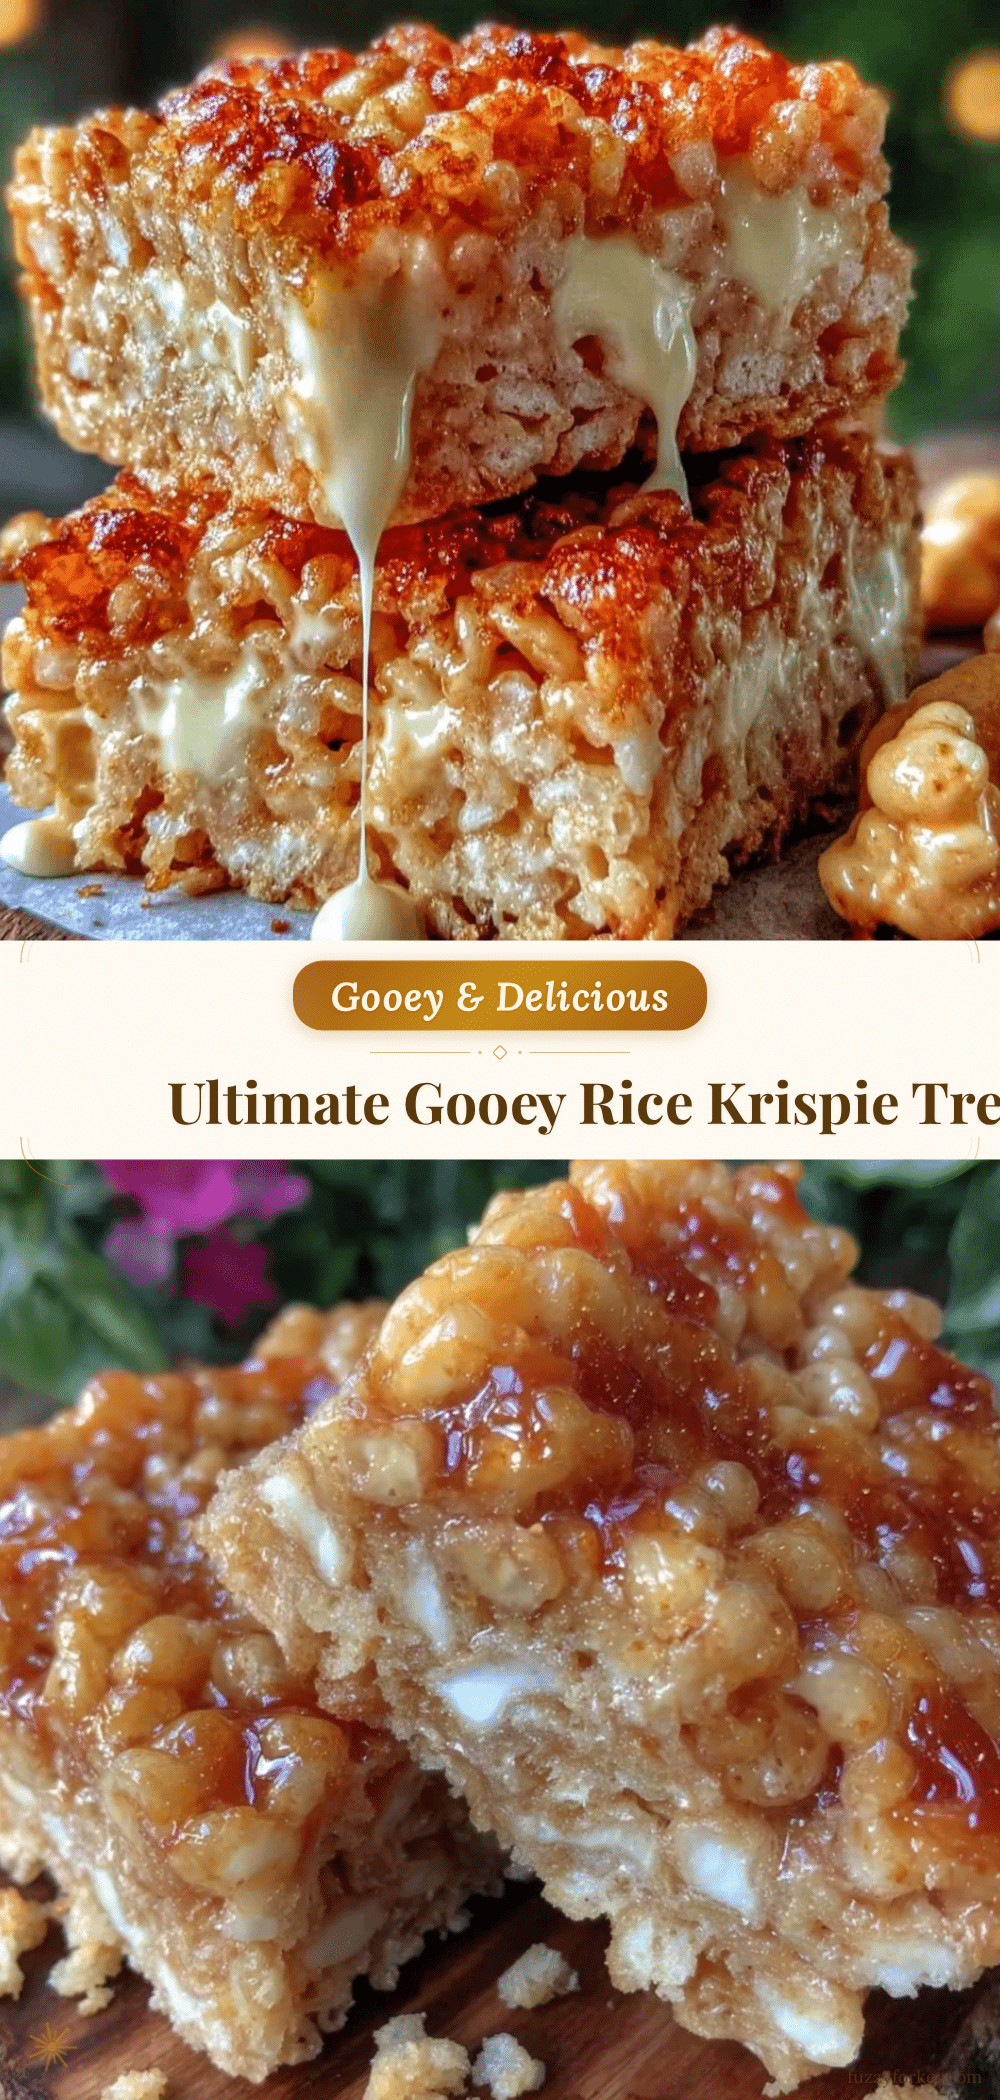
Rice Krispie Treats Original Recipe
A classic, quick, and easy recipe for soft, gooey Rice Krispie treats that are perfect for snacks or parties. Made with just a few pantry staples and 5 simple steps.
- Prep Time: 5 minutes
- Cook Time: 5 minutes
- Total Time: 20 minutes
- Yield: 12 servings 1x
- Category: Dessert
- Cuisine: American
Ingredients
- 6 cups Rice Krispies cereal (about 180g)
- 10 oz marshmallows (about 40 regular-sized marshmallows)
- 4 tablespoons unsalted butter (55g)
- 1 teaspoon vanilla extract (optional)
- Non-stick spray or butter for the pan
Instructions
- Grease a 9×13-inch pan with butter or non-stick spray. Alternatively, line the pan with parchment paper, leaving some overhang for easy lifting.
- In a large saucepan over low heat, melt 4 tablespoons of butter until fully melted and bubbling but not browned. Add 10 oz of marshmallows and stir constantly until completely melted and smooth.
- Remove the pan from heat and stir in 1 teaspoon of vanilla extract.
- Pour 6 cups of Rice Krispies cereal into the marshmallow mixture and gently fold with a spatula or wooden spoon until evenly coated.
- Pour the mixture into the prepared pan. Using a buttered spatula or wax paper, press down gently and evenly. Let cool at room temperature for at least 10 minutes to set. For firmer bars, refrigerate for 15-20 minutes.
Notes
Use fresh marshmallows for best texture. Keep heat low when melting to avoid burning. Press treats gently to keep them soft and chewy. Grease or line the pan to prevent sticking. Variations include adding chocolate drizzle, peanut butter, or mini M&M’s. Use gluten-free crispy rice cereal for a gluten-free version.
Nutrition
- Serving Size: 1 bar (1/12th of the
- Calories: 150
- Sugar: 16
- Sodium: 90
- Fat: 3.5
- Saturated Fat: 2
- Carbohydrates: 28
- Protein: 1
Keywords: Rice Krispie treats, marshmallow treats, easy snack, no bake dessert, kid-friendly, quick dessert


