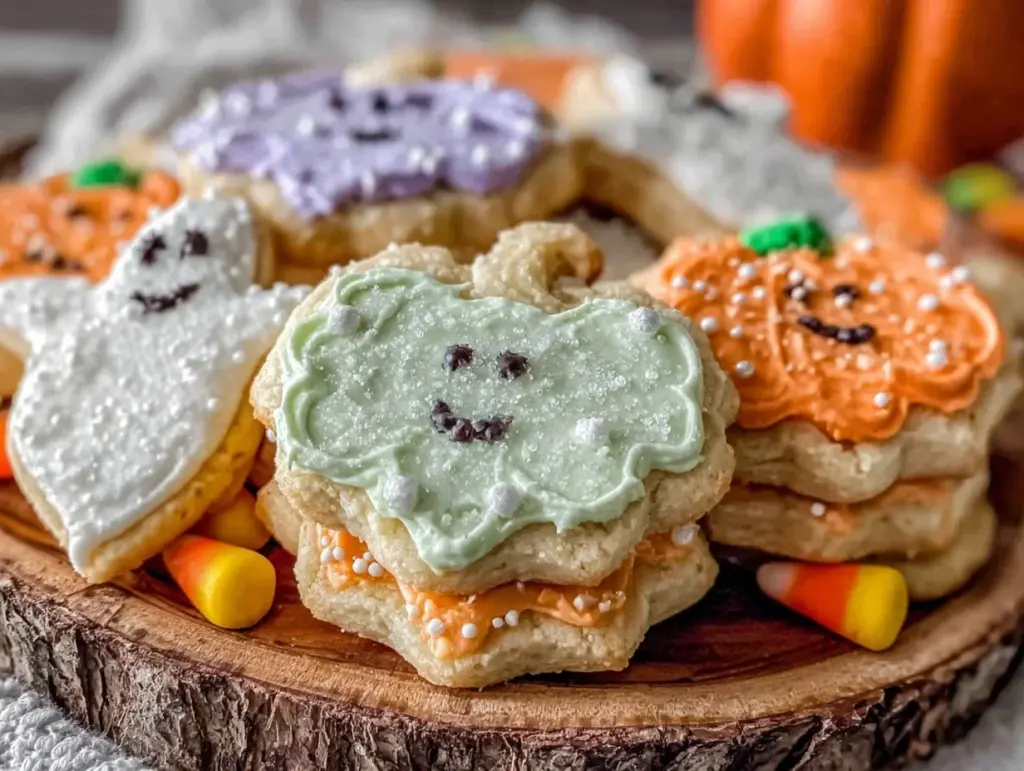
For a while, I just accepted that Halloween sugar cookies weren’t going to taste like anything other than overly sweet, stiff little shapes with icing that cracked the moment you touched it. There was always this missing piece—a cookie that felt tender yet held its shape, paired with royal icing that wasn’t just a hardened shell but had that perfect smoothness and subtle flavor. I remember sitting at my kitchen table one autumn afternoon, the air smelling faintly of cinnamon and fallen leaves, watching a batch of sugar cookies bake unevenly in the oven, wondering if there was any way to get past that dry, chalky disappointment I’d come to expect.
The pastel colors of the icing I’d seen online intrigued me, though. Halloween usually screams orange and black, but these soft shades promised something a little gentler, a little more inviting—something that felt festive without being over the top. There was this quiet hope that maybe, just maybe, I could find a way to make pastel Halloween sugar cookies that actually tasted as good as they looked.
It wasn’t about making the flashiest cookie, or the one covered in a thousand sprinkles. It was about crafting a simple, reliable recipe that anyone could turn to when they wanted a sweet treat with that soft crunch and a luscious icing that didn’t crack or crumble at the first bite. The kind of recipe that sticks around not because it shouts, but because it quietly delivers exactly what you hoped for. And honestly, that’s what made these pastel Halloween sugar cookies with royal icing stick with me—they’re a soft little comfort in a season that can be loud and wild. They’re the kind of treat that makes you pause and appreciate the small moments.
Why You’ll Love This Recipe
After testing countless recipes and tweaking measurements, this one really stands out for several reasons. It’s been tried and tested in my kitchen, and even my kids, who are notoriously picky, keep asking for more. Here’s why this pastel Halloween sugar cookies recipe has found a permanent spot in my baking rotation:
- Quick & Easy: The dough comes together in about 15 minutes, and the royal icing dries fast enough to decorate and enjoy the same day—perfect for last-minute Halloween plans or casual baking afternoons.
- Simple Ingredients: Nothing fancy or hard to find here. Pantry staples like butter, sugar, and eggs make it easy for you to bake without a special trip to the store.
- Perfect for Halloween Gatherings: These pastel colors offer a fresh twist on traditional Halloween treats, making them stand out at parties or school events while still feeling festive.
- Crowd-Pleaser: Kids love the soft texture, and adults appreciate that the sweetness isn’t overwhelming. They’re a great balance of playful and sophisticated.
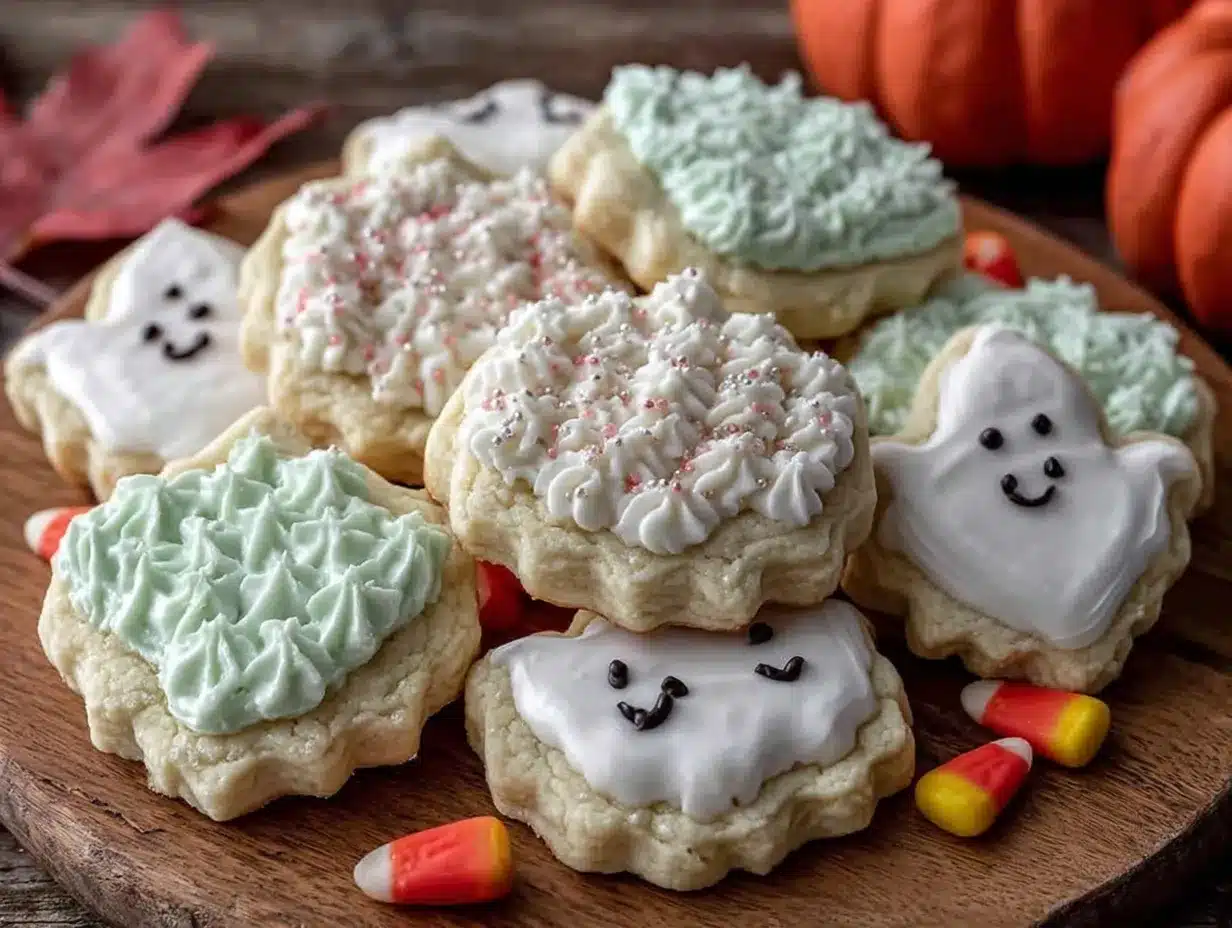
- Unbelievably Delicious Texture: The cookies have a tender crumb with just enough crispness around the edges, and the royal icing is silky smooth without that chalky bite.
What sets this recipe apart is the icing technique. Instead of thick, clumpy globs, the royal icing glides on like velvet, creating clean edges and a gentle pastel finish that looks professional but is surprisingly easy to achieve. I’ve even had friends tell me they never liked decorating cookies until they tried my approach—so it’s truly beginner-friendly.
And honestly, that soft pastel palette feels like a little sigh of calm in a season full of bold colors and spooky themes. It’s a quiet reminder that Halloween treats don’t always have to be loud to be memorable.
What Ingredients You Will Need
This recipe uses simple, wholesome ingredients to deliver bold flavor and satisfying texture without the fuss. Most of these are pantry staples, and the icing colors can be adjusted easily depending on your mood or what you have on hand.
- For the Sugar Cookies:
- 2 ¾ cups (345g) all-purpose flour, sifted (for light, tender cookies)
- 1 teaspoon baking powder (helps the cookies rise just right)
- ½ teaspoon salt
- 1 cup (227g) unsalted butter, softened (I like Plugrá for its creaminess)
- 1 ½ cups (300g) granulated sugar
- 1 large egg, room temperature
- 2 teaspoons pure vanilla extract (don’t skip this—it really lifts the flavor)
- 2 tablespoons sour cream or plain Greek yogurt (adds moisture and tenderness)
- For the Royal Icing:
- 3 cups (360g) powdered sugar, sifted
- 2 large egg whites or 4 tablespoons meringue powder + 6 tablespoons water (safer and easier)
- 1 teaspoon fresh lemon juice (for brightness and balance)
- Gel food coloring in pastel shades (pink, lavender, mint, pale orange)
- Optional: ½ teaspoon vanilla or almond extract for extra flavor
When selecting your flour, I’ve found that using a brand with a fine grind gives the best texture. For the royal icing, meringue powder is a lifesaver if you want to avoid raw egg whites and maintain consistent results. And if you want to swap in almond flour for a gluten-free twist, keep in mind the dough will be a bit more delicate but still delightful.
Equipment Needed
To make these pastel Halloween sugar cookies, you don’t need fancy gadgets—just a handful of trusty tools:
- Stand mixer or hand mixer (for creaming butter and beating the icing to the right consistency)
- Mixing bowls (preferably glass or metal for icing)
- Rolling pin (a smooth one works best for even thickness)
- Cookie cutters in Halloween shapes (think pumpkins, ghosts, bats, or classic circles)
- Baking sheets lined with parchment paper or silicone mats (to prevent sticking)
- Cooling racks (to keep cookies crisp as they cool)
- Piping bags with small round tips or disposable bags with the corner snipped (for precise royal icing application)
If you don’t have a stand mixer, a sturdy hand mixer does the job well. For piping, I often use simple plastic sandwich bags when I’m in a pinch—it’s not fancy, but it works. Keeping your tools clean and dry, especially for royal icing, helps prevent clumps and ensures a smooth finish. Budget-friendly silicone mats also make clean-up easier and help cookies bake evenly, so they’re worth the investment.
Preparation Method
- Mix Dry Ingredients: In a medium bowl, whisk together the sifted flour, baking powder, and salt. Set aside. This step ensures the leavening is evenly distributed.
- Cream Butter and Sugar (about 3-4 minutes): In a large bowl, beat the softened butter with the granulated sugar on medium speed until pale and fluffy. You’ll notice it lightens in color and gets a bit airy—that’s your cue it’s ready.
- Add Egg and Flavorings: Beat in the egg, vanilla extract, and sour cream until combined. The dough might look slightly curdled here, but that’s normal.
- Incorporate Dry Ingredients: Gradually add the flour mixture to the wet ingredients, mixing slowly until just combined. Avoid overmixing to keep the cookies tender.
- Chill the Dough (at least 1 hour): Wrap the dough in plastic wrap and refrigerate. This step is crucial—it prevents spreading and helps the dough firm up for cleaner cookie shapes.
- Roll and Cut: On a lightly floured surface, roll the dough to about ¼ inch (6mm) thickness. Use your cookie cutters to cut shapes and place them about 2 inches (5cm) apart on the baking sheets.
- Bake: Preheat the oven to 350°F (175°C). Bake cookies for 8-10 minutes or until the edges just start to turn golden. Watch closely—overbaking leads to dry cookies.
- Cool: Let cookies cool on the baking sheet for 5 minutes before transferring them to a wire rack to cool completely. I always wait until they’re fully cool before icing to avoid melting.
- Prepare Royal Icing: In a clean bowl, beat egg whites (or meringue powder and water) with lemon juice until frothy. Gradually add powdered sugar, beating until the icing forms stiff peaks but still flows smoothly when thinned.
- Color and Thin Icing: Divide icing into small bowls and tint each with a few drops of gel food coloring. Thin with water, one drop at a time, for a flood consistency that spreads easily but isn’t runny.
- Decorate: Use piping bags or squeeze bottles to outline and flood the cookies. Let the base layer dry for about 20 minutes, then add details if desired.
- Dry Completely: Allow the decorated cookies to dry at room temperature for several hours or overnight to set the icing perfectly.
Pro tip: If your dough feels sticky while rolling, pop it back in the fridge for 10-15 minutes. And when piping royal icing, keep a damp cloth over the bowl to prevent it from drying out too fast as you work.
Cooking Tips & Techniques
Mastering pastel Halloween sugar cookies with royal icing is about a few simple details that make all the difference. First, chilling the dough isn’t just a suggestion—it’s key. It keeps cookies from spreading too thin and losing their shape. I’ve learned that if you skip this, you’ll get a sad, flat cookie that’s harder to decorate.
When it comes to royal icing, mixing it just right is a bit of an art. Too thick, and it won’t spread smoothly; too thin, and it’ll run off the edge. The trick is to aim for that “flood” consistency—think of it like syrup that holds its shape but still flows.
Using gel colors instead of liquid food coloring preserves the icing’s consistency and gives those soft pastel shades their delicate look. I sometimes mix a tiny bit of white icing into a stronger color to get the perfect pale tone.
Also, patience is underrated here. Letting the base layer dry before adding details avoids bleeding and keeps designs crisp. I’ve ruined more than one batch by rushing this part.
Finally, don’t worry if your first few attempts aren’t picture-perfect. Cookies are forgiving, and every batch teaches you something new. I even sometimes skip intricate designs and let the pastel icing speak for itself—it’s charmingly simple that way.
Variations & Adaptations
This recipe is pretty flexible, so you can tweak it depending on your needs or mood. Here are a few ways I’ve adapted these cookies over the years:
- Dietary Adaptations: Substitute butter with a vegan margarine and use aquafaba instead of egg whites in the royal icing for a vegan-friendly version that still holds up well.
- Seasonal Flavors: Add a teaspoon of pumpkin spice or cinnamon to the cookie dough for a cozy fall twist that complements the Halloween theme.
- Flavorful Twists: Mix lemon or almond extract into the royal icing for a subtle but delightful flavor pop that pairs beautifully with the pastel colors.
- Alternative Shapes & Themes: While I love classic Halloween shapes, I’ve also used simple circles and stars decorated with pastel shades for a more understated look that still fits the season.
- Cooking Method Adjustments: If you prefer a softer cookie, bake 1-2 minutes less; for crispier edges, add a sprinkle of sugar on top before baking.
Personally, I once tried swapping out the traditional royal icing for a cream cheese glaze on these cookies. It was unexpected but charming, adding a tangy contrast that my family enjoyed, especially alongside the pastel pumpkin shapes.
Serving & Storage Suggestions
These pastel Halloween sugar cookies are best served at room temperature, which allows the flavors and textures to shine. I like arranging them on a simple white platter to really make those soft colors pop. Pair them with a warm cup of spiced tea or a glass of cold milk for a comforting treat.
If you’re planning ahead, store the cookies in an airtight container layered with parchment paper to prevent sticking. They keep well at room temperature for up to 4 days, but if you want to keep them longer, freezing is an option. Just wrap each cookie individually in plastic wrap and place in a freezer-safe container. Thaw at room temperature before serving.
When reheating, avoid the microwave as it can soften the icing too much. Instead, let them come to room temp naturally. I’ve found that the flavors actually mellow and deepen after a day or two, so sometimes it’s worth making them a little early.
These cookies also pair nicely with savory bites like the creamy deviled eggs or a light dip like the classic hummus, creating a fun balance between sweet and savory at Halloween gatherings.
Nutritional Information & Benefits
Each sugar cookie with royal icing contains approximately 150-180 calories, depending on the size and thickness. They offer a modest amount of fat from the butter and protein from the egg, with sugars coming primarily from the icing and dough.
While these cookies are definitely a treat, using real butter and fresh ingredients means you’re avoiding artificial additives often found in store-bought Halloween candies. The sour cream in the dough adds a bit of calcium and helps the texture without extra fat.
For those watching gluten, swapping to almond or oat flour can make these cookies friendly for gluten-sensitive diets, though the texture will shift slightly. Using meringue powder in royal icing avoids raw egg concerns and adds a bit of protein.
From a wellness perspective, these cookies remind me that treats can be made thoughtfully, balancing fun and flavor without feeling overly processed or artificial.
Conclusion
These perfect pastel Halloween sugar cookies with royal icing are more than just a seasonal treat—they’re a little celebration of texture, color, and flavor that quietly hits the spot. They come together with simple ingredients and straightforward steps, but the results feel special and thoughtful.
Whether you customize them with your favorite flavors, tweak colors for a personal touch, or keep them classic, this recipe invites you to make Halloween a bit sweeter and softer in tone. I keep coming back to this recipe because it’s reliable, approachable, and honestly, a comforting little slice of fall in cookie form.
If you try them, I’d love to hear how you make them your own or what shapes you choose—baking is always better when shared. So go ahead, get those pastel colors ready, and enjoy the quiet magic of these cookies.
Happy baking!
FAQs
- Can I make the cookie dough ahead of time? Yes! The dough can be refrigerated for up to 3 days or frozen for up to 2 months. Just thaw in the fridge before rolling.
- How do I prevent royal icing from cracking? Make sure to let your cookies cool completely before icing and allow each layer of icing to dry fully before adding new details.
- Can I use store-bought royal icing? Store-bought royal icing usually works but may be thicker and less customizable in color and flavor than homemade.
- What’s the best way to store decorated cookies? Keep them in an airtight container at room temperature, layered with parchment paper, and avoid stacking if the icing is still soft.
- How do I get pastel colors without watering down the icing? Use gel food coloring sparingly and mix with white icing to soften hues without adding extra liquid.
Pin This Recipe!
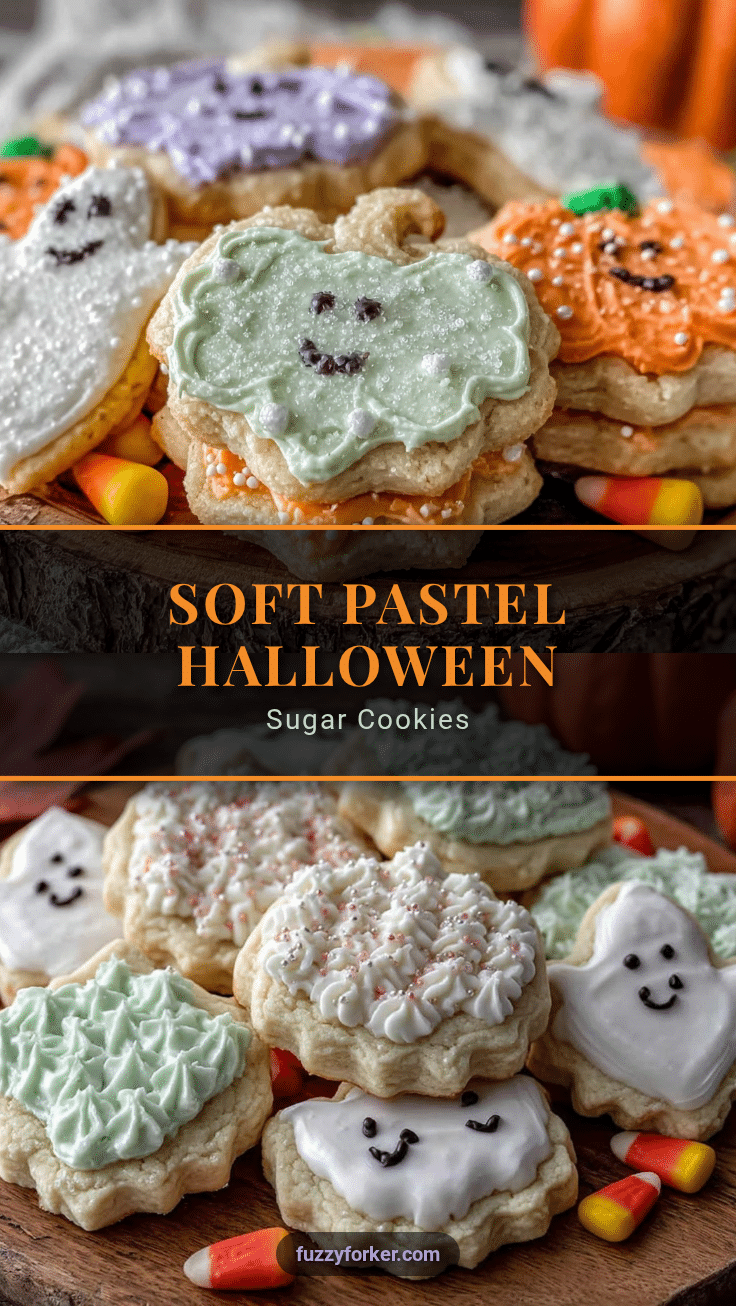
Perfect Pastel Halloween Sugar Cookies Recipe with Easy Royal Icing Tutorial
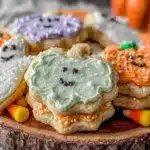
A tender yet crisp sugar cookie paired with smooth, subtly flavored royal icing in gentle pastel colors, perfect for Halloween gatherings and easy decorating.
- Prep Time: 15 minutes
- Cook Time: 10 minutes
- Total Time: 1 hour 25 minutes
- Yield: 24 cookies 1x
- Category: Dessert
- Cuisine: American
Ingredients
- 2 ¾ cups (345g) all-purpose flour, sifted
- 1 teaspoon baking powder
- ½ teaspoon salt
- 1 cup (227g) unsalted butter, softened
- 1 ½ cups (300g) granulated sugar
- 1 large egg, room temperature
- 2 teaspoons pure vanilla extract
- 2 tablespoons sour cream or plain Greek yogurt
- 3 cups (360g) powdered sugar, sifted
- 2 large egg whites or 4 tablespoons meringue powder + 6 tablespoons water
- 1 teaspoon fresh lemon juice
- Gel food coloring in pastel shades (pink, lavender, mint, pale orange)
- Optional: ½ teaspoon vanilla or almond extract
Instructions
- Mix Dry Ingredients: In a medium bowl, whisk together the sifted flour, baking powder, and salt. Set aside.
- Cream Butter and Sugar (about 3-4 minutes): In a large bowl, beat the softened butter with the granulated sugar on medium speed until pale and fluffy.
- Add Egg and Flavorings: Beat in the egg, vanilla extract, and sour cream until combined.
- Incorporate Dry Ingredients: Gradually add the flour mixture to the wet ingredients, mixing slowly until just combined.
- Chill the Dough (at least 1 hour): Wrap the dough in plastic wrap and refrigerate.
- Roll and Cut: On a lightly floured surface, roll the dough to about ¼ inch (6mm) thickness. Use cookie cutters to cut shapes and place them about 2 inches (5cm) apart on baking sheets.
- Bake: Preheat oven to 350°F (175°C). Bake cookies for 8-10 minutes or until edges start to turn golden.
- Cool: Let cookies cool on the baking sheet for 5 minutes before transferring to a wire rack to cool completely.
- Prepare Royal Icing: Beat egg whites (or meringue powder and water) with lemon juice until frothy. Gradually add powdered sugar, beating until stiff peaks form but icing flows smoothly when thinned.
- Color and Thin Icing: Divide icing into small bowls and tint with gel food coloring. Thin with water one drop at a time to flood consistency.
- Decorate: Use piping bags or squeeze bottles to outline and flood cookies. Let base layer dry about 20 minutes before adding details.
- Dry Completely: Allow decorated cookies to dry at room temperature for several hours or overnight.
Notes
Chill dough at least 1 hour to prevent spreading and maintain shape. Use gel food coloring for pastel shades without thinning icing. Let each icing layer dry fully before adding details to avoid bleeding. Meringue powder is a safer alternative to raw egg whites. Dough can be refrigerated up to 3 days or frozen up to 2 months. For vegan version, substitute butter with vegan margarine and use aquafaba instead of egg whites.
Nutrition
- Serving Size: 1 cookie
- Calories: 165
- Sugar: 17
- Sodium: 90
- Fat: 7
- Saturated Fat: 4.5
- Carbohydrates: 25
- Fiber: 0.5
- Protein: 2
Keywords: Halloween sugar cookies, pastel sugar cookies, royal icing tutorial, easy Halloween cookies, soft sugar cookies, cookie decorating, festive cookies