Three times this week and each batch felt just a little different. That’s the thing with homemade sweet pickle relish for water bath canning — it’s equal parts science and obsession. By the third jar, I was finally hitting the sweet spot where the crunch was right, the sweetness danced just enough with the tang, and the color had that glossy, inviting shine. Honestly, it became a ritual: chopping cucumbers and onions with a slightly maniacal grin while the kitchen filled with the scent of vinegar and sugar bubbling away.
It’s funny how something as simple as pickle relish can pull you back again and again. Each time, I tweaked the sugar a smidge, or experimented with the mustard seeds’ toasting level. The water bath canning process itself is oddly soothing once you get into the rhythm of sterilizing jars, simmering the relish, and hearing that satisfying pop of sealed lids. I think what really grabbed me wasn’t just the recipe — it was the way the relish felt like capturing summer in a jar, ready to brighten everything from burgers to deviled eggs (speaking of, have you ever tried creamy deviled eggs with a dollop of sweet pickle relish? Game changer).
As I stirred the pot for the umpteenth time, watching the mixture thicken and the colors meld, I realized this wasn’t just a condiment. It was a small piece of homemade magic, waiting patiently on the pantry shelf. That quiet satisfaction — knowing you created something delicious and shelf-stable, without mystery ingredients — is why this recipe burrowed under my skin and stayed. No flash, no fuss, just honest, sweet pickle relish you can trust.
Why You’ll Love This Recipe
- Quick & Easy: This homemade sweet pickle relish comes together in about 30 minutes, making it perfect for when you want to preserve without spending all day in the kitchen.
- Simple Ingredients: It uses basic pantry staples and fresh cucumbers — no specialty stores needed, which honestly makes the whole canning process less intimidating.
- Perfect for Water Bath Canning: The recipe is tailored to be safe and effective for water bath canning, so your relish stays fresh for months without a hitch.
- Crowd-Pleaser: Whether you’re serving it at a barbecue or adding it to sandwiches, this sweet pickle relish always disappears fast.
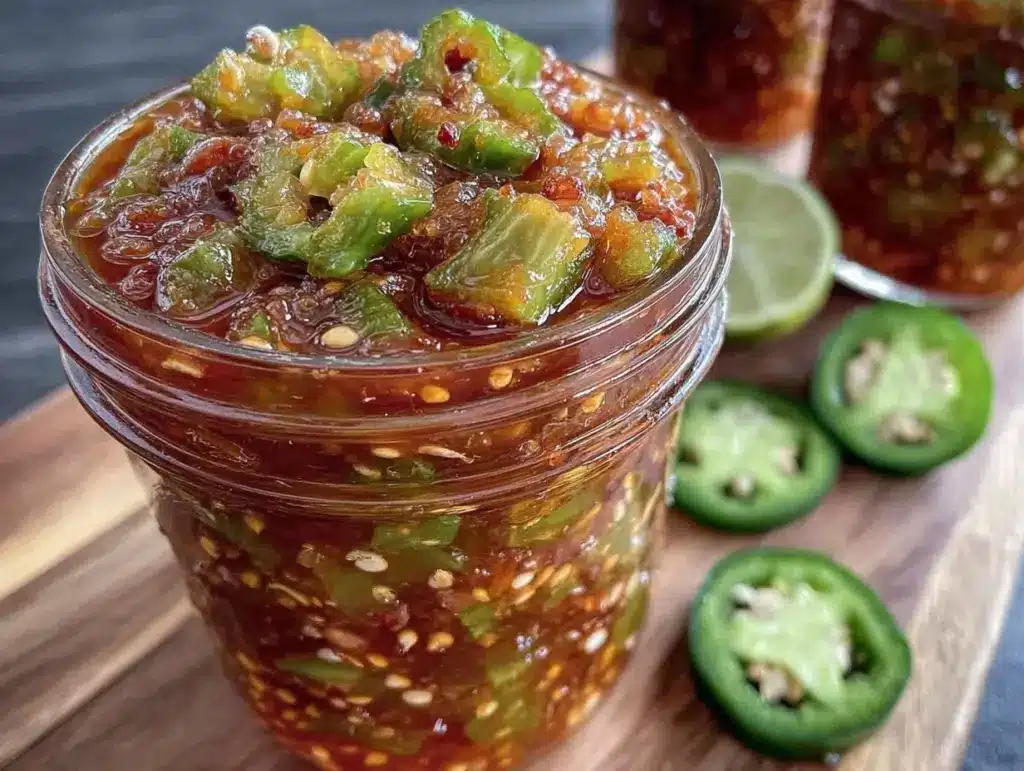
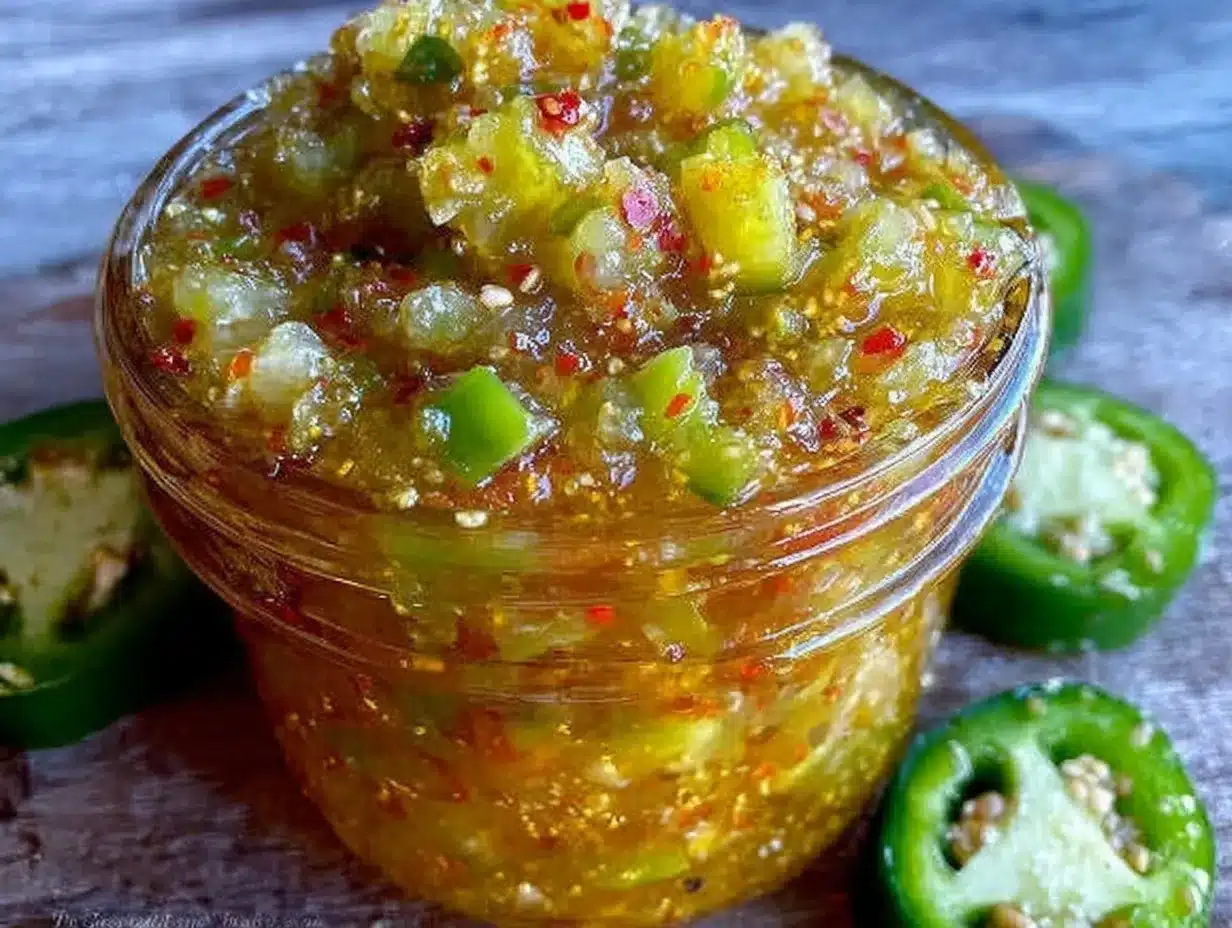
- Unbelievably Delicious: The texture balance between crisp cucumber bits and the silky-sweet, tangy syrup is what makes this relish stand out from your average jarred version.
- Tested & Trusted: After several rounds of tweaks and taste tests, this recipe nails the classic sweet pickle flavor without overwhelming vinegar bite or too much sugar.
What sets this homemade sweet pickle relish apart is the attention to the pickling spice blend and the precise timing in the water bath canning step — it’s not just about taste but about preserving that fresh crunch and vibrant color. Plus, I love how it instantly lifts classic dishes — a spread on a burger or mixed into a creamy dip (like the one in my creamy dill pickle dip) can turn the ordinary into memorable.
What Ingredients You Will Need
This homemade sweet pickle relish recipe uses straightforward, wholesome ingredients to bring bold flavor and that satisfying crunch without any fuss. Most are pantry staples, and the fresh cucumbers provide the essential crispness. Here’s what you’ll need:
- Fresh cucumbers, preferably Kirby or pickling cucumbers, finely chopped — their firm texture holds up best during canning
- White onions, finely chopped — add sweetness and texture contrast
- Green bell pepper, finely chopped (optional but adds a nice mild pepper flavor and color)
- Granulated sugar — the backbone of the sweet flavor, balances the vinegar’s acidity
- Distilled white vinegar (5% acidity) — the acid that preserves and gives that classic tang
- Pickling salt or kosher salt, no iodized salt — helps with flavor and preservation without cloudiness
- Mustard seeds — give the relish a subtle spicy nuance
- Celery seeds — add an earthy, slightly bitter note
- Turmeric powder — for color and mild warmth
- Ground cinnamon (a pinch) — secret touch for that classic sweet pickle complexity
- Ground cloves (a pinch) — optional but adds a warm depth
For the best results, I like to use trusted brands for spices — this makes a noticeable difference in flavor intensity. Also, if cucumbers are in peak season, swapping in fresh garden cukes makes this relish taste unbeatable. If you prefer a gluten-free version, this recipe naturally fits the bill, and you can swap out sugar with organic coconut sugar, although it slightly changes the flavor.
Equipment Needed
- Large mixing bowls — for mixing and draining the veggies
- Sharp chef’s knife or food processor — a food processor with a chopping blade speeds things up, but a good knife works just fine
- Large pot or stockpot — for simmering the relish
- Water bath canner or large stockpot with a rack — essential for the water bath canning process and sterilizing jars
- Quart or pint canning jars with lids and bands — sterilized and ready
- Jar lifter and funnel — makes filling and handling hot jars safer and less messy
- Wooden spoon or heatproof spatula — for stirring the relish
If you’re new to canning, a water bath canner setup can be found affordably online or at kitchen stores. I’ve used a basic large stockpot with a rack for years with no issues — just make sure the jars don’t sit directly on the pot’s bottom to avoid cracking. Keeping your knives sharp is a game changer here; it makes chopping the cukes and onions way less tedious and keeps the pieces uniform.
Preparation Method
- Prepare the vegetables (20 minutes): Wash cucumbers and pat dry. Using a food processor fitted with a chopping blade or a sharp knife, finely chop cucumbers, onions, and bell pepper (if using). Place chopped veggies into a large mixing bowl.
- Drain excess moisture (15 minutes): Sprinkle 2 tablespoons of pickling salt over the chopped vegetables, toss well, and let sit for 1 hour. This draws out excess water, keeping your relish crisp. After an hour, rinse thoroughly with cold water to remove excess salt, then drain in a colander or use cheesecloth to squeeze out remaining liquid.
- Prepare jars and lids: While veggies are draining, sterilize canning jars and lids by boiling them in your water bath canner or large pot for 10 minutes. Keep jars hot until ready to fill.
- Make the pickling liquid (10 minutes): In a large pot, combine 3 cups (720 ml) white vinegar, 3 cups (600 g) granulated sugar, 1 tablespoon mustard seeds, 1 teaspoon celery seeds, 1/2 teaspoon turmeric, 1/4 teaspoon ground cinnamon, and a pinch of ground cloves. Bring to a boil over medium-high heat, stirring to dissolve the sugar.
- Cook the relish (15 minutes): Add drained vegetables to the hot pickling liquid. Reduce heat to medium and simmer gently, stirring occasionally, for 10-15 minutes. The mixture should thicken slightly and become glossy. Watch carefully so it doesn’t burn on the bottom.
- Fill jars (15 minutes): Use a canning funnel to ladle the hot relish into sterilized jars, leaving 1/2 inch (1.3 cm) headspace. Remove air bubbles by gently tapping the jars or running a non-metallic spatula around the inside edges.
- Seal jars and water bath (10-15 minutes): Wipe rims clean with a damp cloth. Place sterilized lids and bands on jars, tightening bands fingertip tight. Place jars in the water bath canner, ensuring they’re covered by at least 1 inch (2.5 cm) of water. Boil for 10 minutes (adjust time for altitude if needed).
- Cool and store: Carefully remove jars from the canner with a jar lifter and place on a kitchen towel to cool undisturbed for 12-24 hours. Check seals — lids should be concave and not pop when pressed. Store in a cool, dark place.
If your relish looks too watery after cooking, simmer a bit longer to thicken before filling jars. And if you see cloudy liquid or bubbles, don’t panic — it’s normal during cooking but should clear as it cools. Keeping those jars sterile and lids properly sealed is key to safe preservation.
Cooking Tips & Techniques
When making homemade sweet pickle relish for water bath canning, timing and texture are everything. One thing I learned the hard way: drain those veggies well! If you skip or skimp on this step, your relish ends up watery and mushy instead of crisp and bright.
Also, don’t rush the simmering. Letting the mixture gently bubble not only melds the flavors but thickens the syrup to that perfect clingy texture. Stir often, but avoid stirring too vigorously or the veggies can break down too much.
Another tip — toast your mustard seeds lightly in a dry pan before adding them to the liquid. It brings out a nuttier, deeper flavor that makes the relish pop.
Multitasking during water bath canning is a must. While the jars sterilize, prep your veggies and brewing pickling liquid. It makes the whole process feel smoother and less overwhelming.
One rookie mistake I made early on was over-tightening the jar bands before canning. Turns out, putting them on fingertip tight lets air escape properly during processing, so the seal is solid. Otherwise, you risk jar lids popping off or seal failure.
Variations & Adaptations
- Spicy Version: Add 1-2 finely chopped jalapeños or a pinch of red pepper flakes to the relish for a sweet-heat combo that wakes up your taste buds.
- Low-Sugar Option: Reduce sugar by one-third and balance with a teaspoon of honey or maple syrup. The texture might be slightly less thick but still delicious.
- Vegan & Allergy-Friendly: This recipe is naturally vegan and gluten-free. For a no-sodium variation, reduce or omit the salt, but be aware that preservation might be affected.
- Herbed Relish: Toss in fresh dill or parsley during the last few minutes of simmering for a fresh herbal note that complements grilled meats.
- Quick Refrigerator Relish: Skip the water bath canning and store the relish in sterilized jars in the fridge for up to 2 weeks — perfect if you want to make smaller batches to test flavors.
I once added a splash of apple cider vinegar instead of white, which gave the relish a fruitier undertone that my family loved. Feel free to experiment with vinegar types or spice blends, but remember that changes can affect preservation.
Serving & Storage Suggestions
Serve this sweet pickle relish chilled or at room temperature, spooned generously over burgers, hot dogs, or mixed into creamy spreads. It’s surprisingly good stirred into potato salad or on top of egg salad sandwiches. For a fun party appetizer, mix it into cream cheese for a quick dip that pairs wonderfully with crackers or fresh veggies.
Once canned and sealed, store your jars in a cool, dark pantry. Properly processed relish will keep for up to a year, and the flavors often deepen with time. After opening, refrigerate and use within 3-4 weeks.
Reheating isn’t necessary, but if you want a warm relish for certain dishes, gently heat on the stove over low heat until just warmed through. Avoid boiling to maintain crunch.
If you’re planning a summer cookout or a cozy holiday spread, this relish is a natural companion alongside dishes like creamy baked crab dip or your favorite savory chicken ring recipe. It adds that satisfying sweet tang that cuts through richness beautifully.
Nutritional Information & Benefits
Per 2 tablespoon (30 g) serving, this homemade sweet pickle relish contains approximately:
| Calories | 30 |
|---|---|
| Total Carbohydrates | 8 g |
| Sugars | 7 g |
| Sodium | 210 mg |
| Fat | 0 g |
| Protein | 0 g |
This relish delivers a burst of flavor without fat or cholesterol. The cucumbers provide small amounts of antioxidants and hydration, while the vinegar may aid digestion. Using pickling salt avoids additives found in iodized salt, which some prefer for cleaner flavor and better fermentation.
Since this recipe is naturally gluten-free and vegan, it suits a variety of dietary needs. If watching sugar intake, reducing the sugar or making the low-sugar variation can help.
Conclusion
This homemade sweet pickle relish for water bath canning isn’t flashy, but it’s reliably delicious and wonderfully satisfying. It’s the kind of recipe that invites you to slow down, chop, stir, and wait — and then enjoy the payoff all year long. There’s something quietly rewarding about reaching for a jar you made yourself, knowing exactly what’s inside.
Feel free to fiddle with the seasoning to suit your tastes or try the variations to keep things interesting. Personally, I love having a stash of this relish ready to brighten up simple meals and gatherings — it’s become a pantry staple I genuinely look forward to making each season.
If you try this recipe, I’d love to hear how you customized it or what dishes you paired it with. Sharing those little kitchen discoveries always makes the whole process feel more fun and connected.
Keep experimenting, savor the crunch, and happy canning!
Frequently Asked Questions
How long does homemade sweet pickle relish last when canned?
Properly processed and sealed jars can last up to one year stored in a cool, dark place. Once opened, refrigerate and consume within 3-4 weeks.
Can I use regular cucumbers instead of pickling cucumbers?
Yes, but pickling cucumbers like Kirby are preferred because they stay firmer during the canning process. Regular slicing cucumbers may result in a softer relish.
Do I have to water bath can this relish?
If you want long-term storage and safety, yes. However, you can skip canning and keep the relish refrigerated for up to two weeks for quick use.
Can I make this recipe sugar-free?
You can reduce the sugar or substitute with natural sweeteners like honey or maple syrup, but this may affect the texture and shelf-life.
What’s the best way to chop vegetables for this relish?
A food processor with a chopping blade works great for uniform, quick chopping, but a sharp knife and good cutting board work just as well — just take your time to keep pieces consistent.
Pin This Recipe!
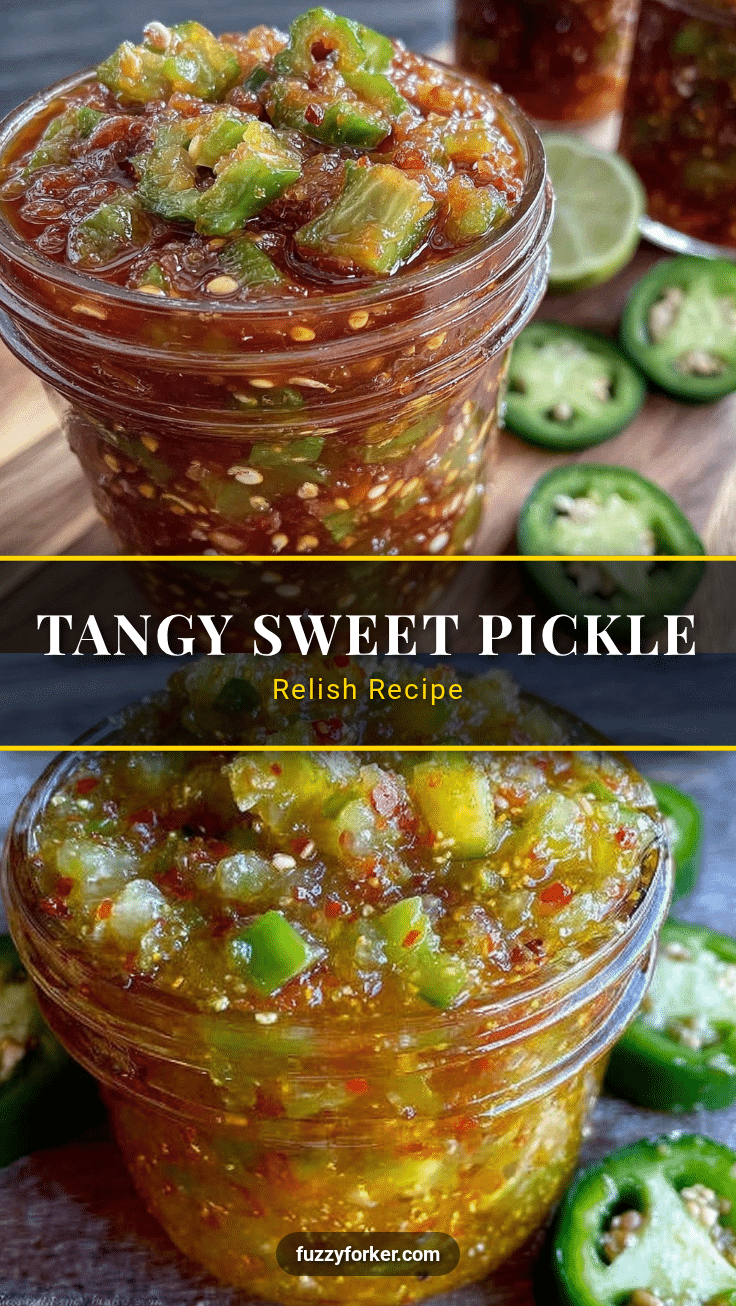
Homemade Sweet Pickle Relish Recipe for Easy Water Bath Canning

This homemade sweet pickle relish balances crisp cucumber bits with a silky-sweet, tangy syrup, perfect for water bath canning and adding bright flavor to burgers, sandwiches, and dips.
- Prep Time: 1 hour 35 minutes
- Cook Time: 25 minutes
- Total Time: 2 hours
- Yield: About 6 pints
- Category: Condiment
- Cuisine: American
Ingredients
- Fresh cucumbers (preferably Kirby or pickling cucumbers), finely chopped
- White onions, finely chopped
- Green bell pepper, finely chopped (optional)
- Granulated sugar
- Distilled white vinegar (5% acidity)
- Pickling salt or kosher salt (no iodized salt)
- Mustard seeds
- Celery seeds
- Turmeric powder
- Ground cinnamon (a pinch)
- Ground cloves (a pinch, optional)
Instructions
- Prepare the vegetables (20 minutes): Wash cucumbers and pat dry. Using a food processor fitted with a chopping blade or a sharp knife, finely chop cucumbers, onions, and bell pepper (if using). Place chopped veggies into a large mixing bowl.
- Drain excess moisture (15 minutes): Sprinkle 2 tablespoons of pickling salt over the chopped vegetables, toss well, and let sit for 1 hour. After an hour, rinse thoroughly with cold water to remove excess salt, then drain in a colander or use cheesecloth to squeeze out remaining liquid.
- Prepare jars and lids: Sterilize canning jars and lids by boiling them in your water bath canner or large pot for 10 minutes. Keep jars hot until ready to fill.
- Make the pickling liquid (10 minutes): In a large pot, combine 3 cups (24 fl oz) white vinegar, 3 cups (1 lb 5.4 oz) granulated sugar, 1 tablespoon mustard seeds, 1 teaspoon celery seeds, 1/2 teaspoon turmeric, 1/4 teaspoon ground cinnamon, and a pinch of ground cloves. Bring to a boil over medium-high heat, stirring to dissolve the sugar.
- Cook the relish (15 minutes): Add drained vegetables to the hot pickling liquid. Reduce heat to medium and simmer gently, stirring occasionally, for 10-15 minutes until the mixture thickens slightly and becomes glossy.
- Fill jars (15 minutes): Use a canning funnel to ladle the hot relish into sterilized jars, leaving 1/2 inch headspace. Remove air bubbles by gently tapping the jars or running a non-metallic spatula around the inside edges.
- Seal jars and water bath (10-15 minutes): Wipe rims clean with a damp cloth. Place sterilized lids and bands on jars, tightening bands fingertip tight. Place jars in the water bath canner, ensuring they’re covered by at least 1 inch of water. Boil for 10 minutes (adjust time for altitude if needed).
- Cool and store: Carefully remove jars from the canner with a jar lifter and place on a kitchen towel to cool undisturbed for 12-24 hours. Check seals — lids should be concave and not pop when pressed. Store in a cool, dark place.
Notes
Toast mustard seeds lightly in a dry pan before adding to the pickling liquid for deeper flavor. Drain vegetables thoroughly to avoid watery relish. Use fingertip tightness on jar bands to ensure proper sealing during canning. Adjust boiling time for altitude if necessary. Variations include adding jalapeños for spice or reducing sugar for a low-sugar version.
Nutrition
- Serving Size: 2 tablespoons (30 g)
- Calories: 30
- Sugar: 7
- Sodium: 210
- Carbohydrates: 8
Keywords: sweet pickle relish, water bath canning, homemade relish, pickling, cucumber relish, easy relish recipe, canning recipe, summer preserve


