
Three-time-in-a-week, and honestly, the texture still surprises me every single time. I found myself standing over the counter, watching the apple cinnamon fruit puree bubble slowly on the stove, thickening just right before my eyes. The scent of cinnamon swirling through the kitchen was hypnotic—almost like it pulled me back for another batch, even after the kids devoured the last roll-up just hours earlier. Every Friday for a month, I’ve been obsessively tweaking this Easy Homemade Apple Cinnamon Fruit Roll-Ups recipe, chasing that perfect balance of sweetness and that subtle tang from the apples that just sticks with you.
There’s something about the way the fruit leather peels off the parchment—delicate but pliable, chewy but not sticky—that kept me coming back. I tried different apple varieties, adjusted the cinnamon slightly, and even tested whether a pinch of nutmeg would sneak into the mix unnoticed (spoiler: it didn’t). This recipe became my kitchen fixation not because it’s complicated or fancy, but because it hits that sweet spot of nostalgia and fresh, homemade goodness that you just can’t buy off the shelf.
It’s funny how this simple snack quietly claimed its place in our routine, not as a chore but as a comfort—something I trust to pack in lunchboxes or pull out for a quick, wholesome treat. And honestly, I think once you try making your own fruit roll-ups, you’ll realize it’s less about the act of cooking and more about that small joy of crafting something genuine from scratch. So here it is, my slightly manic but thoroughly tested take on Easy Homemade Apple Cinnamon Fruit Roll-Ups, a recipe that stuck with me in the best way.
Why You’ll Love This Recipe
Having made these fruit roll-ups multiple times, I can say with some certainty that they’re a snack game-changer. Here’s why they might just become your new favorite too:
- Quick & Easy: The entire process takes under an hour, including baking time, making it ideal for busy afternoons or last-minute snack preps.
- Simple Ingredients: No need for fancy or obscure items—just apples, cinnamon, lemon juice, and a touch of sweetener if you like. Odds are you already have these pantry staples.
- Perfect for On-The-Go: These roll-ups are great for lunchboxes, picnics, or as a healthier alternative to store-bought fruit snacks.
- Crowd-Pleaser: Kids, adults, picky eaters—they all give these a thumbs-up, probably because they taste like candy but without any weird additives.
- Unbelievably Delicious: The natural sweetness of the apples combined with cinnamon creates a comforting, chewy treat that feels like a hug in snack form.
- Unique Twist: Instead of pureeing apples alone, I found that lightly cooking them down first with cinnamon and a splash of lemon juice enhances the flavor and texture, making the roll-ups perfectly pliable without cracking.
This recipe isn’t just another fruit leather hack; it’s the one that made me close my eyes the first time I tried it, savoring that warm cinnamon note and the subtle tartness. It’s a comfort snack reimagined—simple, wholesome, and reliably delicious every single time. If you want a snack that’s as satisfying as it is easy, these roll-ups have you covered.
What Ingredients You Will Need
This recipe uses simple, wholesome ingredients to deliver bold flavor and a satisfyingly soft texture without fuss. Most of these are pantry staples, but feel free to swap or adjust based on availability.
- Apples (about 4 medium-sized, peeled and cored): I prefer Fuji or Honeycrisp for their natural sweetness and firm texture, but Granny Smith works well if you want a tangier bite.
- Ground Cinnamon (1 teaspoon): The star spice here—use a fresh, high-quality brand for the best aroma.
- Lemon Juice (2 tablespoons, fresh): Adds brightness and prevents the apples from browning.
- Honey or Maple Syrup (1 to 2 tablespoons, optional): Adjust to taste if you want a sweeter roll-up. I often skip it if the apples are sweet enough.
- Vanilla Extract (1/2 teaspoon, optional): Adds a subtle warm undertone—totally optional but lovely.
Substitution tips: If you want to make these vegan, swap honey for maple syrup or agave nectar. For a sugar-free version, omit the sweetener completely or use a small amount of stevia, but keep in mind that affects texture slightly.
Look for organic apples if you prefer to avoid pesticides, especially if you’re using the peel (though this recipe calls for peeling). Also, fresh lemon juice tastes best, but bottled works in a pinch.
Equipment Needed
- Food Processor or Blender: Essential for pureeing the cooked fruit into a smooth, even consistency. I’ve tried both—food processors give a slightly chunkier texture, which some might prefer, but blenders create a silkier puree.
- Large Saucepan: For gently cooking down the apples with spices.
- Baking Sheet: A rimmed half-sheet pan works best to spread the puree thinly and evenly.
- Parchment Paper or Silicone Baking Mat: Prevents sticking and makes peeling the roll-ups easier—don’t skip this.
- Spatula: For spreading the puree smoothly across the tray.
If you don’t have a food processor, an immersion blender can work directly in the saucepan, though it might take a bit longer. For budget-friendly baking sheets, you can often find affordable options at kitchen stores or online.
I learned the hard way that using non-stick spray alone doesn’t cut it; parchment paper is the key to clean removal and keeping the fruit leather intact.
Preparation Method
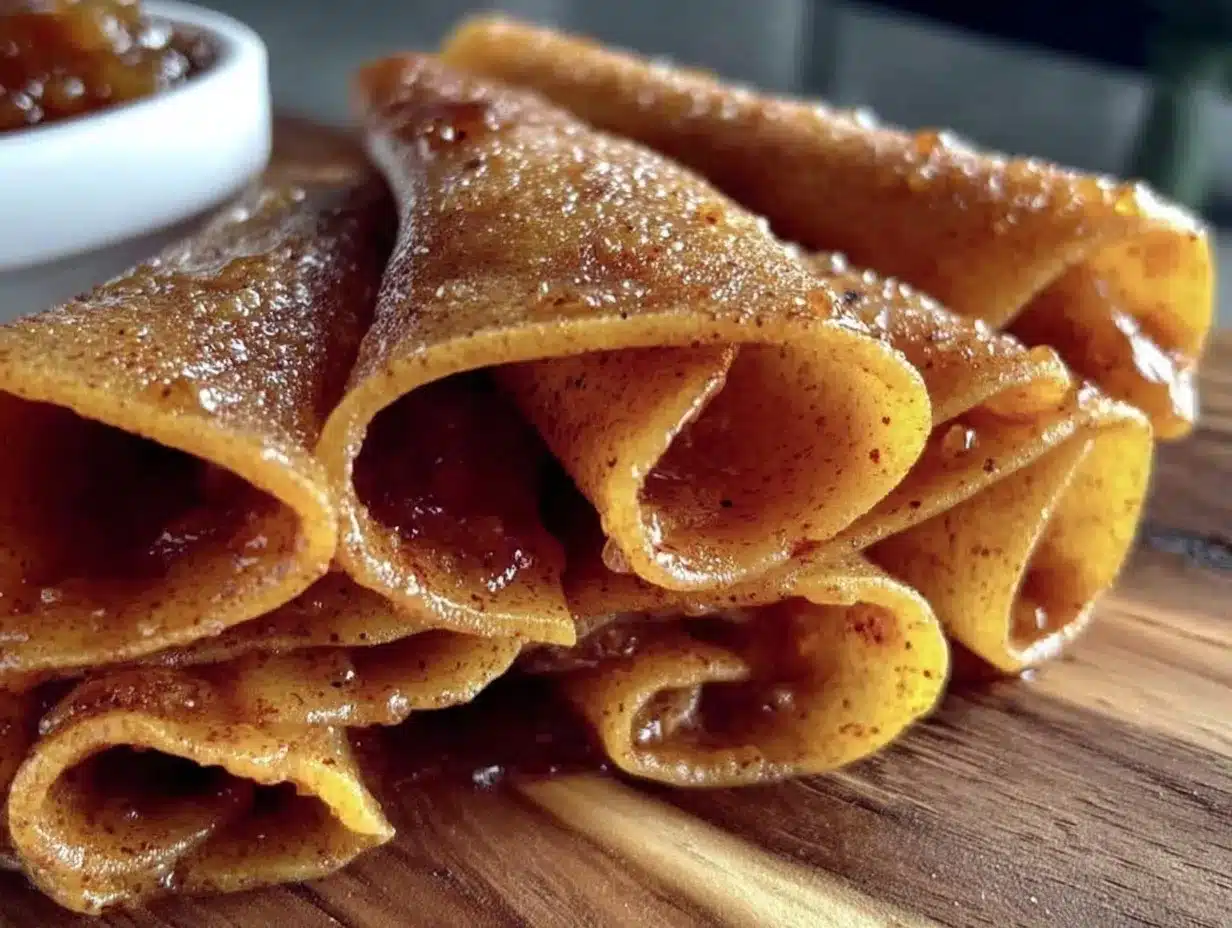
- Prepare the Apples (10 minutes): Peel, core, and roughly chop about 4 medium apples (roughly 680 grams). I usually keep the pieces small so they cook evenly.
- Cook Down the Fruit (20 minutes): Place the chopped apples in a large saucepan with 1 teaspoon ground cinnamon, 2 tablespoons fresh lemon juice, and 1 to 2 tablespoons honey or maple syrup if using. Stir gently over medium-low heat, partially covered, until the apples soften and start breaking down—about 15-20 minutes. Stir occasionally to prevent sticking. The mixture should look thick and jam-like but not dry.
- Puree the Mixture (5 minutes): Transfer the cooked apples to a food processor or blender. Add 1/2 teaspoon vanilla extract if using. Blend until smooth and uniform. If the puree is too thick to spread, add a teaspoon or two of water to loosen it slightly.
- Prepare Baking Sheet (5 minutes): Line a rimmed baking sheet (approximately 12×17 inches or 30×43 cm) with parchment paper or a silicone mat. Pour the puree onto the sheet and spread evenly to about 1/8 inch (3 mm) thickness with a spatula. The thinner you spread, the quicker it dries and the chewier it will be.
- Bake the Roll-Ups (4-6 hours): Place the baking sheet in a preheated oven at 170°F (75°C) or the lowest temperature your oven allows. Bake for 4 to 6 hours, checking occasionally after 4 hours. The roll-ups are done when the fruit leather is no longer sticky to the touch and peels away easily from the parchment. Avoid overbaking, or it will become brittle.
- Cool and Cut (15 minutes): Let the fruit leather cool completely on the baking sheet. Carefully peel off the parchment paper. Use kitchen scissors or a pizza cutter to slice into strips or desired shapes. Roll up the strips with parchment paper or plastic wrap to store.
Tip: If you want to speed up drying, you can use a food dehydrator at 135°F (57°C) for 6-8 hours instead of the oven. Just spread the puree on dehydrator trays lined with parchment.
Warning: Don’t try to flip the fruit leather while baking—it’s delicate and will tear. Patience is key here for that perfect chewy texture.
Cooking Tips & Techniques
Making fruit roll-ups at home might sound intimidating, but a few tricks learned after my obsessive trials make it straightforward:
- Choosing the Right Apples: Sweet apples like Fuji or Gala reduce the need for added sweeteners, while tart ones like Granny Smith add brightness but may need a little more honey or syrup.
- Thoroughly Cook the Fruit: You want the apples soft enough to blend smoothly but not so mushy that the mixture becomes watery. Keeping the heat low avoids burning the sugars.
- Even Spreading Matters: Use an offset spatula if you have one. Thick spots take longer to dry and can cause uneven texture.
- Low and Slow Drying: Baking at a low temperature for several hours dries the fruit without cooking it further or caramelizing the sugars too much. It preserves that fresh apple flavor.
- Don’t Skip the Parchment: This is the single most important step for easy peeling and clean edges. I’ve tried silicone mats and parchment, but parchment is more flexible to roll up the strips.
- Store Properly: Keep roll-ups wrapped tightly to prevent them from drying out and becoming brittle.
One of my early mistakes was baking at too high a temperature, which made the roll-ups crack and harden. Also, skipping lemon juice resulted in dull color and taste. These small lessons made a big difference in perfecting the recipe.
Variations & Adaptations
Once you master the basic apple cinnamon fruit roll-ups, it’s fun to switch things up:
- Berry Blend: Blend in about 1 cup of fresh or frozen berries (strawberries, raspberries, or blueberries) with the apples for a colorful, tangy twist. Adjust sweetener as berries add tartness.
- Spiced Up: Add a pinch of nutmeg or ground cloves along with cinnamon for a cozy, warm spice profile—perfect for fall vibes.
- Vegan & Sugar-Free: Use maple syrup or agave instead of honey, or skip added sweeteners entirely if your apples are sweet enough. You can also swap lemon juice for lime juice for a slightly different tang.
- Dehydrator Method: Instead of oven drying, spread the puree on dehydrator trays and dry at 135°F (57°C) for 6-8 hours. This method preserves more nutrients and can yield a chewier texture.
- Personal Fave: I once added a teaspoon of grated fresh ginger to the mix. It gave a subtle zing that paired surprisingly well with cinnamon and apple, but be careful not to overpower the fruit.
Serving & Storage Suggestions
These Easy Homemade Apple Cinnamon Fruit Roll-Ups are perfect served at room temperature. I like to pack them as individually rolled strips wrapped in parchment paper for lunchboxes or snack bags.
They pair wonderfully with a sharp cheese or nut butter for a balanced snack. For a fun party twist, serve alongside a creamy dip like the classic hummus with paprika or the creamy dill pickle dip for a sweet-savory contrast that surprises guests.
Store leftover roll-ups in an airtight container at room temperature for up to 2 weeks. For longer storage, place them in the refrigerator or freezer wrapped tightly; they’ll keep for up to 3 months frozen. When ready to eat, let frozen roll-ups thaw at room temperature for 15 minutes.
Flavors mellow and deepen slightly over time, especially if stored in the fridge, so if you like a more intense cinnamon hit, giving them a day to rest wrapped is a nice trick.
Nutritional Information & Benefits
Each serving of these fruit roll-ups (about one strip) is approximately 60 calories, low in fat, and rich in dietary fiber thanks to the whole apples. They provide a natural source of vitamin C and antioxidants from the fruit and cinnamon.
This recipe is naturally gluten-free and can be made vegan and low-sugar depending on sweetener choices. It’s a wholesome alternative to commercial fruit snacks loaded with additives and artificial sweeteners.
From a wellness perspective, the fiber helps with digestion and keeps you feeling satiated, while cinnamon has been studied for its blood sugar-regulating properties—though, of course, this snack should complement a balanced diet.
Conclusion
Easy Homemade Apple Cinnamon Fruit Roll-Ups aren’t just a snack—they’re a little ritual of making something simple and satisfying from scratch. After all the times I’ve made them, I still find joy in that chewy, cinnamon-kissed bite that feels like a cozy reward.
Feel free to tweak the cinnamon or try adding your favorite fruit blends to make this recipe your own. It’s forgiving, straightforward, and endlessly adaptable to what you have on hand.
Thanks for letting me share this slightly obsessive, totally delicious snack with you. If you give it a try, I’d love to hear how your fruit roll-ups turned out or what creative spins you put on the recipe.
Happy snacking!
FAQs About Easy Homemade Apple Cinnamon Fruit Roll-Ups
How long do homemade fruit roll-ups last?
Stored in an airtight container at room temperature, they last about 1-2 weeks. Refrigerating or freezing extends shelf life up to 3 months.
Can I use other fruits besides apples?
Yes! Pears, berries, peaches, or a mix work well. Just adjust sweetness and cooking time as needed.
Is it necessary to peel the apples?
Peeling helps create a smoother texture and prevents tough bits, but you can leave the peel on for extra fiber if you don’t mind a bit more chew.
Can I make these fruit roll-ups without a food processor?
You can mash cooked fruit with a fork or use an immersion blender, but the texture may be chunkier and less smooth.
Why are my fruit roll-ups sticky after baking?
They may need more drying time or the oven temperature might be too low. Spread the puree evenly and bake low and slow until they peel easily from parchment.
Pin This Recipe!
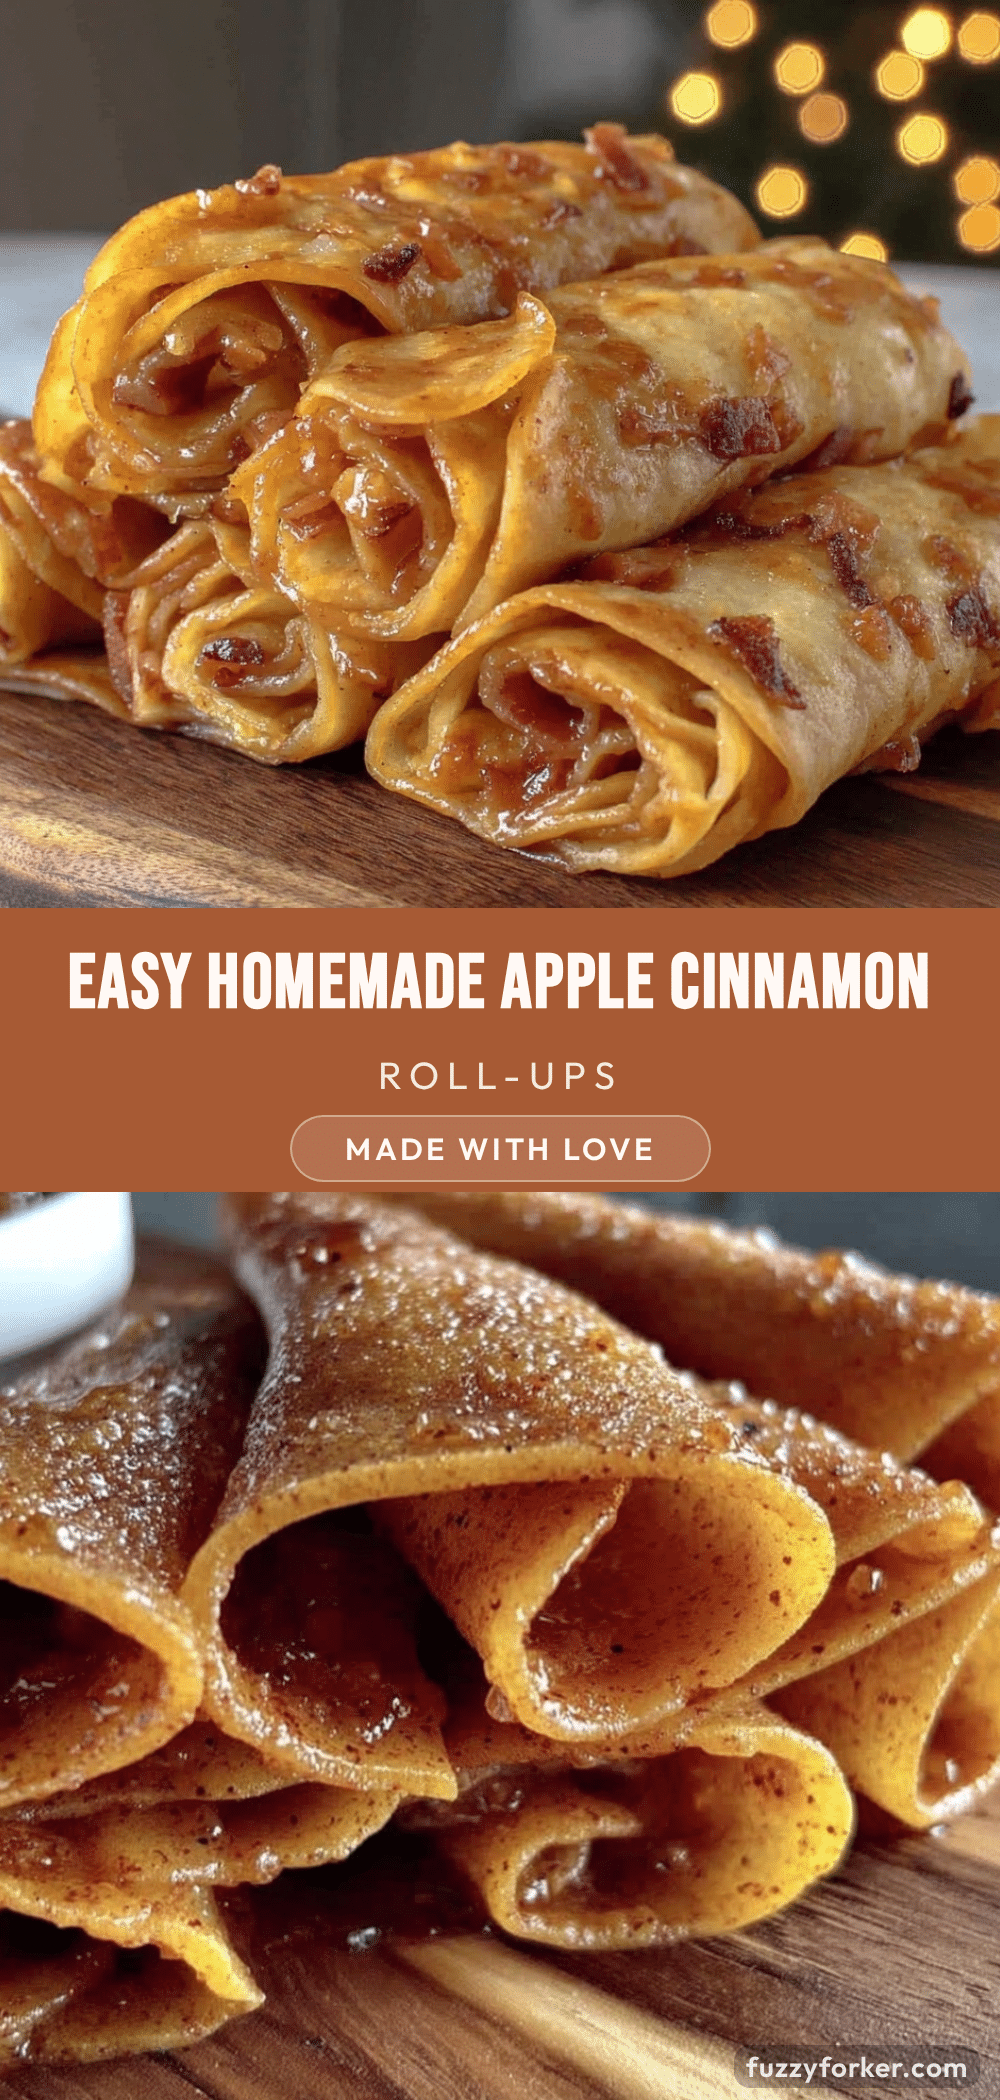
Easy Homemade Apple Cinnamon Fruit Roll-Ups

Delicious, chewy fruit roll-ups made from cooked apples, cinnamon, and a touch of lemon juice. A wholesome, nostalgic snack perfect for lunchboxes or on-the-go treats.
- Prep Time: 15 minutes
- Cook Time: 4 to 6 hours
- Total Time: 4 hours 15 minutes to 6 hours 15 minutes
- Yield: About 8 servings 1x
- Category: Snack
- Cuisine: American
Ingredients
- 4 medium apples, peeled and cored (about 1.5 pounds)
- 1 teaspoon ground cinnamon
- 2 tablespoons fresh lemon juice
- 1 to 2 tablespoons honey or maple syrup (optional)
- 1/2 teaspoon vanilla extract (optional)
Instructions
- Peel, core, and roughly chop about 4 medium apples (roughly 1.5 pounds).
- Place the chopped apples in a large saucepan with 1 teaspoon ground cinnamon, 2 tablespoons fresh lemon juice, and 1 to 2 tablespoons honey or maple syrup if using. Stir gently over medium-low heat, partially covered, until the apples soften and start breaking down—about 15-20 minutes. Stir occasionally to prevent sticking. The mixture should look thick and jam-like but not dry.
- Transfer the cooked apples to a food processor or blender. Add 1/2 teaspoon vanilla extract if using. Blend until smooth and uniform. If the puree is too thick to spread, add a teaspoon or two of water to loosen it slightly.
- Line a rimmed baking sheet (approximately 12×17 inches) with parchment paper or a silicone mat. Pour the puree onto the sheet and spread evenly to about 1/8 inch thickness with a spatula.
- Place the baking sheet in a preheated oven at 170°F (75°C) or the lowest temperature your oven allows. Bake for 4 to 6 hours, checking occasionally after 4 hours. The roll-ups are done when the fruit leather is no longer sticky to the touch and peels away easily from the parchment. Avoid overbaking.
- Let the fruit leather cool completely on the baking sheet. Carefully peel off the parchment paper. Use kitchen scissors or a pizza cutter to slice into strips or desired shapes. Roll up the strips with parchment paper or plastic wrap to store.
Notes
Use parchment paper for easy peeling and clean edges. Avoid flipping the fruit leather while baking to prevent tearing. You can speed drying using a food dehydrator at 135°F for 6-8 hours. Store roll-ups wrapped tightly to prevent drying out and becoming brittle. Refrigerate or freeze for longer storage.
Nutrition
- Serving Size: One strip (approxima
- Calories: 60
- Sugar: 12
- Carbohydrates: 15
- Fiber: 2
Keywords: apple cinnamon fruit roll-ups, homemade fruit leather, healthy snacks, easy fruit roll-ups, apple snacks, cinnamon snacks, gluten-free snacks, vegan fruit roll-ups