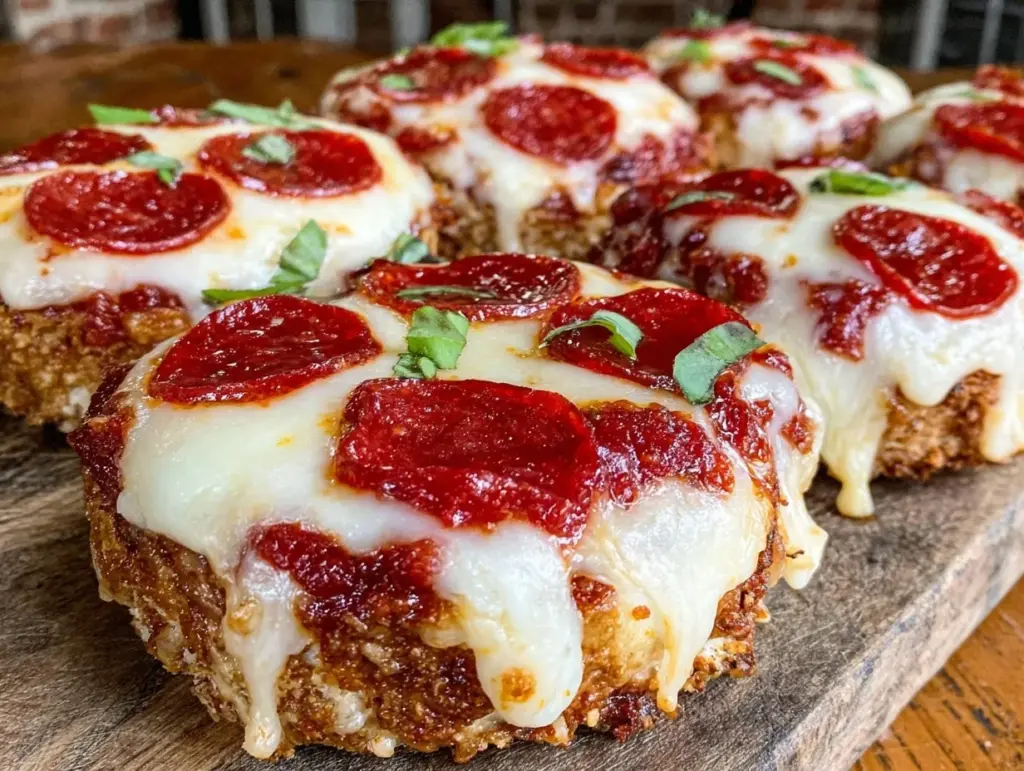
“Wait, you made your own Lunchables?” That’s what my colleague blurted out one afternoon when I pulled out this easy DIY Lunchables pizza snack I’d whipped up during a quick break. Honestly, I was half-expecting her skepticism. I mean, Lunchables are so convenient, right? But I had been tired of the usual processed options, and with just a few simple ingredients, this little pizza snack was surprisingly satisfying. It started as a lazy afternoon experiment—no fancy prep, just grabbing what was handy—and ended up becoming my go-to for quick lunches and even last-minute kiddo snacks.
The smell of melted cheese and that tangy pizza sauce wafting from my makeshift platter felt like a mini celebration in the middle of a busy day. It’s funny because I wasn’t aiming for gourmet; I just wanted a quick, tasty bite without the fuss. What’s stuck with me is how this easy DIY Lunchables pizza snack somehow hit that perfect note of comfort and fun, reminding me that homemade doesn’t need to be complicated. Now, whenever someone asks for a quick pizza fix, I quietly smile knowing this snack’s got them covered.
It’s a little lunchbox hero that turned my snack game around—simple, flavorful, and ready in minutes. No more questionable processed trays, just honest ingredients and that familiar pizza vibe, all in a neat little package. This recipe became a quiet reminder that sometimes the best meals come from those spontaneous kitchen moments.
Why You’ll Love This Recipe
This easy DIY Lunchables pizza snack recipe has been tested and tweaked until it feels just right—trust me, I’ve made it so many times in one week, I lost count. Whether you’re a busy parent juggling lunch prep or just someone who needs a quick bite, this recipe brings a bunch of perks:
- Quick & Easy: Ready in under 15 minutes, perfect for those hectic days or sudden snack cravings.
- Simple Ingredients: No scavenging specialty stores—you probably have most of these pantry staples already.
- Perfect for Lunchboxes or Snacks: Great for kids’ lunches, office snacks, or even casual get-togethers.
- Crowd-Pleaser: Everyone loves the familiar pizza flavors, from picky kids to hungry adults.
- Unbelievably Delicious: The combo of melty cheese, tangy sauce, and crunchy crackers hits all the right notes.
What sets this apart isn’t just the speed or the flavor, but the flexibility. You can swap in different cheeses, experiment with toppings, or adjust the sauce to suit your taste buds. Honestly, it’s not just another pizza snack—it’s the best homemade version you never knew you needed. Plus, making it yourself means you control the quality and freshness, avoiding all those preservatives packed in store-bought kits.
This recipe isn’t just about food—it’s about that little moment of joy when you realize you made something awesome, fast. It’s comfort food that’s easy on the schedule and big on taste, perfect for those days when you want a bit of homemade magic without the hassle.
What Ingredients You Will Need
With this easy DIY Lunchables pizza snack recipe, the ingredients keep things straightforward but tasty. You’re working with simple, wholesome items that come together for big flavor and that fun, snackable vibe.
- Mini Crackers or Mini Pita Rounds: These form the base. Choose sturdy ones that hold toppings well, like Ritz Minis or small pita rounds.
- Pizza Sauce: Use your favorite jarred pizza or marinara sauce. For that fresh taste, I like Newman’s Own, but any good-quality sauce works.
- Shredded Mozzarella Cheese: Freshly shredded melts best. Pre-shredded works too, but freshly shredded gives a creamier texture.
- Pepperoni Slices: Thin-cut ones are perfect—easy to layer and kid-friendly. You can swap for turkey pepperoni if preferred.
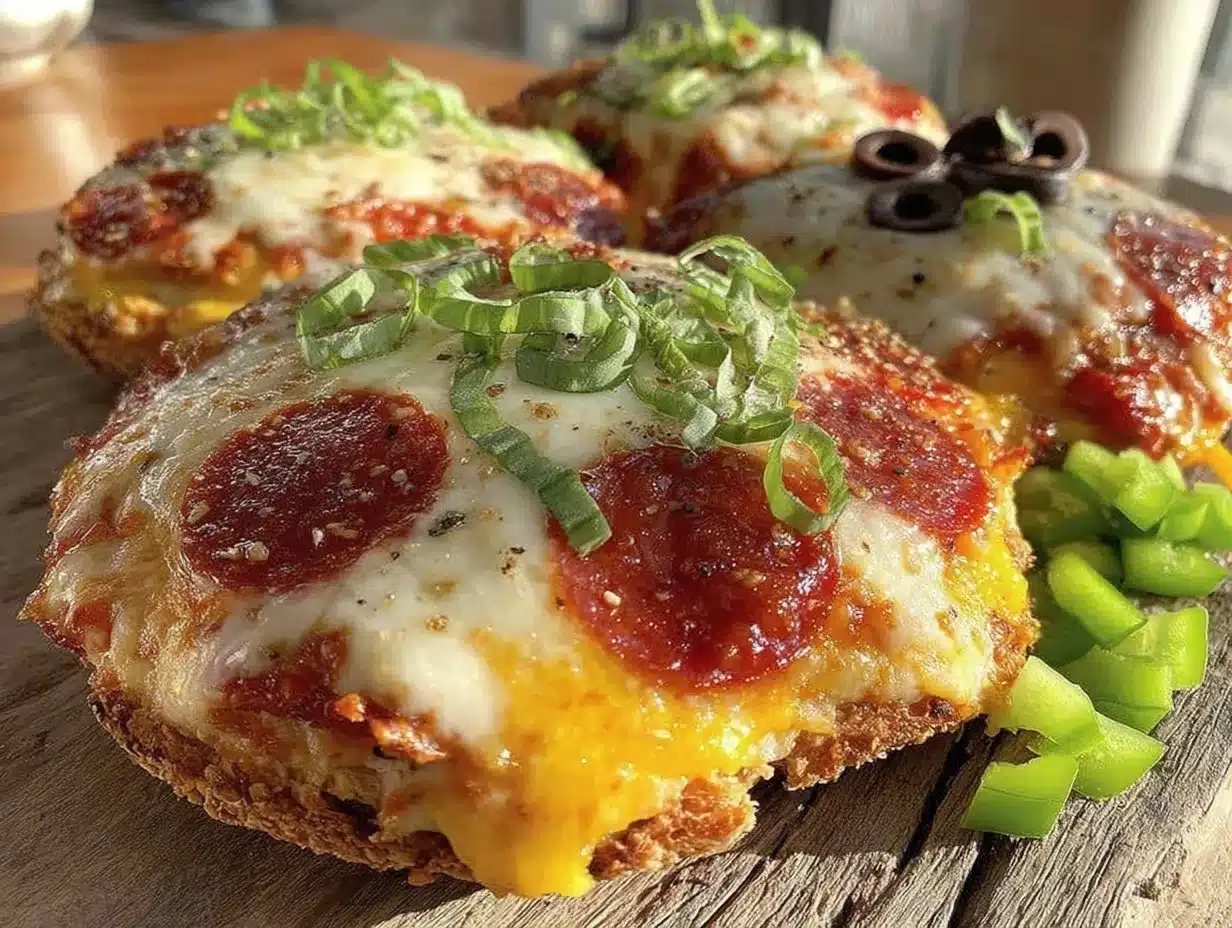
- Mini Bell Pepper Slices or Olives (optional): Adds a little crunch or tang, and a pop of color.
- Dried Italian Herbs: A sprinkle of oregano and basil enhances that classic pizza flavor.
- Grated Parmesan Cheese (optional): For a sharp, salty finish.
These ingredients mostly come from your pantry or fridge, making it super convenient. If you want to go dairy-free, swapping mozzarella for a plant-based shredded cheese is totally doable. Likewise, if you want a gluten-free version, use gluten-free crackers or pita rounds. For a seasonal twist, fresh cherry tomatoes or basil leaves can make the snack feel a bit more special.
Equipment Needed
- Baking Sheet or Oven-Safe Tray: To arrange your mini pizza snacks for melting the cheese.
- Parchment Paper (optional): Makes cleanup a breeze and prevents sticking.
- Small Spoon or Butter Knife: For spreading the sauce evenly on each cracker or pita.
- Grater: If you’re shredding your own mozzarella or grating Parmesan.
- Mixing Bowl (optional): If you want to mix herbs into the sauce before spreading.
I’ve found that a basic baking sheet is all you really need, and parchment paper definitely saves time on cleaning up melted cheese messes. No fancy pizza stone or special equipment is necessary, which is part of the charm. If you don’t have an oven, you can even use a toaster oven or broiler, just keep a close eye to avoid burning.
Preparation Method
- Preheat your oven to 375°F (190°C). This temperature melts cheese perfectly without drying out the crackers.
- Line your baking sheet with parchment paper for easy cleanup.
- Arrange your mini crackers or pita rounds in a single layer on the tray, making sure they don’t overlap.
- Spread a thin layer of pizza sauce over each cracker — about 1 teaspoon (5 ml) per piece. Keep it light to avoid sogginess.
- Sprinkle shredded mozzarella cheese generously over the sauce. Around 1 tablespoon (15 g) per cracker is ideal for that gooey pizza feel.
- Add pepperoni slices—usually one or two per cracker, depending on size. If you’re adding veggies like mini bell peppers or olives, place them now.
- Sprinkle a pinch of dried Italian herbs like oregano and basil on top for that authentic pizza flavor.
- Optionally, finish with a light dusting of grated Parmesan cheese for added zest.
- Bake in the oven for 8 to 10 minutes until the cheese is melted and bubbly. Watch closely during the last few minutes to prevent burning.
- Remove from oven and let cool for a minute or two. This helps the cheese set a bit so the snacks hold together when you pick them up.
- Serve warm or at room temperature. They’re perfect just as they are or paired with a simple side.
Pro tip: If your crackers feel too dry or crumbly, lightly brush them with olive oil before the sauce step to add moisture and flavor. And don’t overcrowd the tray—each mini pizza snack needs space to heat evenly.
Cooking Tips & Techniques
One thing I learned the hard way is that too much sauce makes these soggy, so moderation is key. A thin, even spread is enough to give flavor without turning your base into mush. Also, shredding your own mozzarella instead of using bagged pre-shredded cheese gives you that creamy melt and less of that weird coating some packaged cheeses have.
Timing is another trick. Since these snacks are small, they cook quickly—keep an eye on them around the 7-minute mark. When the cheese starts bubbling and turns slightly golden, that’s your cue to pull them out. I’ve found that using a toaster oven works wonders for reheating leftovers without drying them out.
Multitasking tip: While these bake, you can whip up a quick side like a fresh cucumber salad or even an easy dip, such as the classic hummus recipe I love for simple snacks. It’s a real crowd-pleaser next to these pizza bites.
And if you’re prepping for kids, assemble the pieces as a fun activity—letting them add toppings encourages creativity and makes lunchtime more interactive. Honestly, that’s often when these snacks disappear fastest!
Variations & Adaptations
Here are a few ways to mix things up and make this easy DIY Lunchables pizza snack recipe your own:
- Vegetarian Version: Skip the pepperoni and add sautéed mushrooms, roasted red peppers, or even spinach. I once tried sun-dried tomatoes and it gave a nice tangy twist.
- Gluten-Free: Use gluten-free crackers or mini rice cakes as the base. The texture changes a bit but the flavor still shines through.
- Spicy Kick: Add a few red pepper flakes or swap regular pepperoni for spicy chorizo slices to heat things up.
- Different Cheese Combos: Try mixing mozzarella with provolone or cheddar for a richer, layered flavor.
- Alternative Sauces: For a twist, use pesto or a creamy garlic sauce instead of pizza sauce. It’s a fun way to switch the flavor profile.
One variation I personally adore swaps out the pepperoni for slices of marinated olives from the Italian marinated olive recipe. The briny flavor balances the cheese beautifully.
Serving & Storage Suggestions
These mini pizza snacks taste best warm, right out of the oven, with the cheese still melty and soft. But they also make great room-temperature snacks, perfect for packing in lunchboxes or serving at casual parties.
Pair them with a crisp side salad or some crunchy veggie sticks for a balanced bite. For a fun combo, try them alongside creamy dips like the creamy deviled eggs, which add a rich contrast to the zesty pizza flavors.
To store, place leftovers in an airtight container and refrigerate for up to 3 days. When reheating, a quick 5-minute zap in the toaster oven or oven at 350°F (175°C) brings back that fresh-out-of-the-oven feel. Avoid microwaving if you want to keep the crackers crisp.
Flavors tend to meld nicely after a day, so sometimes these little snacks taste even better the next day—just make sure to refresh with a bit of warmth before serving.
Nutritional Information & Benefits
Each serving of this easy DIY Lunchables pizza snack provides a balanced mix of carbs, protein, and fats, mainly from the cheese and pepperoni. Using mini pita rounds or whole-grain crackers can add fiber and make it a bit more filling.
Mozzarella cheese offers calcium and protein, while the pizza sauce provides some vitamins from tomatoes, including lycopene, an antioxidant. If you add veggies or olives, you’re boosting the snack’s vitamin and mineral content even more.
For those mindful of dietary needs, this recipe can be adapted to gluten-free or dairy-free options, making it accessible for many. Just swap ingredients accordingly to suit your preferences or food sensitivities.
Conclusion
This easy DIY Lunchables pizza snack recipe is the kind of simple, satisfying food that sticks with you—not because it’s fancy, but because it’s honest and fun. It’s perfect for busy days, quick lunches, or when you just want a little homemade treat without the extra work. I love how it gives me that nostalgic pizza vibe with none of the fuss or questionable ingredients.
Feel free to play around with toppings or bases to match your taste. Maybe add a little side dip, or pair with a fresh salad for a fuller meal. It’s a recipe that welcomes customization and rewards creativity.
If you try this recipe, I’d love to hear your twists or tips. Sharing these little kitchen wins feels like swapping stories with friends over a plate of food. So, here’s to easy, tasty snacks and those small moments that make cooking worth it.
FAQs
Can I make this recipe ahead of time?
Yes! You can assemble the mini pizzas and store them in the fridge for a few hours before baking. Just add the cheese and toppings right before baking to keep crackers crisp.
What can I use if I don’t have mini crackers or pita rounds?
Try using small bagel chips, crostini, or even tortilla chips for a different texture. Just keep in mind the baking time might change slightly.
Is this recipe kid-friendly?
Absolutely! Kids love the familiar pizza flavors, and you can customize the toppings to suit their preferences or dietary needs.
Can I freeze these pizza snacks?
It’s best to freeze the assembled but unbaked snacks on a tray, then transfer to a freezer bag. Bake from frozen, adding a few extra minutes to the cooking time.
How can I make this recipe healthier?
Use whole-grain crackers or pita rounds, add more veggies as toppings, and opt for low-fat cheese to lighten it up while keeping the flavor.
Pin This Recipe!
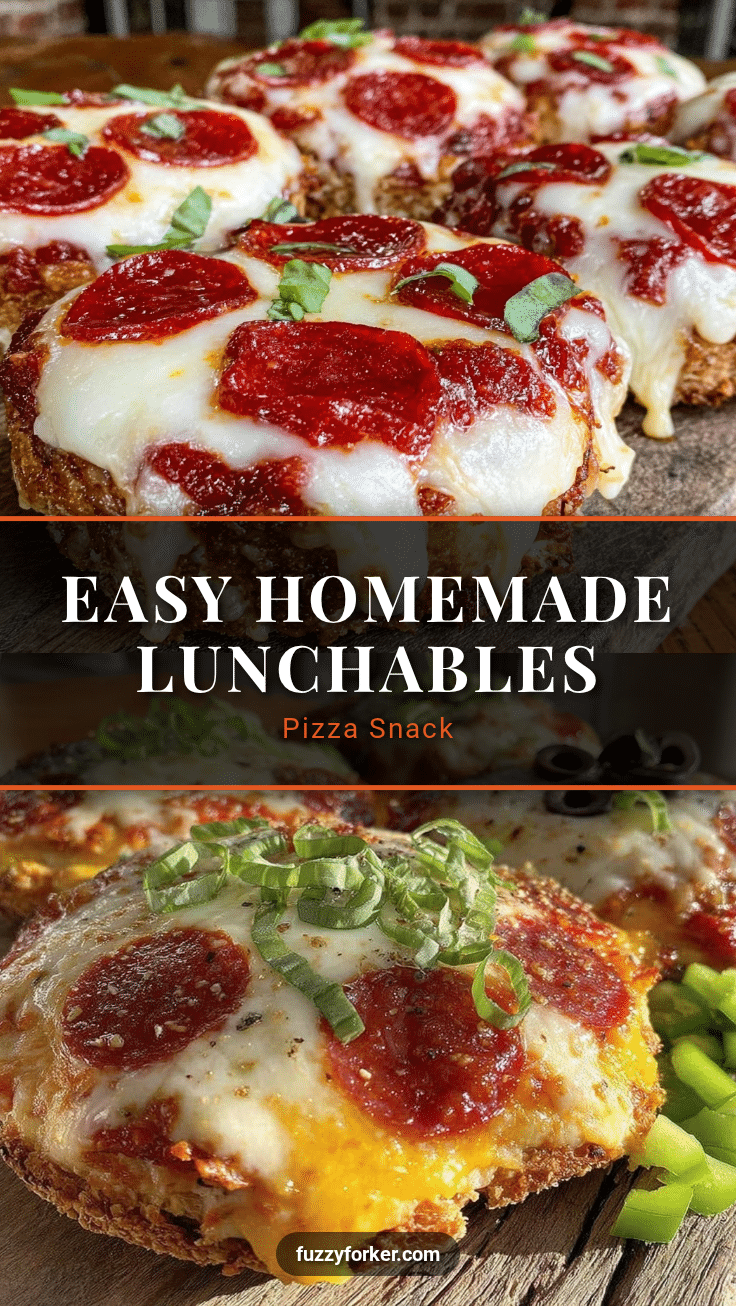
Easy DIY Lunchables Pizza Snack Recipe to Make at Home Quickly

A quick and easy homemade version of Lunchables pizza snacks using simple ingredients, perfect for lunchboxes, snacks, or casual get-togethers.
- Prep Time: 5 minutes
- Cook Time: 8 to 10 minutes
- Total Time: 13 to 15 minutes
- Yield: 12 mini pizza snacks
- Category: Snack
- Cuisine: American
Ingredients
- Mini crackers or mini pita rounds (e.g., Ritz Minis or small pita rounds)
- Pizza sauce (about 1 teaspoon per piece)
- Shredded mozzarella cheese (about 1 tablespoon per cracker)
- Pepperoni slices (1-2 per cracker)
- Mini bell pepper slices or olives (optional)
- Dried Italian herbs (oregano and basil)
- Grated Parmesan cheese (optional)
Instructions
- Preheat your oven to 375°F (190°C).
- Line your baking sheet with parchment paper for easy cleanup.
- Arrange your mini crackers or pita rounds in a single layer on the tray, making sure they don’t overlap.
- Spread a thin layer of pizza sauce over each cracker — about 1 teaspoon (5 ml) per piece.
- Sprinkle shredded mozzarella cheese generously over the sauce, around 1 tablespoon (15 g) per cracker.
- Add pepperoni slices—usually one or two per cracker. If adding veggies like mini bell peppers or olives, place them now.
- Sprinkle a pinch of dried Italian herbs like oregano and basil on top.
- Optionally, finish with a light dusting of grated Parmesan cheese.
- Bake in the oven for 8 to 10 minutes until the cheese is melted and bubbly. Watch closely during the last few minutes to prevent burning.
- Remove from oven and let cool for a minute or two to help the cheese set.
- Serve warm or at room temperature.
Notes
Use a thin layer of sauce to avoid sogginess. Shredding your own mozzarella cheese gives a creamier melt. Brush crackers lightly with olive oil if too dry. Watch closely near the end of baking to prevent burning. Can be reheated in toaster oven for best texture. Assemble toppings as a fun activity for kids.
Nutrition
- Serving Size: 1 mini pizza snack
- Calories: 80
- Sugar: 1
- Sodium: 180
- Fat: 5
- Saturated Fat: 2.5
- Carbohydrates: 7
- Fiber: 0.5
- Protein: 4
Keywords: DIY Lunchables, pizza snack, quick snack, kid-friendly, easy recipe, homemade Lunchables, mini pizza, lunchbox snack


