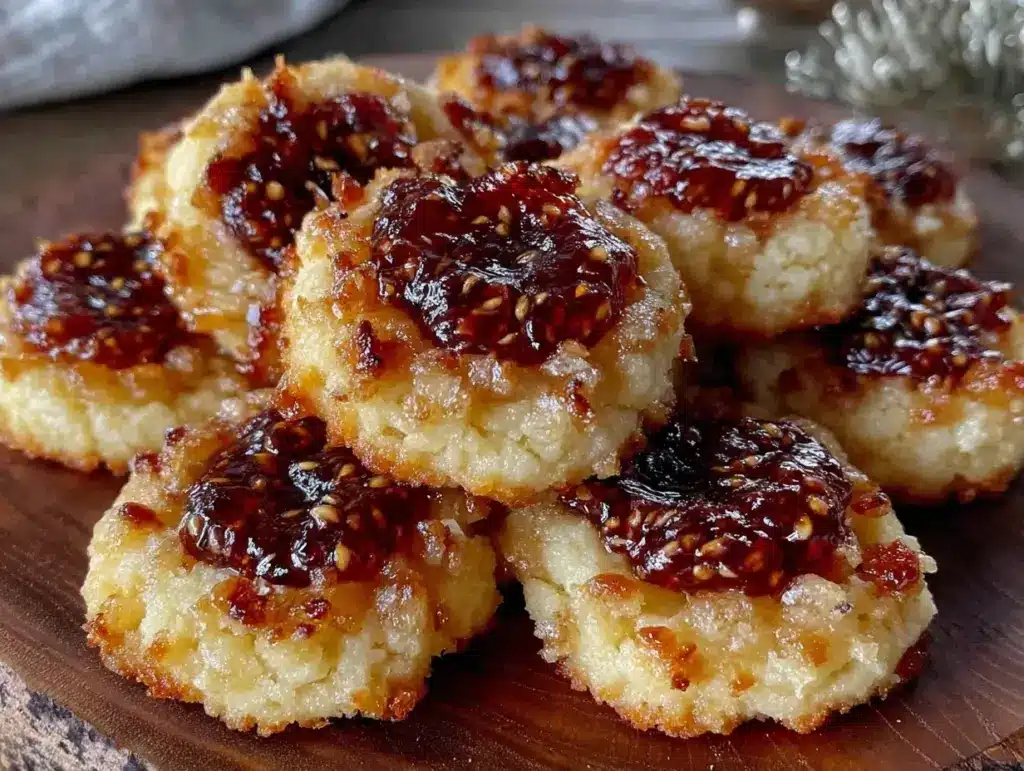
“You really have to try these thumbprint cookies, the brown butter crust is unreal,” my neighbor said over the fence last fall. And that was it. I didn’t think much of it until the next weekend when I found myself standing in my kitchen, a jar of fig jam at arm’s reach and a bag of butter melting on the stove. Honestly, I’ve always been a sucker for thumbprint cookies, but there’s something about the way brown butter smells—nutty, cozy, a little toasty—that makes everything better, you know?
So, I gave it a shot and, well, those first bites were one of those rare moments when you pause and really savor the simple things. The crisp yet tender crust that just melts in your mouth, paired with the sweet, jammy center. It’s like a little surprise in every cookie. I’ve since made these Delicious Fig Jam Thumbprint Cookies with Brown Butter Crust more times than I can count, always sharing a batch with friends or sneaking a few during quiet mornings.
These cookies stuck with me because they’re not just a treat—they’re a reminder of small joys and the magic of uncomplicated ingredients coming together. If you’ve ever been curious about thumbprint cookies or want to try a twist that makes all the difference, this recipe might just become your new favorite. No fancy fuss, just good old-fashioned yum.
Why You’ll Love This Recipe
There’s something really satisfying about a cookie that’s both approachable and a little bit fancy, and this recipe nails that balance. I’ve tested these Delicious Fig Jam Thumbprint Cookies with Brown Butter Crust in my kitchen multiple times, tweaking until the crust was buttery but not greasy, and the jam filling perfectly sweet without overpowering. Here’s why you’ll find yourself coming back to this recipe:
- Quick & Easy: From start to finish, these cookies come together in about 30 minutes, perfect for those last-minute dessert cravings or an afternoon baking session.
- Simple Ingredients: You don’t need anything exotic—just pantry staples like butter, sugar, flour, and your favorite fig jam. I usually grab a jar of St. Dalfour fig preserves for that authentic, natural fruit flavor.
- Perfect for Gatherings: Whether it’s a cozy tea party, a holiday cookie swap, or an easy homemade gift, these cookies always impress without the stress.
- Crowd-Pleaser: Kids love the sweet jam surprise, and adults appreciate the rich, nutty brown butter crust. No one ever asks for store-bought after tasting these.
- Unbelievably Delicious: That brown butter gives the crust a depth you don’t get with plain butter, making these thumbprint cookies stand out in a sea of cookie recipes.
What sets this recipe apart is the technique of browning the butter first. It adds a toasty, caramel-like note that pairs beautifully with the fig jam. Also, pressing the jam in after baking just a bit helps keep the crust crisp while letting the filling shine. This isn’t just another thumbprint cookie—it’s the one you’ll want to make for years to come.
What Ingredients You Will Need
This recipe uses simple, wholesome ingredients to deliver bold flavor and satisfying texture without the fuss. Most of these are pantry staples, and if you don’t have something, there’s usually an easy swap.
- Unsalted butter (1 cup / 226 g): browned and cooled—this is the star for that nutty flavor. I prefer Kerrygold for richness.
- Granulated sugar (½ cup / 100 g): balances sweetness without overpowering the fig jam.
- Brown sugar (¼ cup / 50 g): adds moisture and a subtle molasses note to the crust.
- Large egg (1, room temperature): binds the dough and adds tenderness.
- Vanilla extract (1 teaspoon): for a warm, aromatic touch.
- All-purpose flour (2 cups / 240 g): the base of the crust; sifted for lightness.
- Baking powder (½ teaspoon): helps with a slight lift and crumb texture.
- Salt (¼ teaspoon): to balance the sweetness and highlight flavors.
- Fig jam (½ cup / 160 g): for the thumbprint filling. I like Bonne Maman or homemade if you’re feeling adventurous.
Substitution tips: Use almond flour for a gluten-free crust, though the texture will be a bit different. Swap Greek yogurt for the egg if you want to try an egg-free version, but the dough will be less tender. For the jam, fresh berries or apricot preserves also work well if you don’t have fig jam on hand.
Equipment Needed
- Medium saucepan or skillet (for browning butter): I find a light-colored pan works best so you can watch the butter’s color change without guessing.
- Mixing bowls (one large for dough mixing, one small for jam handling).
- Electric mixer or sturdy wooden spoon: While you can mix by hand, an electric mixer speeds things up and gets the texture just right.
- Baking sheet lined with parchment paper or a silicone baking mat for easy cleanup and even baking.
- Measuring cups and spoons: Precision matters here—especially with flour and baking powder.
- Small cookie scoop or tablespoon: For portioning dough evenly, which helps cookies bake uniformly.
- Teaspoon or your finger for making the thumbprint indentation: Fingers work fine and add a personal touch!
If you don’t have parchment paper, greasing the pan well can work, but expect slightly less crisp bottoms. I’ve tried using a mini ice cream scoop to portion dough, and it saves time while keeping the cookies uniform.
Preparation Method
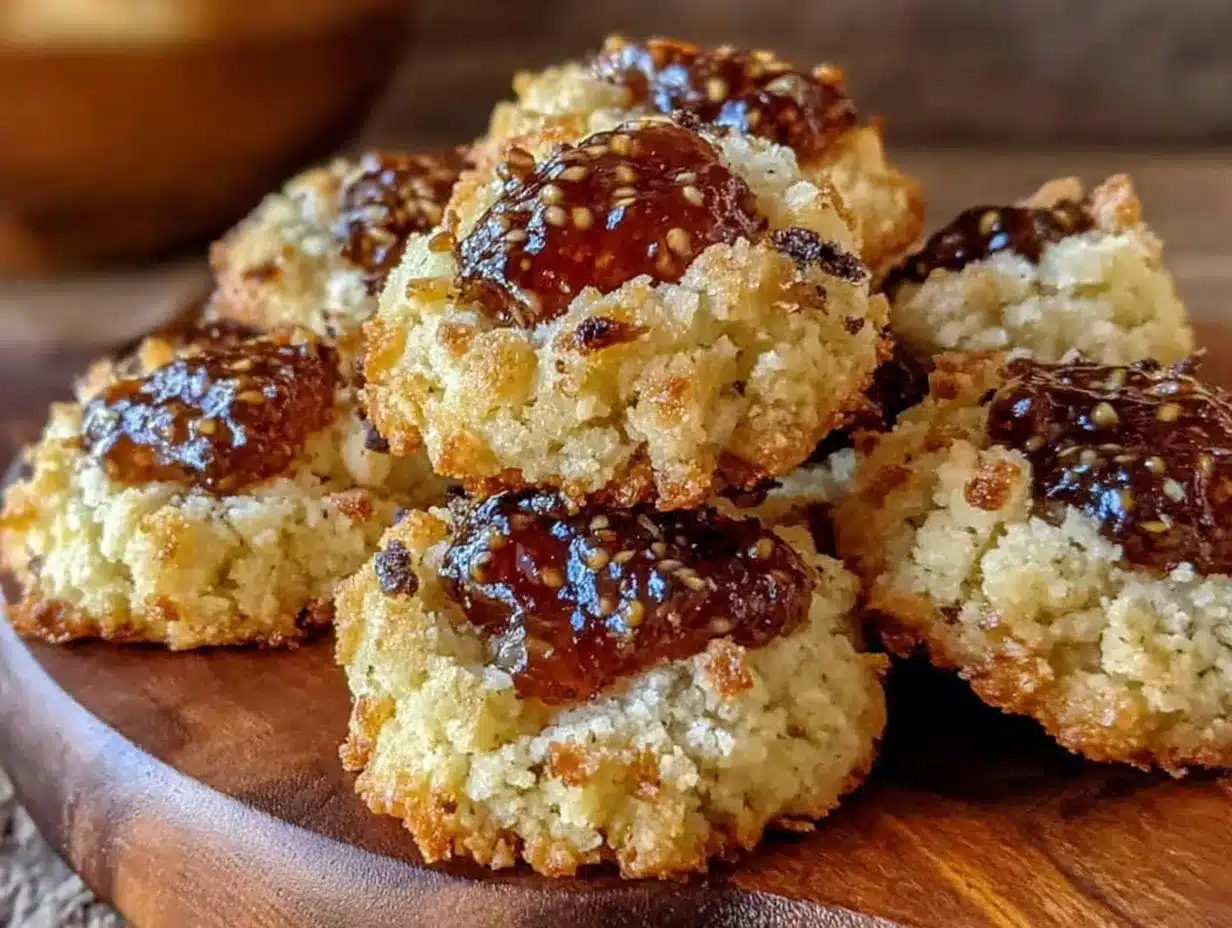
- Brown the butter: Place 1 cup (226 g) of unsalted butter in a medium saucepan over medium heat. Stir frequently as it melts, then foams, and starts turning golden brown with a nutty aroma. This takes about 5-7 minutes. Remove from heat and let cool slightly while you prep other ingredients.
- Mix sugars and butter: In a large bowl, combine ½ cup (100 g) granulated sugar and ¼ cup (50 g) brown sugar. Pour in the browned butter and beat with an electric mixer or wooden spoon until smooth and creamy, about 2 minutes.
- Add egg and vanilla: Crack in 1 large egg (room temperature) and add 1 teaspoon vanilla extract. Mix until fully incorporated, scraping down the sides as needed.
- Sift dry ingredients: Into a separate bowl, sift together 2 cups (240 g) all-purpose flour, ½ teaspoon baking powder, and ¼ teaspoon salt. This step helps keep the crust tender and light.
- Combine wet and dry: Gradually add the dry ingredients to the wet mixture, stirring gently until a soft dough forms. Avoid overmixing or the cookies will be tough.
- Chill the dough: Cover the dough with plastic wrap and chill in the refrigerator for 30 minutes. This makes the dough easier to handle and helps maintain the cookie shape during baking.
- Preheat oven & prepare baking sheet: Preheat your oven to 350°F (175°C). Line a baking sheet with parchment paper or a silicone mat.
- Shape cookies: Scoop dough into 1-inch (2.5 cm) balls using a cookie scoop or tablespoon, about 24 cookies. Place them 2 inches (5 cm) apart on the baking sheet.
- Create thumbprints: Use your thumb or the back of a teaspoon to press an indentation in the center of each cookie, about ½ inch deep. Be gentle so the dough doesn’t crack.
- Bake: Bake for 12-14 minutes until the edges are lightly golden but the centers remain soft.
- Add fig jam: Remove the cookies from the oven and immediately fill each indentation with about ½ teaspoon of fig jam. Return the cookies to the oven for 2-3 minutes to set the jam slightly.
- Cool: Let the cookies cool on the baking sheet for 5 minutes before transferring to a wire rack to cool completely. This helps the jam set perfectly without running.
Pro tip: If your jam is too thick, warm it slightly in the microwave for 10 seconds to make it easier to dollop. If the jam is too runny, drain off excess syrup to avoid soggy cookies.
Cooking Tips & Techniques
Brown butter can be a bit tricky if you’re not used to it. Watch the pan closely and stir constantly once it foams, so it doesn’t burn. Those little brown specks at the bottom are what give flavor, so don’t worry if you see them—just don’t let them turn black.
When making the thumbprints, don’t press too hard or the indentation will disappear during baking. If it does, just reshape gently before adding jam.
One of my early baking fails was adding the jam before baking. The jam bubbled over and made a mess, so timing is key—add the jam right after baking, then briefly return to the oven.
Try to use room temperature ingredients where possible—cold eggs or butter can cause the dough to seize up. Chilling the dough is essential; it prevents cookies from spreading too much in the oven.
Multitasking tip: While the dough chills, you can prep your fillings or even whip up a quick savory appetizer like creamy deviled eggs to have a balanced sweet and savory spread.
Variations & Adaptations
These thumbprint cookies are pretty versatile. Here are some ways to make them your own:
- Seasonal jam swaps: Use raspberry or apricot jam in summer for a bright, fresh flavor.
- Nutty additions: Add finely chopped toasted pecans or walnuts to the dough for extra crunch and flavor.
- Gluten-free option: Replace all-purpose flour with a gluten-free blend (like Bob’s Red Mill 1-to-1), but reduce baking powder slightly to avoid puffiness.
- Dairy-free: Use coconut oil browned carefully instead of butter and swap egg for flax egg (1 tbsp ground flaxseed + 3 tbsp water).
- Spiced crust: Add a pinch of cinnamon or cardamom to the dough for a warm, aromatic twist.
Personally, I once made a batch with a mix of fig and cherry jam, inspired by the brie cherry pastry cups flavor profile. It was a delightful surprise, adding a tart balance to the sweet crust.
Serving & Storage Suggestions
Serve these cookies at room temperature for the best texture. They pair wonderfully with a hot cup of tea or coffee, making them a perfect afternoon treat. For entertaining, they fit nicely alongside savory bites like Italian marinated olives or creamy dips.
Store the cookies in an airtight container at room temperature for up to 3 days. The crust stays tender but crisp, and the jam keeps its vibrant flavor. For longer storage, freeze the baked cookies (without jam) in a single layer on a baking sheet, then transfer to a freezer bag for up to 2 months. Thaw at room temperature before adding fresh jam and serving.
Reheat cookies gently in a 300°F (150°C) oven for 5 minutes to refresh the crust’s crispness, then add the jam. Over time, the flavors meld beautifully, so these cookies often taste even better a day after baking.
Nutritional Information & Benefits
Each cookie contains roughly 120-140 calories, depending on the jam used and size. The brown butter crust provides healthy fats, including conjugated linoleic acid (CLA), which some studies suggest supports heart health. Fig jam adds natural sweetness along with dietary fiber and small amounts of vitamins.
This recipe is relatively low in added sugars compared to many cookies, thanks to the modest amount of sugar and the natural fruit sweetness. It is free from artificial additives and preservatives. For those with gluten sensitivities, the gluten-free variation makes it accessible, and with the dairy-free adaptation, it can fit various dietary needs.
Honestly, these cookies feel like a little indulgence that’s still thoughtful about ingredients—perfect for those who want a treat without overdoing it.
Conclusion
These Delicious Fig Jam Thumbprint Cookies with Brown Butter Crust have become a staple for me whenever I want a sweet bite that’s both comforting and a bit special. The brown butter crust is a game-changer, bringing a deep, rich flavor that pairs perfectly with the bright and sweet fig jam. It’s a cookie recipe that’s approachable but feels like a small celebration every time you bake it.
Feel free to tweak the jam, add spices, or try different nuts to make it your own. I love how easy these are to customize, yet they always turn out beautifully tender and flavorful.
If you give this recipe a try, I’d love to hear how it went and what twists you added. There’s something so fun about swapping stories and tips around a favorite recipe—kind of like sharing a batch of these cookies fresh from the oven.
Happy baking, and may your kitchen smell like browned butter and sweet fig jam very soon!
Frequently Asked Questions
Can I use other types of jam instead of fig?
Absolutely! Raspberry, apricot, cherry, or even marmalade work well. Just choose a jam with a thick consistency to avoid soggy cookies.
Why brown the butter instead of just using melted butter?
Browned butter has a nutty, caramel-like flavor that adds depth to the cookie crust. It also changes the texture slightly, making the cookies tender but crisp.
How do I prevent the jam from spreading too much during baking?
Add the jam after the cookies have baked for about 12 minutes, then return them to the oven for just a few minutes to set the jam. This keeps the crust crisp.
Can I make the dough ahead of time?
Yes! The dough can be refrigerated for up to 24 hours before baking. Just cover it tightly to prevent drying out.
What if I don’t have a cookie scoop?
No worries! Use a tablespoon or your hands to form dough balls. Just try to keep them about the same size for even baking.
Pin This Recipe!
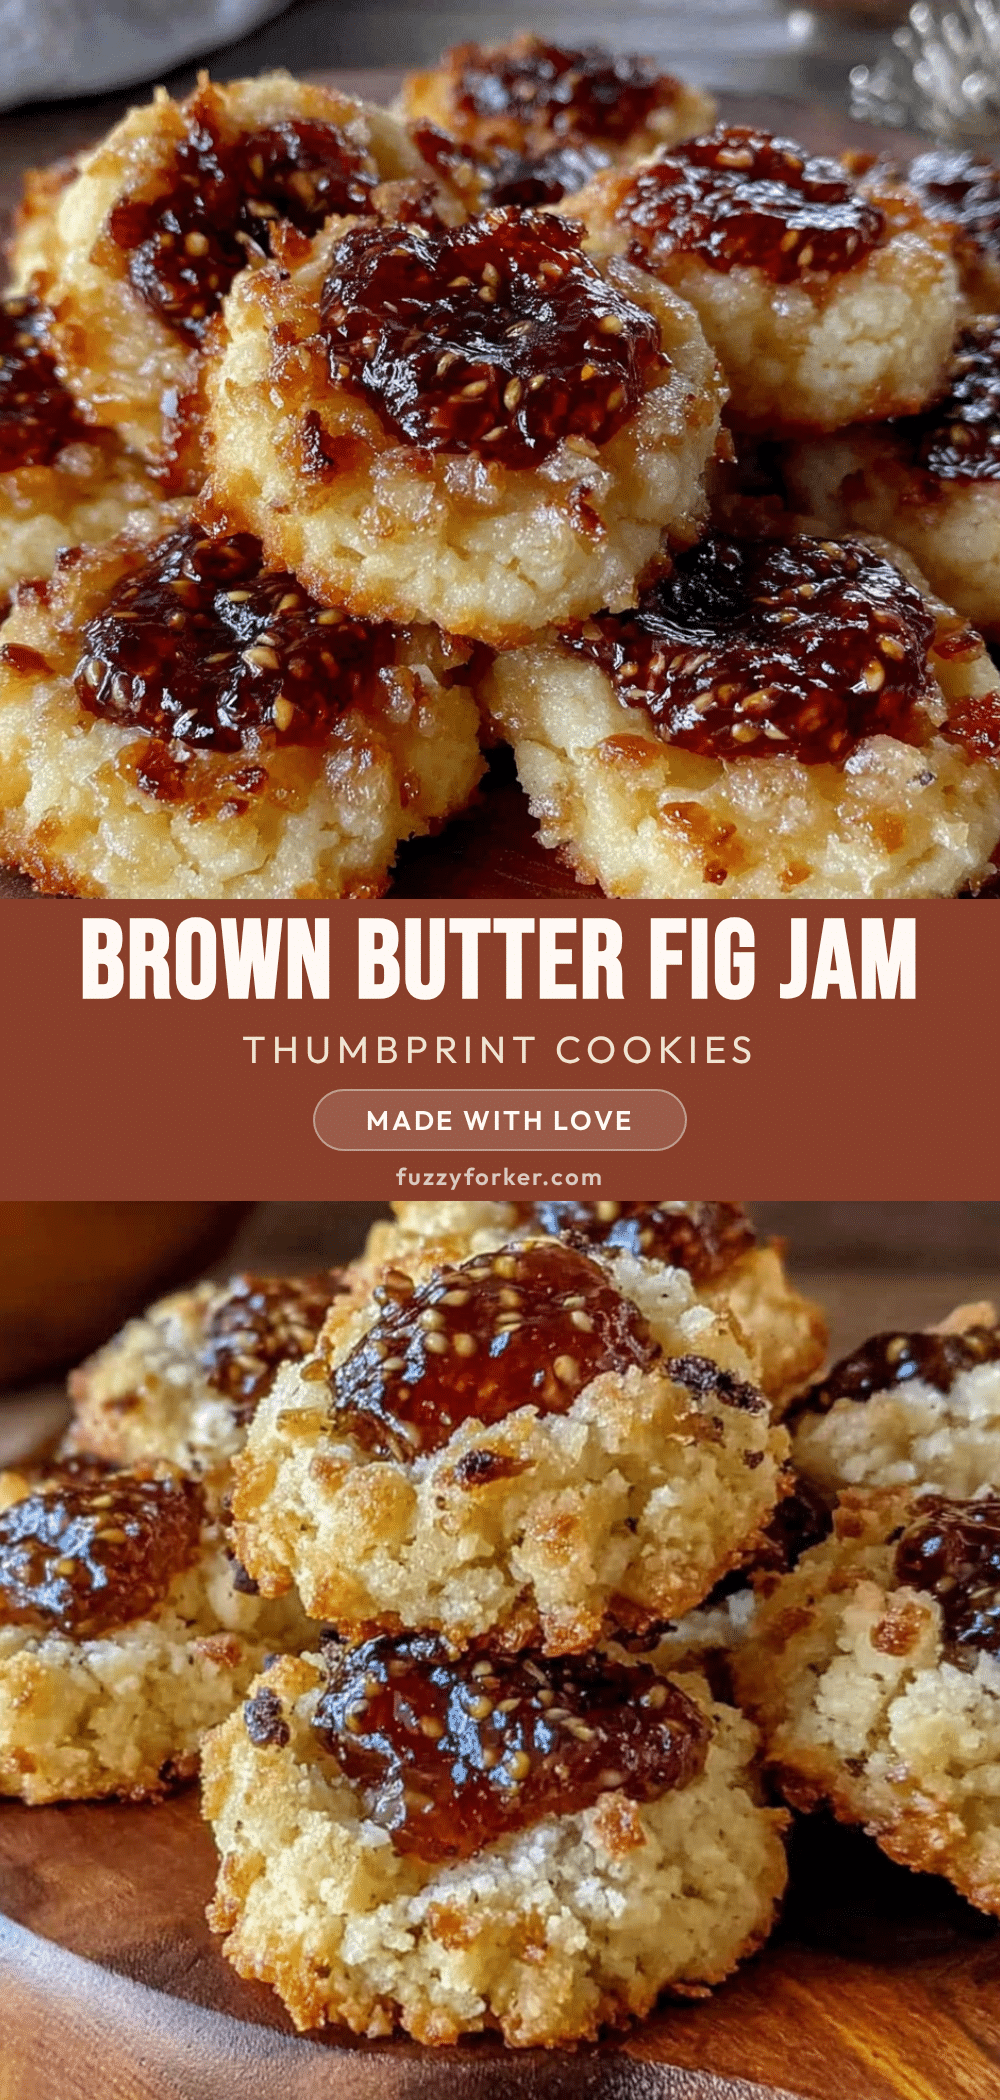
Delicious Fig Jam Thumbprint Cookies Recipe with Easy Brown Butter Crust
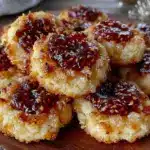
These thumbprint cookies feature a nutty, toasty brown butter crust paired with a sweet fig jam center, creating a crisp yet tender treat perfect for gatherings or everyday indulgence.
- Prep Time: 15 minutes
- Cook Time: 15 minutes
- Total Time: 30 minutes
- Yield: 24 cookies 1x
- Category: Dessert
- Cuisine: American
Ingredients
- 1 cup (226 g) unsalted butter, browned and cooled
- ½ cup (100 g) granulated sugar
- ¼ cup (50 g) brown sugar
- 1 large egg, room temperature
- 1 teaspoon vanilla extract
- 2 cups (240 g) all-purpose flour, sifted
- ½ teaspoon baking powder
- ¼ teaspoon salt
- ½ cup (160 g) fig jam
Instructions
- Brown the butter: Place 1 cup (226 g) of unsalted butter in a medium saucepan over medium heat. Stir frequently as it melts, then foams, and starts turning golden brown with a nutty aroma, about 5-7 minutes. Remove from heat and let cool slightly.
- Mix sugars and butter: In a large bowl, combine ½ cup granulated sugar and ¼ cup brown sugar. Pour in the browned butter and beat with an electric mixer or wooden spoon until smooth and creamy, about 2 minutes.
- Add egg and vanilla: Crack in 1 large egg and add 1 teaspoon vanilla extract. Mix until fully incorporated, scraping down the sides as needed.
- Sift dry ingredients: In a separate bowl, sift together 2 cups all-purpose flour, ½ teaspoon baking powder, and ¼ teaspoon salt.
- Combine wet and dry: Gradually add the dry ingredients to the wet mixture, stirring gently until a soft dough forms. Avoid overmixing.
- Chill the dough: Cover the dough with plastic wrap and chill in the refrigerator for 30 minutes.
- Preheat oven & prepare baking sheet: Preheat oven to 350°F (175°C). Line a baking sheet with parchment paper or a silicone mat.
- Shape cookies: Scoop dough into 1-inch (2.5 cm) balls, about 24 cookies. Place them 2 inches (5 cm) apart on the baking sheet.
- Create thumbprints: Use your thumb or the back of a teaspoon to press an indentation about ½ inch deep in the center of each cookie.
- Bake: Bake for 12-14 minutes until edges are lightly golden but centers remain soft.
- Add fig jam: Remove cookies from oven and immediately fill each indentation with about ½ teaspoon of fig jam. Return to oven for 2-3 minutes to set the jam slightly.
- Cool: Let cookies cool on the baking sheet for 5 minutes before transferring to a wire rack to cool completely.
Notes
Watch the butter closely while browning to avoid burning; brown specks add flavor but black specks mean burnt butter. Add jam after baking to prevent sogginess. Chill dough to prevent spreading. Warm jam slightly if too thick, or drain excess syrup if too runny.
Nutrition
- Serving Size: 1 cookie
- Calories: 130
- Sugar: 10
- Sodium: 70
- Fat: 7
- Saturated Fat: 4.5
- Carbohydrates: 18
- Fiber: 0.5
- Protein: 2
Keywords: thumbprint cookies, fig jam cookies, brown butter cookies, easy cookie recipe, holiday cookies, homemade jam cookies