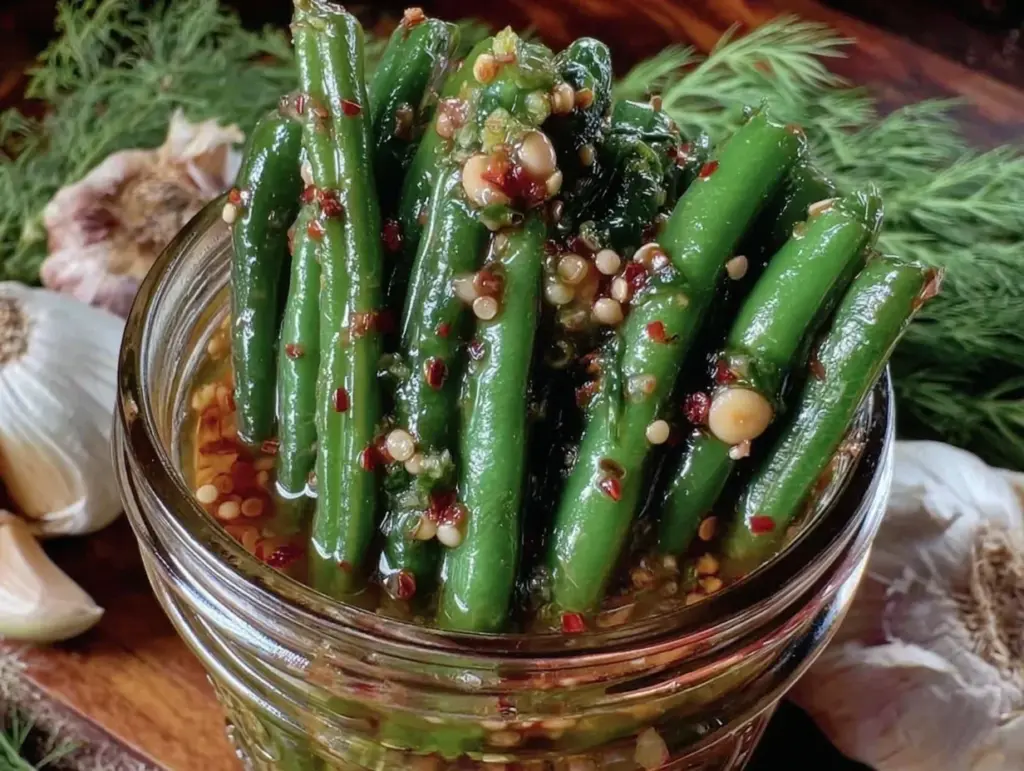
I thought pickling green beans would be a slow, fussy ordeal—something you’d only try if you had a whole afternoon and a fancy canning setup. Turns out, it took less than an hour from start to finish, and the result was a jar of tangy, crunchy dilly beans that made me wonder why I ever bought the store-bought kind. The snap of those fresh green beans preserved with garlic and dill was unexpectedly satisfying, like a little garden in a jar. Honestly, I wasn’t expecting to get so hooked on a simple pickle, but the crisp texture and bright flavors kept me reaching back into the fridge for more.
What surprised me most was how the vinegar and spices danced together without overpowering the beans’ natural snap. I’d been bracing myself for mushy beans or a one-note sour punch, but nope—these pickled green beans kept their integrity and delivered something fresh and lively. It’s funny how humble ingredients can turn into a pantry treasure with just a bit of patience and the right touch of dill.
And I’ve kept coming back to this recipe because it’s easy enough for a weeknight project but impressive enough to bring to a gathering (next to creamy deviled eggs or a rich baked crab dip, it really shines). I guess the quiet promise of crunchy, tart beans ready to brighten a snack plate or jazz up a sandwich is what keeps this recipe in my rotation. No fuss, just pure, satisfying flavor—and that’s why crisp dilly beans have become my go-to pickled green beans recipe.
Why You’ll Love This Recipe
This crisp dilly beans recipe checks all the boxes for anyone who loves a quick, tasty pickle without the fuss. I’ve made plenty of pickled green beans over the years, and this one stands out for a few key reasons:
- Quick & Easy: The whole process takes under an hour to prep, and while the beans do need some time to pickle, no complicated canning or special equipment is required.
- Simple Ingredients: You probably have most of these in your kitchen right now—fresh green beans, vinegar, garlic, dill, salt, and a couple of pantry staples.
- Perfect for Entertaining: These crisp dilly beans make a fantastic addition to appetizer spreads or picnic baskets, pairing beautifully with dishes like creamy classic hummus or even a hearty beef stew.
- Crowd-Pleaser: The combination of tangy, herbal, and crunchy gets rave reviews every time, even from folks who don’t usually like pickles.
- Unbelievably Delicious: The beans stay snappy with just the right balance of sour and savory, making them a standout compared to soggy, over-vinegared store-bought versions.
What sets this recipe apart is the attention to the texture and seasoning balance. I’ve learned that blanching the beans just right keeps them crisp without losing that fresh green flavor, and the dill-garlic combo really brings out their best. Unlike other pickled green beans that can be one-dimensional, these have a lively brightness and a satisfying crunch you’ll want to keep stocked.
Whether you’re looking to jazz up a casual snack or add a flavorful crunch to your next party platter—like alongside some creamy dill pickle dip—this recipe is a dependable, fuss-free way to make homemade pickled green beans that feel special without stress.
What Ingredients You Will Need
This recipe uses simple, wholesome ingredients to deliver bold flavor and satisfying texture without the fuss. Most of these are pantry staples or fresh garden finds, and substitutions are easy if you’re tweaking things to your taste.
- Fresh green beans: about 1 pound (450 g), washed and trimmed (look for firm, bright green beans without blemishes)
- White vinegar: 1 ½ cups (360 ml), the base for that classic pickle tang (you can use apple cider vinegar for a milder touch)
- Water: 1 ½ cups (360 ml), to balance the acidity
- Garlic cloves: 3-4 large, peeled and lightly crushed (adds pungent depth)
- Fresh dill heads or fronds: 3-4 sprigs (the star flavor that makes these “dilly” beans)
- Pickling salt or kosher salt: 1 tablespoon (use pickling salt if possible to avoid cloudiness)
- Black peppercorns: 1 teaspoon (whole, for subtle spice)
- Red pepper flakes: ¼ teaspoon (optional, for a little heat)
If you don’t have fresh dill, dried dill weed works in a pinch but the flavor won’t be as vibrant. For a gluten-free version, everything here is naturally gluten-free, which is always a bonus. Also, if you want a slightly sweeter pickle, a teaspoon of sugar can be added, but I prefer the pure tang of this straightforward brine.
Equipment Needed
- Mason jars or glass jars: Two 1-pint (500 ml) jars with lids—sterilized and clean (I usually just run them through the dishwasher)
- Large pot: For blanching the green beans and heating the brine
- Tongs or slotted spoon: To transfer the beans safely without breaking them
- Measuring cups and spoons: For precise brine ratios
- Jar funnel (optional): Handy for packing the jars without mess, but your hands work just fine too
You don’t need any fancy pickling equipment or canning tools since this recipe is for refrigerator pickles. If you do want to process these in a water bath for shelf-stable storage, a large canning pot and rack will be needed, but I find the fridge version is way faster and just as tasty. Also, I’ve found that glass jars work best because plastic can absorb flavors and odors over time.
Preparation Method
- Prepare the green beans: Rinse and trim the ends off about 1 pound (450 g) of fresh green beans. They should be firm and bright green. I like to snap off the tips with my fingers—it’s quick and keeps them looking rustic.
- Blanch the beans: Bring a large pot of water to a rolling boil. Add the green beans and blanch for 2-3 minutes until they turn bright green and slightly tender but still crisp. Immediately transfer them to an ice bath (a bowl of ice water) to stop the cooking. This step locks in that fresh crunch.
- Prepare the brine: In a medium saucepan, combine 1 ½ cups (360 ml) white vinegar, 1 ½ cups (360 ml) water, and 1 tablespoon pickling salt. Heat over medium until the salt dissolves and the mixture just begins to simmer. Remove from heat.
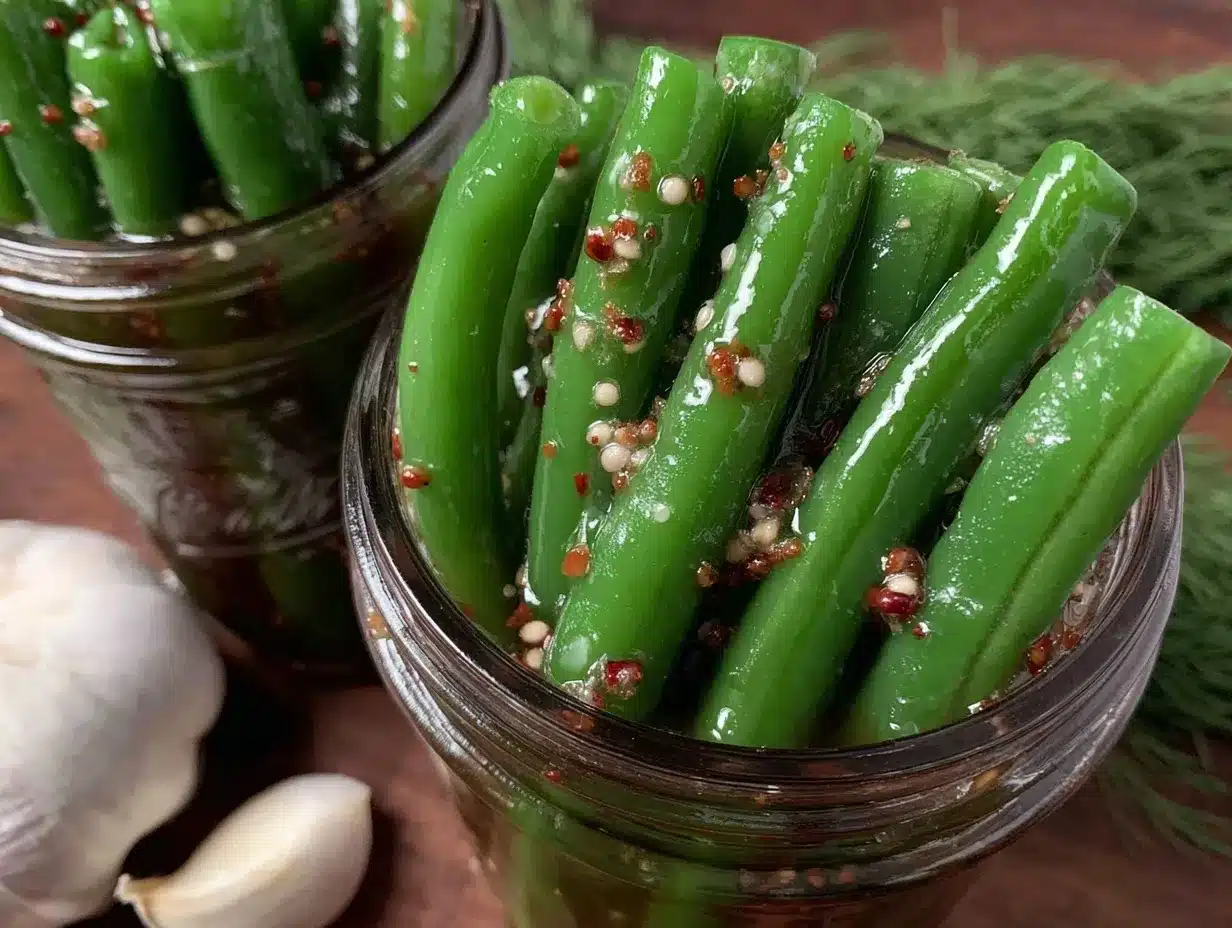
- Pack the jars: Divide 3-4 lightly crushed garlic cloves, 3-4 sprigs of fresh dill, 1 teaspoon black peppercorns, and optional ¼ teaspoon red pepper flakes between two sterilized 1-pint jars. Pack the blanched green beans vertically into the jars, pushing down gently to fit as many as possible without crushing.
- Pour the brine: Carefully pour the hot brine over the beans, covering them completely but leaving about ½ inch (1.25 cm) of headspace at the top. Tap the jars gently to release any air bubbles.
- Seal and cool: Wipe the rims clean, seal with lids, and let the jars cool to room temperature. Once cooled, refrigerate the jars.
- Wait: Let the beans pickle in the fridge for at least 48 hours before tasting. They get better after a few days and can last up to 3-4 weeks refrigerated.
Quick tip: If you notice any cloudiness forming in the brine, it’s normal and harmless, but using pickling salt helps keep the brine crystal clear. Also, don’t pack the beans too tightly or you’ll lose that satisfying snap when you bite in.
Cooking Tips & Techniques
Keeping those green beans crisp is the secret here, and that mostly comes down to timing and temperature. Honestly, I’ve ruined a batch or two by leaving the beans in boiling water too long — mushy, sad beans don’t make good pickles! The ice bath step is non-negotiable; it halts the cooking instantly and preserves that snap.
Another thing I’ve learned is to trust your senses. The brine should smell bright and vinegary but not harsh. When packing the jars, I like to stand the beans upright so the dill and garlic infuse evenly. And don’t skimp on the fresh dill — it really defines the flavor. If you want a bit of heat, red pepper flakes add a nice kick without stealing the show.
Refrigerator pickling is forgiving, but if you plan to store these longer, make sure your jars seal well and you keep them chilled. Also, I usually make a double batch because these pickled green beans disappear fast—perfect alongside a spread of creamy deviled eggs or the creamy dill pickle dip I keep on hand.
Variations & Adaptations
- Spicy Dilly Beans: Add a few slices of fresh jalapeño or increase red pepper flakes for a fiery twist.
- Garlic Lover’s Version: Double the garlic cloves for a bolder, pungent pickle that pairs well with rich dips like the creamy baked crab dip.
- Herb Mix: Swap dill for fresh tarragon or add a bay leaf to the jar for a subtle herbaceous note.
- Vinegar Swap: Use apple cider vinegar instead of white vinegar for a sweeter, fruitier brine.
- Low-Sodium: Reduce the salt by half and add a small amount of celery seed for extra flavor without extra sodium.
I once tried adding a splash of lemon juice to the brine, which gave the beans a slightly brighter citrus tang that was surprisingly refreshing on a hot day. It’s fun to tweak the recipe to your liking — after all, pickling is part science, part art.
Serving & Storage Suggestions
These crisp dilly beans are best served chilled straight from the jar as a snack or appetizer. They make a great crunchy side to sandwiches, burgers, or alongside a cheese board. I like to toss a few on the plate next to creamy classic hummus for contrasting textures and flavors.
Store the pickled green beans in the refrigerator, tightly sealed. They keep well for up to 3-4 weeks, but honestly, they rarely last that long in my kitchen. When reheating (if you want to use them in a warm dish), add them at the very end to keep some crunch.
Over time, the flavors deepen and mellow, so if you can wait a week, you’ll notice a more balanced, less sharp profile. They’re great for making ahead when planning a party or picnic.
Nutritional Information & Benefits
This crisp dilly beans recipe is low in calories and carbs, making it a diet-friendly snack for almost anyone. Green beans offer fiber, vitamins A and C, and antioxidants, while the vinegar brine may aid digestion. The garlic and dill contribute subtle healthful compounds as well.
Since this recipe uses whole fresh ingredients and no added sugars, it’s naturally gluten-free and vegan-friendly. Just watch the salt if you’re on a sodium-restricted diet, but otherwise, these pickled green beans are a smart, flavorful treat with a punch of nutrition.
Conclusion
In the end, this crisp dilly beans pickled green beans recipe is exactly what I reach for when I want a no-fuss, flavorful pickle that actually tastes homemade. It’s simple, fast enough to fit into a busy day, and delivers a satisfying crunch with every bite. Plus, it’s endlessly adaptable — whether you like things spicy, garlicky, or super herbaceous.
I love how this recipe turns humble green beans into a bright, tangy snack that livens up everything from lunchboxes to party platters. If you’ve ever been hesitant about making your own pickles, give this a shot—you’ll see how easy and rewarding it can be. And hey, if you’re planning a spread, these beans really hold their own next to creamy dips like the creamy deviled eggs or a rich crab dip.
Give these crisp dilly beans a try and let me know how you customize them — I’m always excited to hear about new twists!
FAQs About Crisp Dilly Beans Pickled Green Beans
How long do pickled green beans last in the fridge?
When stored in a sealed jar in the refrigerator, they last about 3 to 4 weeks. Always check for off smells or mold before eating.
Can I use frozen green beans for pickling?
It’s best to use fresh green beans for the best crunchy texture. Frozen beans tend to be softer and may turn mushy after pickling.
Do I need to process these beans for shelf stability?
This recipe is for refrigerator pickles, so no canning or water bath processing is needed. For shelf stability, you’d need a proper canning step.
Can I add other vegetables to the jar?
Sure! Slices of carrots, cauliflower florets, or spicy peppers can be added for variety and extra crunch.
What if I don’t have fresh dill?
Dried dill weed can be used, but the flavor won’t be as bright or fresh. Use about 1 teaspoon dried dill per jar as a substitute.
Pin This Recipe!
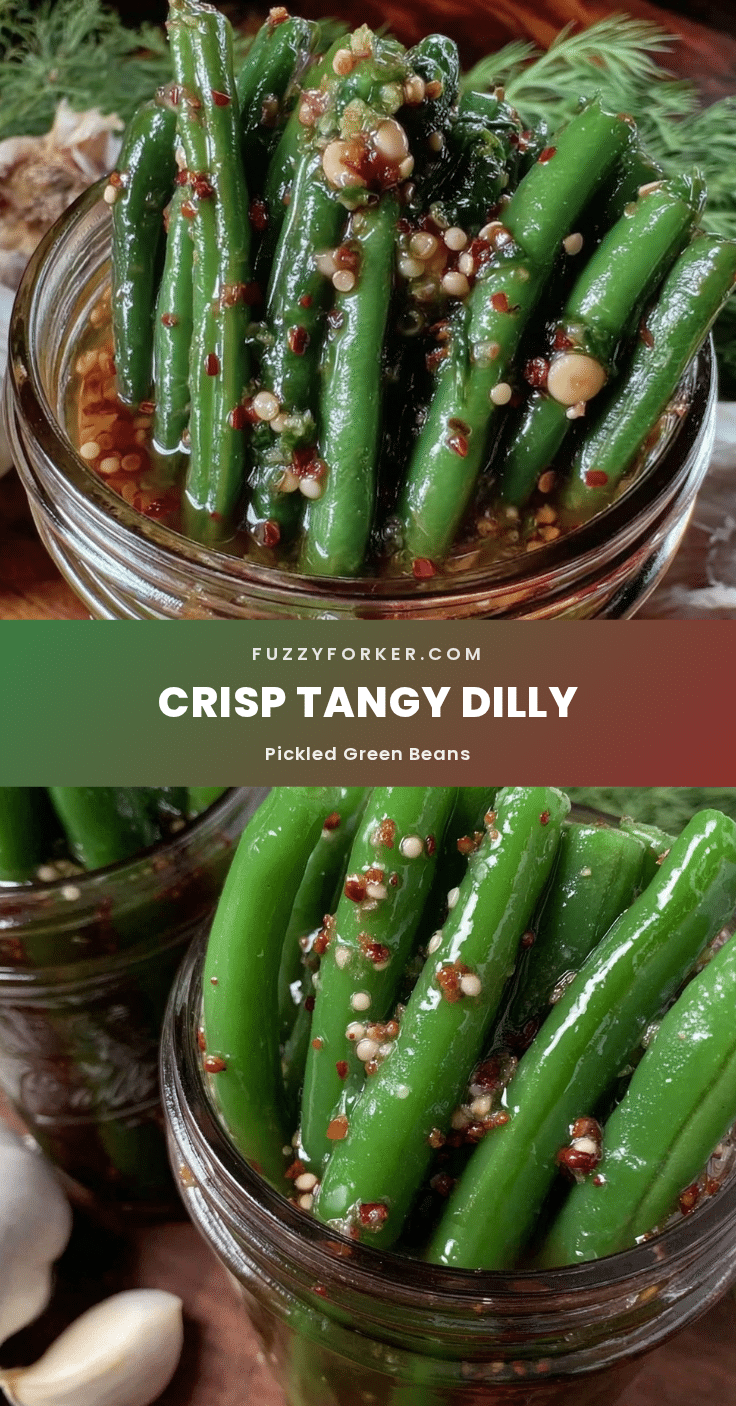
Crisp Dilly Beans Recipe Easy Homemade Pickled Green Beans Guide
A quick and easy recipe for homemade pickled green beans with a crisp texture and bright dill-garlic flavor. Perfect as a snack or appetizer, these dilly beans are tangy, crunchy, and crowd-pleasing.
- Prep Time: 15 minutes
- Cook Time: 10 minutes
- Total Time: 1 hour
- Yield: 2 pints (about 4 servings) 1x
- Category: Appetizer
- Cuisine: American
Ingredients
- 1 pound fresh green beans, washed and trimmed
- 1 ½ cups white vinegar (or apple cider vinegar for milder flavor)
- 1 ½ cups water
- 3–4 large garlic cloves, peeled and lightly crushed
- 3–4 sprigs fresh dill heads or fronds
- 1 tablespoon pickling salt or kosher salt
- 1 teaspoon whole black peppercorns
- ¼ teaspoon red pepper flakes (optional)
Instructions
- Rinse and trim the ends off about 1 pound of fresh green beans.
- Bring a large pot of water to a rolling boil. Add the green beans and blanch for 2-3 minutes until bright green and slightly tender but still crisp.
- Immediately transfer the beans to an ice bath to stop the cooking and preserve crunch.
- In a medium saucepan, combine 1 ½ cups white vinegar, 1 ½ cups water, and 1 tablespoon pickling salt. Heat over medium until salt dissolves and mixture begins to simmer. Remove from heat.
- Divide 3-4 lightly crushed garlic cloves, 3-4 sprigs fresh dill, 1 teaspoon black peppercorns, and optional ¼ teaspoon red pepper flakes between two sterilized 1-pint jars.
- Pack the blanched green beans vertically into the jars, pushing down gently to fit as many as possible without crushing.
- Pour the hot brine over the beans, covering completely but leaving about ½ inch of headspace at the top. Tap jars gently to release air bubbles.
- Wipe rims clean, seal with lids, and let jars cool to room temperature.
- Refrigerate the jars and let the beans pickle for at least 48 hours before tasting. They improve after a few days and last 3-4 weeks refrigerated.
Notes
Use fresh green beans for best crunch; blanching time is critical to avoid mushy beans. Ice bath immediately after blanching preserves texture. Use pickling salt to keep brine clear. Do not pack beans too tightly to maintain snap. Refrigerate and wait at least 48 hours before eating. Can last 3-4 weeks refrigerated. Optional sugar can be added for sweetness. Variations include adding jalapeño for spice or doubling garlic for stronger flavor.
Nutrition
- Serving Size: About ½ cup per serv
- Calories: 20
- Sugar: 2
- Sodium: 400
- Carbohydrates: 4
- Fiber: 2
- Protein: 1
Keywords: pickled green beans, dilly beans, homemade pickles, easy pickling, refrigerator pickles, crunchy pickled beans, dill garlic pickles


