“You sure you don’t want something simpler?” my friend asked, eyeing the mess of mascarpone, whipped cream, and espresso-soaked ladyfingers sprawling across my kitchen counter. Honestly, I was skeptical myself at first. Tiramisu always felt like a dessert reserved for fancy dinners or Italian restaurants, not my late-night, last-minute dessert experiments. But after the third time I whipped up this creamy tiramisu icebox cake with espresso-soaked ladyfingers in one week, I realized something—this recipe is downright addictive.
One evening, running low on energy after a long day, I grabbed a box of ladyfingers, some mascarpone from the fridge, and brewed a strong shot of espresso to soak the biscuits. It wasn’t meant to be a masterpiece—just a quick fix to satisfy my sweet tooth. Yet, as the layers chilled and melded together, the rich coffee aroma filled the kitchen, and I caught myself reaching for seconds (and then thirds). What started as a simple dessert quickly became a weekend ritual, surprising me with its effortless elegance and creamy texture.
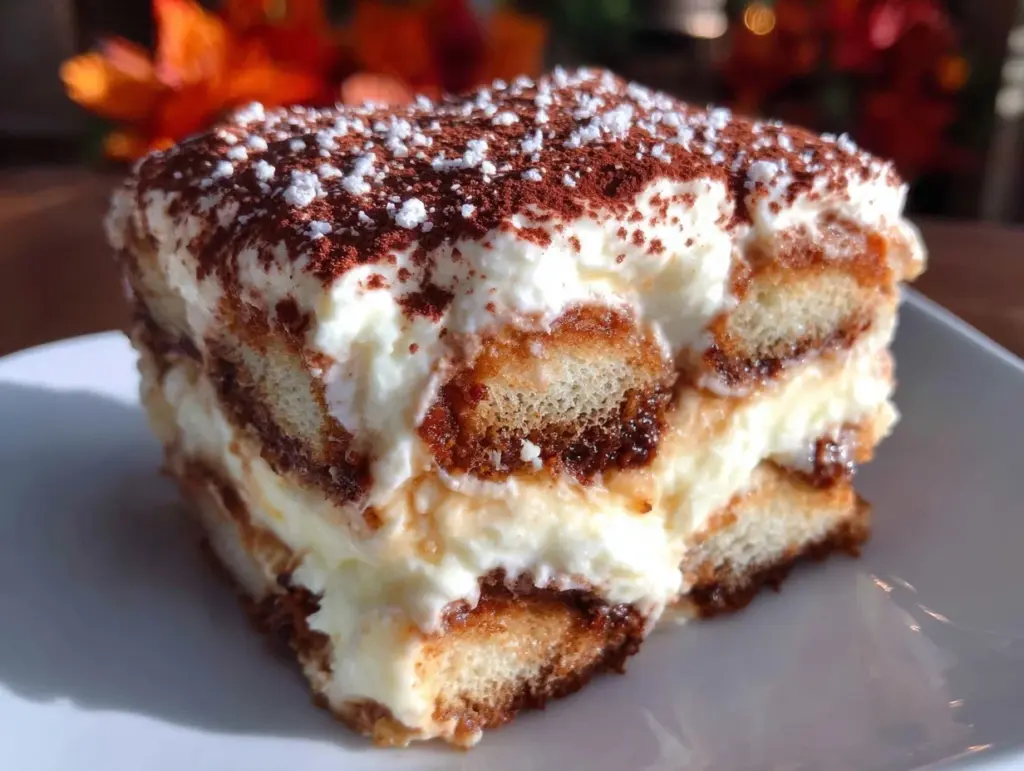
There’s something quietly satisfying about this dessert—the way the espresso-softened ladyfingers soak up the creamy layers, the gentle dusting of cocoa powder on top, and the cool, silky finish that feels like a comforting hug. It’s a dessert that doesn’t scream for attention but quietly wins over anyone who tries it. This creamy tiramisu icebox cake stuck with me because it’s just that kind of treat: familiar yet special, fast but indulgent, and always ready to turn an ordinary day into something a little sweeter.
Why You’ll Love This Recipe
This creamy tiramisu icebox cake with espresso-soaked ladyfingers isn’t your everyday dessert—it’s a simple delight that feels like a little luxury in every bite. Having whipped this up countless times, I can vouch for its reliability and charm. Here’s why it’s become my go-to dessert:
- Quick & Easy: You can pull this together in just about 20 minutes, then let the fridge do the rest. Perfect for those evenings when you want dessert without a long kitchen session.
- Simple Ingredients: No hunting down obscure items here. Ladyfingers, mascarpone, espresso, a bit of sugar, and cream—ingredients you likely have or can find at any grocery store.
- Perfect for Entertaining: Whether it’s a casual family dinner or a more formal gathering, this dessert impresses without stress. It’s a crowd-pleaser, especially for coffee lovers.
- Unbelievably Delicious: The creamy layers and espresso-soaked ladyfingers create that classic tiramisu flavor with a cool, refreshing texture that feels just right even on warm days.
- Unique Technique: Rather than the traditional assembly, this icebox cake method lets the flavors meld overnight, making it easier to prepare ahead and freeing you up to enjoy your company.
This isn’t just a recipe; it’s the one that makes your eyes close after the first bite and your mind wander to cozy Italian cafes. It’s comfort food with a touch of elegance, without any fuss. And if you want to pair it with something savory for a full meal, I’ve found that dishes like the creamy deviled eggs or the Italian marinated olives set a perfect tone before dessert.
What Ingredients You Will Need
This creamy tiramisu icebox cake relies on simple, wholesome ingredients to deliver bold flavor and that classic creamy texture without fuss. Most are pantry staples, so you won’t have to make extra trips to the store.
- Ladyfingers (Savoiardi): About 24 pieces (roughly 7 ounces or 200 grams). Look for crisp, dry ladyfingers—these soak up espresso perfectly without turning mushy.
- Espresso: 1 cup (240 ml) strong, freshly brewed espresso, cooled. If you don’t have an espresso machine, strong brewed coffee works fine too.
- Mascarpone Cheese: 16 ounces (450 grams), room temperature. I prefer brands like Galbani for silky smoothness.
- Heavy Cream: 1 cup (240 ml), cold. Whipped to soft peaks to add lightness to the mascarpone.
- Granulated Sugar: ½ cup (100 grams), for sweetness.
- Vanilla Extract: 1 teaspoon, for a subtle warm note.
- Cocoa Powder: Unsweetened, for dusting the top before serving.
- Optional: A splash of coffee liqueur like Kahlúa or Marsala wine can be added to the espresso for extra depth.
For substitutions, you can swap heavy cream for coconut cream to make it dairy-free, though mascarpone is traditionally dairy-based. For a gluten-free take, use gluten-free ladyfingers or substitute with thin almond meringue cookies. In summer, I sometimes add a layer of fresh berries between the mascarpone layers to brighten the flavor.
Equipment Needed
- Mixing Bowls: Two medium-sized bowls work great for separating the mascarpone and whipped cream steps.
- Electric Mixer or Whisk: An electric hand mixer speeds up whipping cream, but a sturdy whisk works if you’re patient.
- 9×9 Inch (23×23 cm) Baking Dish or Pan: This size fits the layers nicely. If you don’t have one, a similarly sized glass or ceramic dish will do.
- Sifter: Handy for dusting cocoa powder evenly. If you don’t have one, a fine mesh sieve works well.
- Measuring Cups and Spoons: For precise ingredient measurements.
Personally, I’ve tried this recipe in both glass and metal pans. Glass lets you see the pretty layers, but metal chills faster if you’re short on time. Don’t worry if you’re missing a sifter—I’ve dusted cocoa straight from the container with decent results. Just keep it light to avoid clumps!
Preparation Method
- Brew the Espresso: Brew 1 cup (240 ml) of strong espresso and set aside to cool completely, about 15 minutes. If using coffee liqueur, stir it in now.
- Whip the Cream: In a chilled bowl, whip 1 cup (240 ml) of heavy cream with ½ cup (100 grams) granulated sugar and 1 teaspoon vanilla extract until soft peaks form. This usually takes 3-4 minutes with an electric mixer.
- Prepare the Mascarpone Mixture: In another bowl, gently fold the room-temperature mascarpone (16 ounces/450 grams) into the whipped cream. Be careful not to overmix—you want a smooth, airy texture without lumps.
- Soak the Ladyfingers: Quickly dip each ladyfinger into the cooled espresso for about 1-2 seconds. Don’t soak too long—just enough to absorb flavor without falling apart.
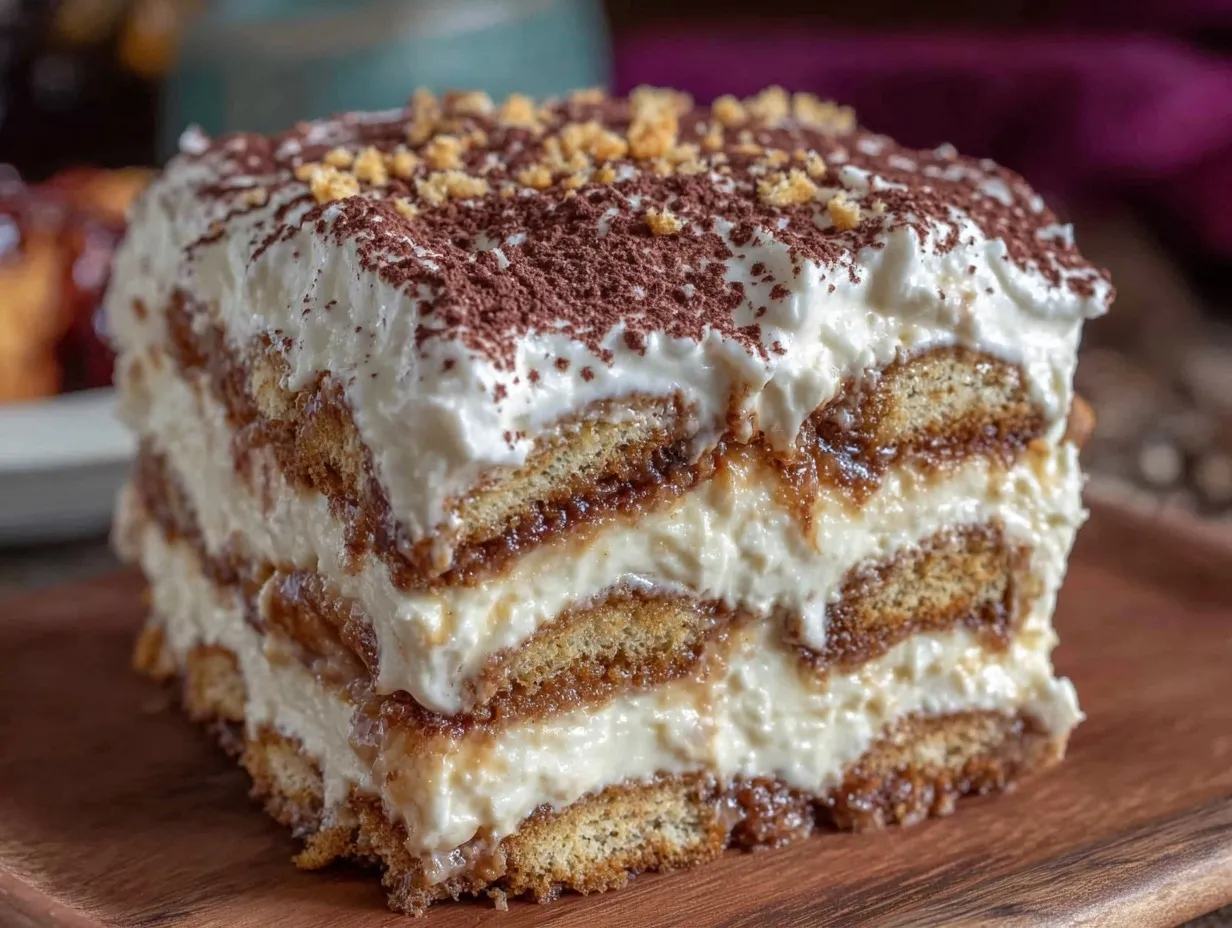
- Layer the Cake: Arrange a single layer of soaked ladyfingers evenly in your 9×9 inch (23×23 cm) dish. Spread half of the mascarpone mixture over the ladyfingers with a spatula, smoothing it out gently.
- Repeat Layers: Add another layer of espresso-soaked ladyfingers, then spread the remaining mascarpone mixture on top.
- Chill: Cover the dish with plastic wrap and refrigerate for at least 4 hours, preferably overnight. This step is crucial for the flavors to meld and the ladyfingers to soften into that perfect creamy texture.
- Before Serving: Just before serving, sift a generous layer of unsweetened cocoa powder over the top. You can also add chocolate shavings or a dusting of cinnamon for a twist.
If your mascarpone mixture feels too thick, a splash of milk or cream can lighten it. Conversely, if it’s too loose, a little more mascarpone helps thicken the layers. The key is gentle folding to keep it airy yet firm.
Cooking Tips & Techniques
Here are some tips I’ve picked up from repeated attempts at this creamy tiramisu icebox cake, so you don’t have to learn the hard way:
- Don’t Over-Soak Ladyfingers: They should be moist but not soggy. A quick 1-2 second dip is plenty. If they get soggy, the texture turns mushy instead of creamy.
- Room Temperature Mascarpone: Cold mascarpone can clump when mixed. Let it sit out for 20-30 minutes for smooth folding.
- Soft Peaks Matter: Whip your cream just until soft peaks form. Over-whipping can turn it grainy and ruin the texture.
- Make It Ahead: This dessert actually tastes better after resting overnight. Plan ahead and chill for at least 4 hours to let flavors marry.
- Multitask: While the espresso cools, whip your cream and prepare the mascarpone. Saves time and keeps momentum going!
- Choose Quality Coffee: The espresso punch sets the tone. I like using freshly ground beans or a reliable espresso pod for consistency.
My first attempt was a little too watery because I dunked the ladyfingers for too long—lesson learned the hard way! Since then, I keep a timer in my head and it’s made all the difference. Also, if you want to impress guests with minimal effort, pairing this dessert with a simple, savory bite like the creamy baked crab dip is a winning combo for any celebration.
Variations & Adaptations
This tiramisu icebox cake is a flexible canvas. Here are some ideas I’ve tried or thought up to switch things around:
- Chocolate Lover’s Twist: Add a layer of chocolate ganache or sprinkle mini chocolate chips between layers for extra richness.
- Fruit-Infused: Layer fresh raspberries or sliced strawberries with the mascarpone for a fruity brightness that cuts through the creaminess.
- Alcohol-Free Version: Simply omit the coffee liqueur and use decaffeinated espresso or strong brewed coffee for a kid-friendly dessert.
- Gluten-Free Option: Swap ladyfingers for gluten-free biscuits or almond meringues to keep it accessible.
- Dairy-Free Adaptation: Use coconut cream whipped with a bit of maple syrup and a dairy-free cream cheese alternative in place of mascarpone.
One personal favorite variation is layering in a thin spread of Nutella between the ladyfingers and mascarpone—adds a hazelnut surprise that delights every time. You can also experiment with different coffee flavors by infusing the espresso with cinnamon sticks or star anise during brewing.
Serving & Storage Suggestions
Serve this creamy tiramisu icebox cake chilled straight from the fridge. The cool temperature balances the rich, coffee-infused layers beautifully. I like slicing it into neat squares and plating with a dusting of cocoa powder and a few fresh berries on the side for color.
This dessert pairs wonderfully with a cup of black coffee or a mild dessert wine like Moscato. For a light finish, try it alongside a simple fruit compote like the fruit compote with brie I often prepare when entertaining.
To store, cover tightly with plastic wrap or lid and keep refrigerated for up to 3 days. The flavors deepen with time, and the texture remains creamy. For longer storage, you can freeze individual portions wrapped well, then thaw in the fridge overnight before serving.
When reheating, honestly, tiramisu is best cold, but letting it sit at room temperature for 15 minutes right before serving softens the texture just enough without losing the chill.
Nutritional Information & Benefits
While this creamy tiramisu icebox cake is a treat, it packs some nutritional benefits thanks to its ingredients. A typical serving (about 1/9th of the cake) contains roughly 350-400 calories, with moderate protein from mascarpone and cream.
Mascarpone is rich in calcium and provides healthy fats, which help with satiety. Espresso adds an antioxidant boost and a natural pick-me-up without added sugars (when used plain). Using fresh, high-quality ingredients ensures the best flavor and nutrient retention.
For those watching carbs, this dessert isn’t low-carb but can be modified with gluten-free ladyfingers or reduced sugar mascarpone blends. Also, it’s naturally gluten-free if you swap in appropriate ladyfingers, making it accessible for many dietary needs.
Conclusion
This creamy tiramisu icebox cake with espresso-soaked ladyfingers has carved a sweet spot in my dessert rotation. It’s simple enough for a weeknight but special enough for guests. The balance of creamy mascarpone, rich coffee, and delicate ladyfingers offers a satisfying experience that’s hard to beat.
Feel free to tweak the flavors or layers to your liking—maybe a hint of liqueur, a sprinkle of chocolate, or fresh fruit. The joy is in making it your own. I hope this recipe brings a little Italian magic to your table and becomes a favorite, just like it did for me.
Would love to hear how you customize it or your favorite pairings. Don’t hesitate to share your thoughts or questions below!
FAQs
How long should I soak the ladyfingers in espresso?
Just 1 to 2 seconds per ladyfinger is enough. You want them moist but not soggy to maintain the right texture.
Can I make this tiramisu icebox cake ahead of time?
Absolutely! In fact, chilling it overnight (at least 4 hours) helps the flavors meld and the texture perfect.
What can I use if I don’t have mascarpone cheese?
You can mix cream cheese with a bit of heavy cream to mimic mascarpone, though the flavor will be slightly different.
Is there a non-alcoholic version of this dessert?
Yes, just omit any coffee liqueur and use decaffeinated espresso or strong brewed coffee instead.
How should I store leftover tiramisu icebox cake?
Keep it covered in the refrigerator for up to 3 days. You can also freeze portions individually and thaw overnight in the fridge before serving.
Pin This Recipe!
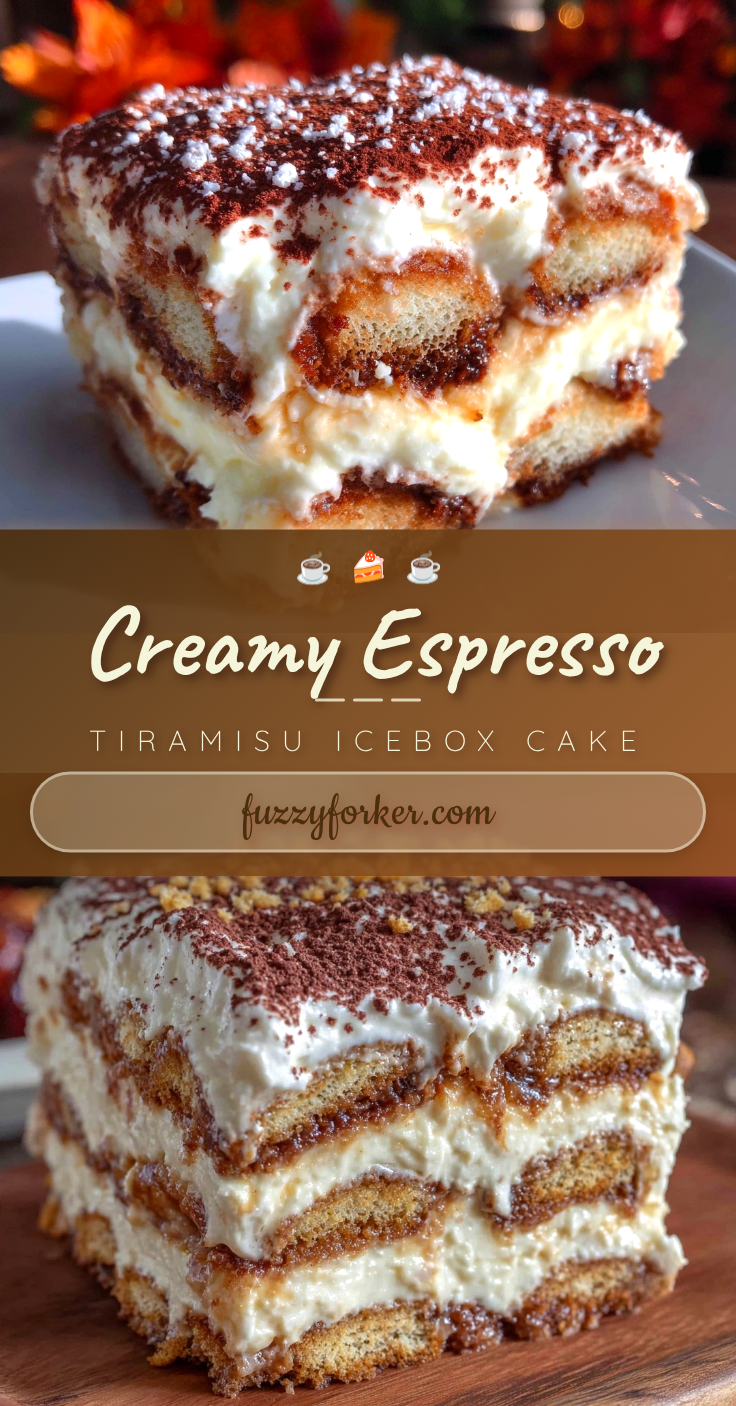
Creamy Tiramisu Icebox Cake Recipe with Espresso-Soaked Ladyfingers

A quick and easy no-bake tiramisu icebox cake featuring espresso-soaked ladyfingers layered with creamy mascarpone and whipped cream, perfect for a simple yet indulgent dessert.
- Prep Time: 20 minutes
- Cook Time: 0 minutes
- Total Time: 4 hours 20 minutes
- Yield: 9 servings 1x
- Category: Dessert
- Cuisine: Italian
Ingredients
- About 24 ladyfingers (Savoiardi), roughly 7 ounces (200 grams)
- 1 cup (240 ml) strong, freshly brewed espresso, cooled
- 16 ounces (450 grams) mascarpone cheese, room temperature
- 1 cup (240 ml) heavy cream, cold
- ½ cup (100 grams) granulated sugar
- 1 teaspoon vanilla extract
- Unsweetened cocoa powder, for dusting
- Optional: splash of coffee liqueur like Kahlúa or Marsala wine
Instructions
- Brew 1 cup (240 ml) of strong espresso and set aside to cool completely, about 15 minutes. Stir in coffee liqueur if using.
- In a chilled bowl, whip 1 cup (240 ml) of heavy cream with ½ cup (100 grams) granulated sugar and 1 teaspoon vanilla extract until soft peaks form (3-4 minutes with an electric mixer).
- Gently fold the room-temperature mascarpone (16 ounces/450 grams) into the whipped cream until smooth and airy, being careful not to overmix.
- Quickly dip each ladyfinger into the cooled espresso for 1-2 seconds, just enough to absorb flavor without becoming soggy.
- Arrange a single layer of soaked ladyfingers evenly in a 9×9 inch (23×23 cm) dish.
- Spread half of the mascarpone mixture over the ladyfingers, smoothing gently.
- Add another layer of espresso-soaked ladyfingers, then spread the remaining mascarpone mixture on top.
- Cover the dish with plastic wrap and refrigerate for at least 4 hours, preferably overnight, to let flavors meld and ladyfingers soften.
- Just before serving, sift a generous layer of unsweetened cocoa powder over the top. Optionally add chocolate shavings or a dusting of cinnamon.
Notes
[‘Do not over-soak ladyfingers; 1-2 seconds dip is enough to keep them moist but not soggy.’, ‘Use room temperature mascarpone for smooth folding and avoid lumps.’, ‘Whip cream to soft peaks only to maintain light texture.’, ‘Chill at least 4 hours or overnight for best flavor and texture.’, ‘If mascarpone mixture is too thick, add a splash of milk or cream; if too loose, add more mascarpone.’, ‘Glass pans show pretty layers; metal pans chill faster.’, ‘Optional variations include adding chocolate ganache, fresh berries, or Nutella layers.’, ‘For dairy-free, substitute heavy cream with coconut cream and mascarpone with dairy-free cream cheese alternatives.’, ‘For gluten-free, use gluten-free ladyfingers or almond meringue cookies.’]
Nutrition
- Serving Size: About 1/9th of the c
- Calories: 375
- Sugar: 18
- Sodium: 90
- Fat: 28
- Saturated Fat: 17
- Carbohydrates: 25
- Fiber: 1
- Protein: 6
Keywords: tiramisu, icebox cake, espresso, mascarpone, ladyfingers, no-bake dessert, easy dessert, Italian dessert, creamy dessert