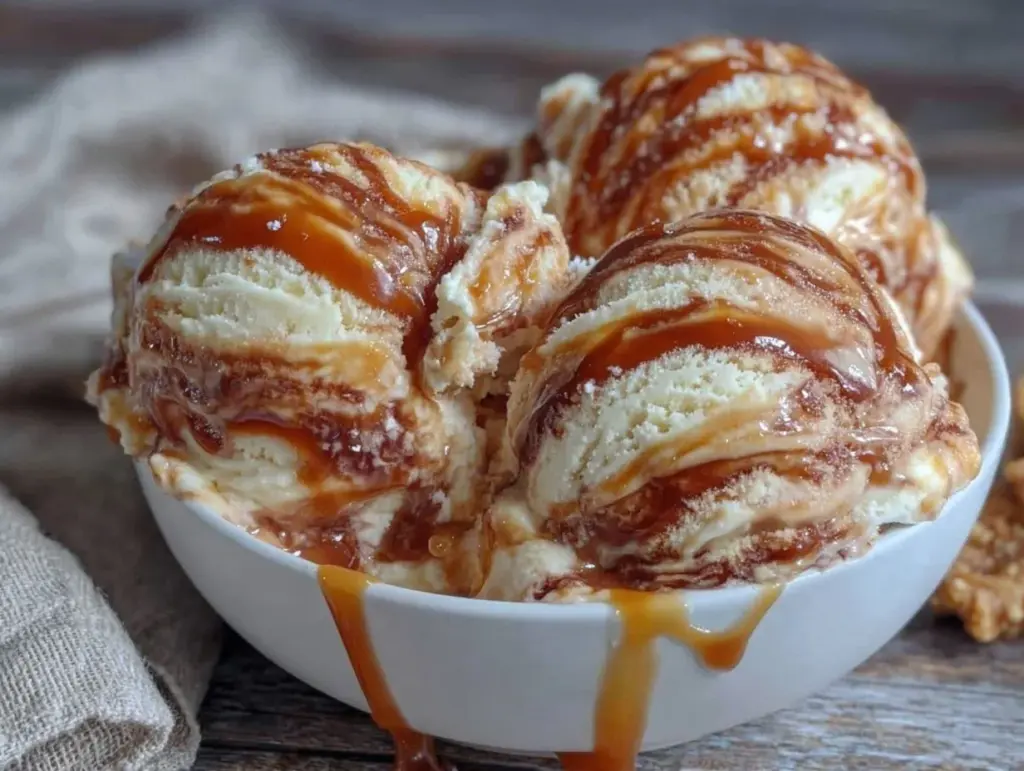
I figured making ice cream at home meant hauling out bulky machines and waiting forever for frozen churns. It took about thirty minutes for that notion to crumble completely. There I was, staring at a bowl of perfectly creamy no-churn salted caramel swirl ice cream that required nothing more than a whisk and a freezer. Honestly, I half expected this recipe to be a sad compromise, but it turned out better than any store-bought pint I’ve scooped before.
The texture was silky, yet thick enough to hold those irresistible ribbons of salted caramel. The salty-sweet dance on my tongue was unexpected and addictive. It hit me that making ice cream at home doesn’t have to be complicated or intimidating. This recipe lets you skip the fuss but keep all the soul-soothing comfort of a classic favorite. Plus, the caramel swirl isn’t just a topping—it’s part of the ice cream itself, woven through every bite.
What stuck with me most was how satisfying this easy creamy no-churn salted caramel swirl ice cream felt to make. No ice cream maker, no patience-testing churning—just a few ingredients and a little freezer time. It’s the kind of homemade treat that makes you feel a bit proud without breaking a sweat. And that’s why I keep coming back to it whenever the craving for something sweet and smooth strikes.
Why You’ll Love This Recipe
This easy creamy no-churn salted caramel swirl ice cream has been a game-changer in my kitchen. It’s the kind of recipe that feels like a secret weapon for last-minute desserts or weekend indulgences. Here’s why it’s become a favorite:
- Quick & Easy: Ready to eat in just a few hours without churning. Perfect for busy evenings or spontaneous dessert cravings.
- Simple Ingredients: Uses pantry staples like sweetened condensed milk and heavy cream, plus caramel sauce you can make or buy.
- Perfect for Any Occasion: Great for summer barbecues, cozy nights in, or impressing guests with minimal effort.
- Crowd-Pleaser: The salted caramel swirl always gets nods of approval from both kids and grown-ups alike.
- Unbelievably Delicious: Creamy texture with just the right balance of sweet and salty—comfort food without the fuss.
What makes this recipe stand out is the way the caramel is gently folded in, creating swirls that peek through every bite. You’re not just spooning caramel on top; it’s part of the ice cream’s soul. And the no-churn method means you’re not tethered to fancy equipment or complicated steps. This is truly homemade ice cream for anyone who enjoys simplicity but hates sacrificing flavor.
Honestly, after trying this, I rarely reach for store-bought ice cream. It’s the kind of dessert that makes you close your eyes and savor each bite, knowing you whipped it up yourself. Plus, it pairs beautifully with other homemade favorites like a creamy baked crab dip or a fresh fruit compote with brie for a special occasion.
What Ingredients You Will Need
This recipe uses simple, wholesome ingredients to deliver bold salted caramel flavor and a satisfyingly creamy texture without any ice cream machine hassle. Most are pantry staples, and substitutions are easy if needed.
- Heavy Cream (1 1/2 cups / 360 ml): Chilled, this forms the creamy base. I prefer brands like Horizon Organic for best whip quality.
- Sweetened Condensed Milk (1 can, 14 oz / 396 g): The secret to creamy no-churn texture and subtle sweetness.
- Vanilla Extract (1 tsp): Adds depth and warmth to the ice cream base.
- Salted Caramel Sauce (3/4 cup / ~180 ml): Homemade or store-bought. Look for one with a good balance of salt and rich caramel flavor. I like making my own with brown sugar, butter, and cream for a fresher taste.
- Sea Salt (1/2 tsp): Enhances the caramel’s salty contrast.
Optional:
- Flaky Sea Salt: Sprinkle on top before serving for extra crunch and salt pop.
- Almond Extract (a few drops): For a subtle nutty twist.
If you want a dairy-free version, swap heavy cream for coconut cream and sweetened condensed milk for a coconut condensed milk alternative. For gluten-free, this recipe is naturally safe since it’s free of flour or thickeners.
Equipment Needed
This recipe keeps it simple with minimal gear:
- Mixing Bowls: One medium-sized for whipping cream and one large for combining ingredients works best.
- Electric Mixer or Hand Whisk: While you can whisk by hand, an electric mixer speeds things up and gets the cream perfectly fluffy.
- Spatula: For folding ingredients gently without deflating the whipped cream.
- Loaf Pan or Freezer-Safe Container: For freezing the ice cream evenly. A metal pan freezes faster, but plastic or glass containers work fine.
- Spoon or Knife: To swirl in the caramel sauce.
If you don’t have an electric mixer, a sturdy balloon whisk and some elbow grease will do just fine (I’ve been there). For budget-friendly options, basic kitchen hand mixers from brands like Hamilton Beach are reliable and affordable.
Preparation Method
- Chill your bowl and beaters: Pop your mixing bowl and beaters in the fridge for 15-20 minutes before whipping. Cold equipment helps the cream whip faster and fluffier.
- Whip the heavy cream: Pour 1 1/2 cups (360 ml) of chilled heavy cream into the cold bowl. Beat on medium-high until soft peaks form—when you lift the beater, the cream should hold a gentle peak but still be soft. This usually takes about 3-5 minutes.
- Combine condensed milk and vanilla: In a separate large bowl, stir together 1 can (14 oz / 396 g) sweetened condensed milk and 1 teaspoon vanilla extract until smooth.
- Gently fold the whipped cream: Using a spatula, fold about one-third of the whipped cream into the condensed milk mixture to lighten it. Then fold in the remaining whipped cream carefully to maintain the airy texture. Avoid overmixing or you’ll lose the fluffiness.
- Prepare the salted caramel swirl: If using homemade caramel, make sure it’s cooled but still pourable. Add 1/2 teaspoon sea salt to your caramel and stir well. Reserve about 1/4 cup (60 ml) for drizzling on top later.
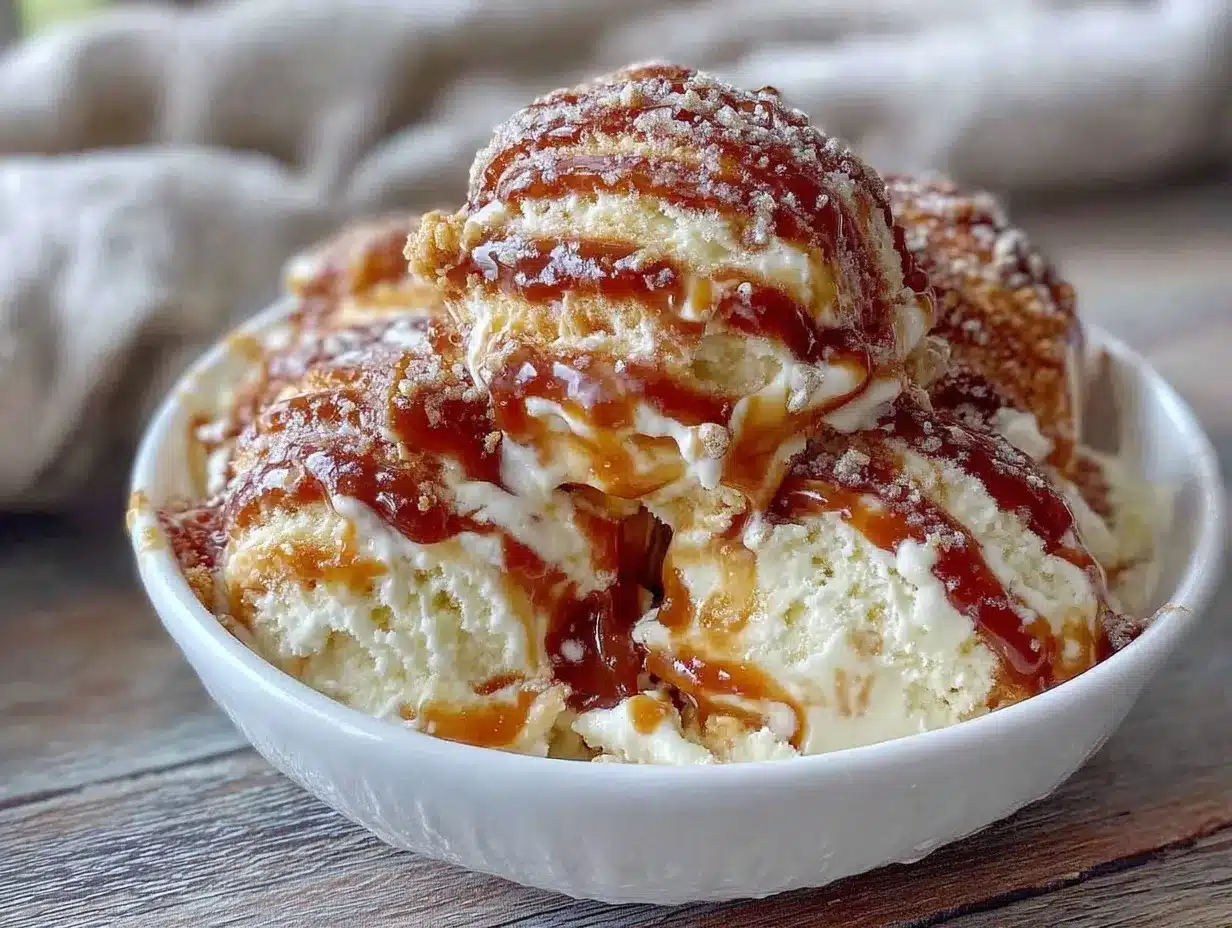
- Layer the ice cream and caramel: Spoon half of the ice cream base into your loaf pan or container. Drizzle half of the salted caramel over it in thin ribbons, then use a butter knife or skewer to swirl the caramel through (don’t over-swirl — you want distinct ribbons). Repeat with the remaining ice cream and caramel.
- Freeze: Cover the container tightly with plastic wrap or a lid. Freeze for at least 4 hours or overnight until firm.
- Serve: Let the ice cream sit at room temperature for 5 minutes before scooping for easier serving. Drizzle reserved caramel on top and sprinkle with flaky sea salt if desired.
Pro tip: If your caramel is too thick to swirl easily, warm it slightly in the microwave or over a double boiler to loosen it up. Also, resist the urge to stir the ice cream after freezing — it’s meant to be enjoyed with those pretty caramel ribbons intact!
Cooking Tips & Techniques
Whipping cream properly is key here. If it’s under-whipped, the ice cream texture will be runny. Over-whipped cream will start turning grainy and lose that smooth mouthfeel. I’ve learned to stop as soon as soft peaks form and fold gently from there.
The salted caramel swirl is where the magic happens. When I first tried mixing caramel directly into the base, it lost its distinct flavor and got too blended. Now I layer and swirl it carefully to keep those rich pockets of sweet and salty goodness.
Timing is your friend with no-churn ice cream. Freeze for at least 4 hours, but overnight is best. Check the texture after 4 hours; if it’s still a bit soft, give it more time. Tent the container loosely with foil if the freezer tends to get too cold or if you want to avoid freezer burn.
Multitasking tip: While the ice cream freezes, you can prep quick appetizers like creamy deviled eggs or whip up a fresh batch of classic hummus for your next gathering.
My biggest fail was attempting to swirl caramel right after whipping the cream—too runny and it sunk to the bottom. Patience and letting the base rest a bit helps the caramel stay beautifully layered.
Variations & Adaptations
This recipe is a great canvas for playing around with flavors and dietary needs. Here are a few ideas I’ve tried or recommend:
- Chocolate-Caramel Swirl: Add 1/4 cup melted dark chocolate ribbons alongside the caramel for a mocha twist.
- Nutty Crunch: Fold in 1/2 cup chopped toasted pecans or walnuts with the caramel for texture and richness.
- Dairy-Free Version: Use full-fat coconut cream instead of heavy cream and a dairy-free sweetened condensed milk alternative.
- Salted Maple: Swap caramel sauce with a thick maple syrup and sprinkle with sea salt for a fall-inspired flavor.
- Spiced Caramel: Stir in a pinch of cinnamon or cardamom into the caramel for a subtle warm spice note—especially good for holiday seasons.
One variation I adore is adding a swirl of homemade bourbon caramel sauce for a grown-up treat. Just a splash adds a smoky depth that pairs beautifully with the creamy base.
Serving & Storage Suggestions
Serve this ice cream straight from the freezer after letting it soften for 5 minutes so the scoops come out smooth and not rock hard. Presentation-wise, a drizzle of extra salted caramel and a pinch of flaky sea salt on top takes it from humble to showstopper.
This ice cream pairs wonderfully with warm desserts like apple crisps or alongside a rich coffee or sweet dessert wine to balance the saltiness. For a casual treat, a simple waffle cone or bowl works just fine.
Store leftovers tightly covered in the freezer. It keeps best for up to 2 weeks without ice crystals forming. When reheating, avoid microwaving—just let it sit at room temperature for a few minutes for the best texture.
Flavors tend to meld and mellow after a day or two, making the salted caramel swirl even more integrated and luscious.
Nutritional Information & Benefits
One serving (about 1/2 cup or 125 ml) of this easy creamy no-churn salted caramel swirl ice cream roughly contains:
| Calories | 280-320 kcal |
|---|---|
| Fat | 18g (mostly from heavy cream) |
| Sugar | 26g (from condensed milk and caramel) |
| Protein | 3g |
While indulgent, this ice cream includes calcium from dairy and the occasional trace minerals from sea salt. For a more balanced dessert, pairing it with fresh fruit or nuts adds fiber and nutrients.
This recipe is gluten-free and can be adapted for dairy-free diets. Just watch out for caramel sauces that may contain additives or gluten-containing ingredients if store-bought.
From a wellness perspective, making your own ice cream means you control the ingredients and avoid preservatives or artificial flavors. It’s a satisfying treat that feels homemade and honest.
Conclusion
This easy creamy no-churn salted caramel swirl ice cream recipe is proof that homemade treats don’t have to mean complicated or time-consuming. It’s creamy, dreamy, and just the right mix of salty and sweet. The simplicity of the ingredients and method means you can whip it up anytime the craving strikes.
I love this recipe because it’s flexible and forgiving—perfect for all skill levels and occasions. Whether you stick to the classic salted caramel or try a variation like a nutty crunch or spiced caramel, it’s bound to make dessert time special.
Give it a try, tweak it your way, and share your experience. I’m always excited to hear how you put your own spin on this homemade favorite. Just imagine spooning this on top of creamy baked crab dip for a truly indulgent treat combo!
Here’s to simple, satisfying, homemade ice cream moments.
FAQs about Easy Creamy No-Churn Salted Caramel Swirl Ice Cream
Can I use store-bought caramel sauce for this recipe?
Absolutely! Store-bought caramel works well as long as it’s not too thick. If it’s very thick, warm it slightly to make swirling easier.
How long does the ice cream need to freeze?
At least 4 hours, but overnight freezing gives the best texture and firmness.
Can I add mix-ins like nuts or chocolate chips?
Yes! Fold in your favorite mix-ins gently before freezing to keep the texture creamy and smooth.
Is this recipe suitable for vegans?
Not as written, but you can substitute coconut cream for heavy cream and use a vegan condensed milk alternative to make it vegan-friendly.
How do I prevent ice crystals from forming?
Make sure to cover the ice cream tightly when freezing and avoid temperature fluctuations in your freezer. Letting the ice cream sit a few minutes before scooping also helps.
Pin This Recipe!
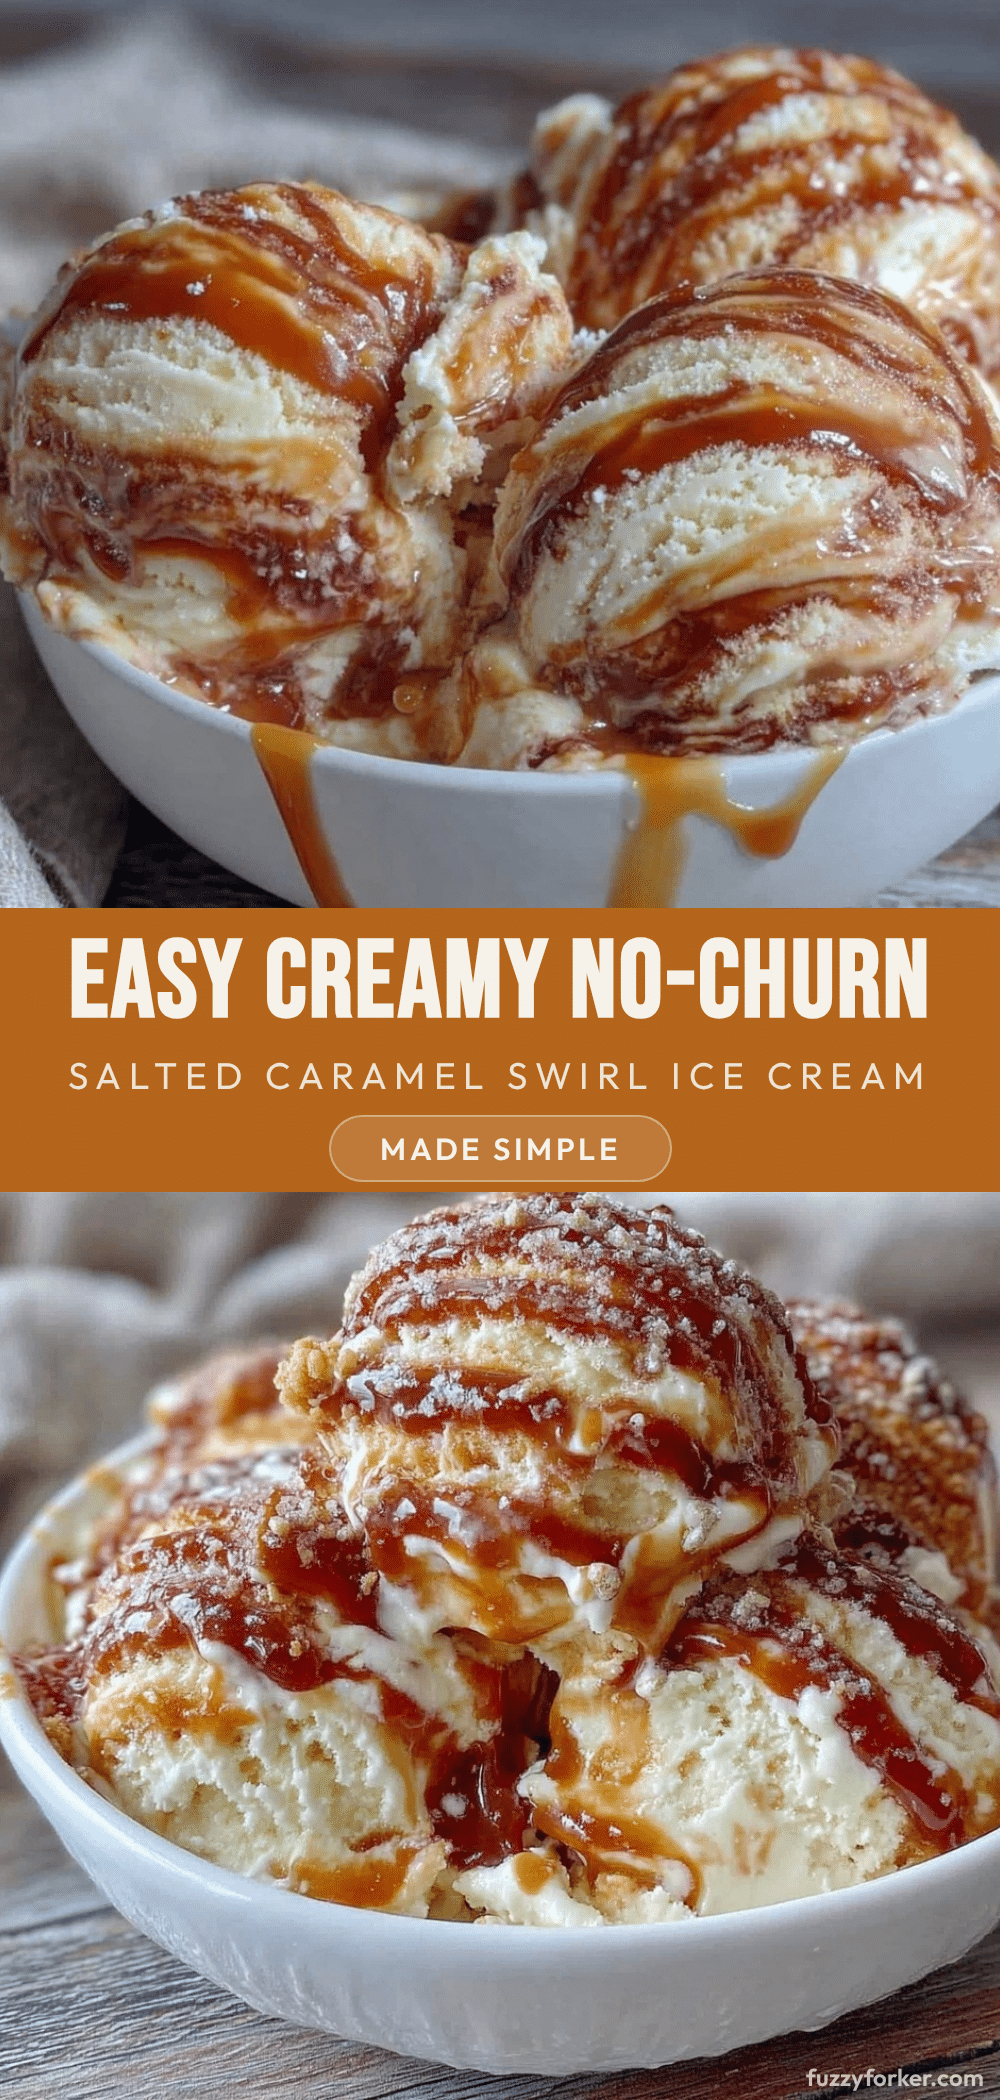
Easy Creamy No-Churn Salted Caramel Swirl Ice Cream
A quick and easy no-churn ice cream recipe featuring a creamy base with irresistible salted caramel swirls, perfect for homemade treats without an ice cream maker.
- Prep Time: 20 minutes
- Cook Time: 4 hours (freezing time)
- Total Time: 4 hours 20 minutes
- Yield: 8 servings 1x
- Category: Dessert
- Cuisine: American
Ingredients
- 1 1/2 cups (360 ml) heavy cream, chilled
- 1 can (14 oz / 396 g) sweetened condensed milk
- 1 teaspoon vanilla extract
- 3/4 cup (~180 ml) salted caramel sauce (homemade or store-bought)
- 1/2 teaspoon sea salt
- Optional: flaky sea salt for sprinkling
- Optional: a few drops almond extract
Instructions
- Chill your mixing bowl and beaters in the fridge for 15-20 minutes.
- Pour the chilled heavy cream into the cold bowl and beat on medium-high until soft peaks form, about 3-5 minutes.
- In a separate large bowl, stir together the sweetened condensed milk and vanilla extract until smooth.
- Gently fold about one-third of the whipped cream into the condensed milk mixture to lighten it, then fold in the remaining whipped cream carefully to maintain the airy texture.
- If using homemade caramel, ensure it is cooled but still pourable. Add 1/2 teaspoon sea salt to the caramel and stir well. Reserve about 1/4 cup (60 ml) for drizzling on top later.
- Spoon half of the ice cream base into a loaf pan or freezer-safe container. Drizzle half of the salted caramel over it in thin ribbons, then use a butter knife or skewer to swirl the caramel through without over-swelling.
- Repeat layering with the remaining ice cream base and caramel.
- Cover the container tightly with plastic wrap or a lid and freeze for at least 4 hours or overnight until firm.
- Before serving, let the ice cream sit at room temperature for 5 minutes to soften. Drizzle reserved caramel on top and sprinkle with flaky sea salt if desired.
Notes
Chill your bowl and beaters before whipping cream for best results. Avoid overmixing whipped cream to maintain fluffiness. Warm caramel slightly if too thick to swirl. Freeze at least 4 hours or overnight for best texture. Let ice cream soften 5 minutes before scooping. For dairy-free, substitute heavy cream with coconut cream and use a dairy-free condensed milk alternative.
Nutrition
- Serving Size: 1/2 cup (125 ml)
- Calories: 280320
- Sugar: 26
- Fat: 18
- Protein: 3
Keywords: no-churn ice cream, salted caramel, easy ice cream recipe, homemade ice cream, no ice cream maker, creamy dessert, quick dessert