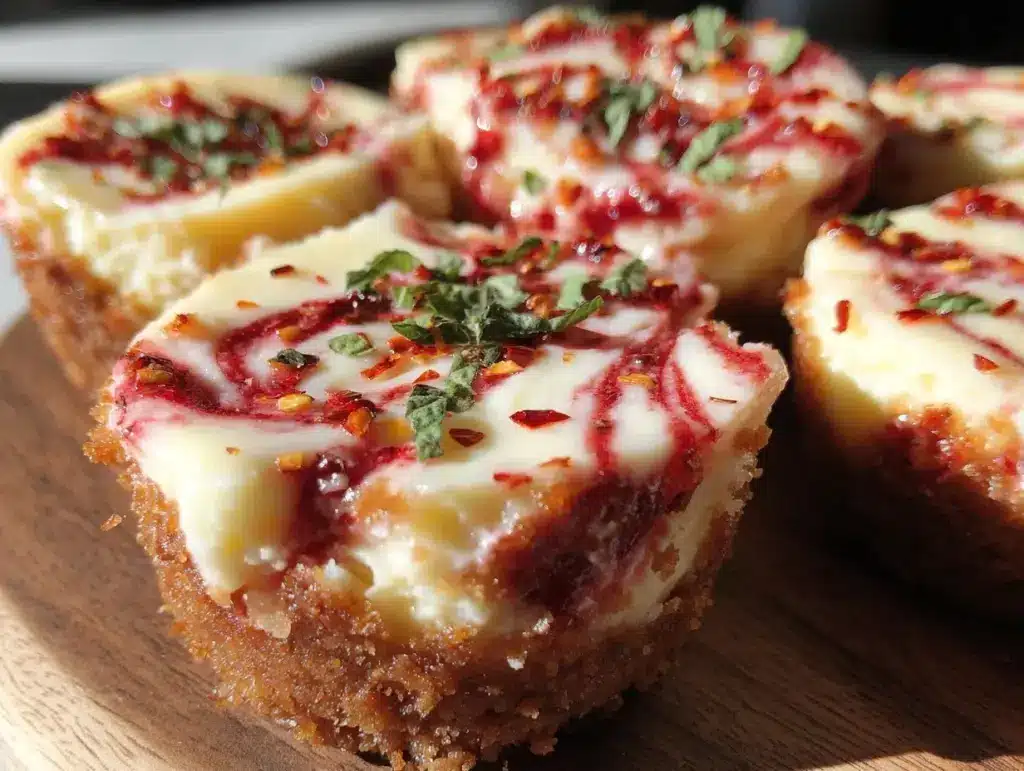
“Wait, you made these firecracker red velvet cheesecake cups again?” my friend asked over the phone, sounding half amused, half impressed. Honestly, I couldn’t blame her. I must have made these little beauties like three times in one week last month—sometimes late at night when the kitchen was quiet, and the only thing on my mind was something sweet and satisfying. There’s something about the way the rich red velvet mingles with the creamy cheesecake that just sticks with you.
The first time I whipped up this dessert, it was kind of an accident. I had leftover red velvet cake crumbs from a birthday party (because who really finishes all that cake?), and instead of tossing them, I decided to get a bit creative. I layered those crumbs with a smooth, tangy cheesecake filling in cute little cups, added a pop of spice with a hint of cayenne (hence the “firecracker” part), and you know what? It blew everyone away.
Since then, these firecracker red velvet cheesecake cups have become my go-to treat for everything from casual get-togethers to last-minute celebrations. They’re just the right size to feel indulgent but not overwhelming. Plus, they’re easy enough for even a “not really a baker” type like me to pull off without breaking a sweat. So, if you’re looking for a dessert that’s as fun to make as it is to eat, this recipe might be your new best friend.
It’s funny how a small kitchen experiment can turn into something that feels like a cozy little victory. These cups bring a bit of that comfort and excitement every time I make them—kind of like a secret treat you can’t wait to share.
Why You’ll Love This Recipe
After testing this recipe over several weekends, I can confidently say these firecracker red velvet cheesecake cups are a crowd-pleaser for so many reasons:
- Quick & Easy: From start to finish, you can have these ready in about 30 minutes of hands-on time. Perfect when unexpected guests pop by or when you want a fuss-free dessert.
- Simple Ingredients: No specialty stores required. You’ll find everything in your pantry or local grocery store, including classic ingredients like cream cheese, red velvet cake mix, and a hint of spice.
- Perfect for Parties: These mini cups are ideal for potlucks, holiday gatherings, or even a cozy dinner for two. They’re easy to serve and look super impressive without demanding hours of work.
- Crowd-Pleaser: Kids love the bright red color and creamy texture, but adults appreciate the sophisticated twist of the cheesecake layer combined with a subtle kick.
- Unbelievably Delicious: The texture is just right—soft, moist cake mingling with silky cheesecake that melts in your mouth. The unexpected spice adds a little zing that keeps you coming back for more.
This isn’t just any red velvet cheesecake. The secret lies in balancing the classic cream cheese tang with a touch of cayenne pepper, which makes the flavors pop and adds a fun “firecracker” element that sets it apart from the rest. I’ve seen plenty of red velvet desserts, but this one feels like a playful twist that’s still familiar and comforting.
Honestly, it’s the kind of dessert that makes you close your eyes for a second after the first bite, savoring that perfect blend of sweet, creamy, and spicy. Whether you’re impressing friends or treating yourself after a long day, these cups hit the spot without the stress.
What Ingredients You Will Need
This recipe uses simple, wholesome ingredients to deliver bold flavor and satisfying texture without the fuss. Most of these are pantry staples, so you probably already have them on hand.
- Red Velvet Cake Layer:
- Red velvet cake mix (about 15.25 oz box) – I recommend Betty Crocker for consistent results
- Vegetable oil (1/3 cup or 80 ml)
- Large eggs (2, room temperature)
- Buttermilk (1/2 cup or 120 ml) – adds moistness and tang
- Red food coloring (1 tsp) – optional, for that vibrant red pop
- Cheesecake Filling:
- Cream cheese (16 oz or 450 g, softened) – full-fat for best creaminess
- Granulated sugar (2/3 cup or 135 g)
- Vanilla extract (1 tsp) – pure, not imitation
- Large egg (1, room temperature)
- Sour cream (1/4 cup or 60 ml) – adds smoothness and slight tang
- Cayenne pepper (1/4 tsp) – the secret firecracker kick! Adjust to taste
- Topping & Garnish (Optional):
- Whipped cream (for serving)
- Red velvet cake crumbs or crushed pecans (for texture)
- Fresh berries (like raspberries) for a pop of freshness
For gluten-free options, you can substitute the cake mix with a gluten-free red velvet blend. If you want a dairy-free version, swap cream cheese and sour cream with coconut-based alternatives, though the flavor will shift slightly. I love to use full-fat cream cheese for that silky texture, but if you’re watching calories, light versions could work too.
The cayenne pepper is subtle but essential—it wakes up the flavors without overpowering the dessert. If you’re nervous about spice, start with a pinch and adjust next time.
Equipment Needed
- Mixing bowls (medium and large) – glass or metal work best for easy cleanup
- Electric hand mixer or stand mixer – makes beating the cream cheese smooth and lump-free
- Measuring cups and spoons – accuracy matters for baking success
- Mini cupcake pans or silicone muffin cups – these hold the cheesecake cups nicely and make serving neat
- Spatula – for gentle folding and scraping
- Oven thermometer (optional) – to keep baking temperature precise
- Cooling rack – helps desserts set perfectly without sogginess
I usually use silicone muffin cups because they’re easy to pop the cups out without cracking the cheesecake layer. If you only have metal pans, greasing them well or using cupcake liners works fine. For beating the cheesecake filling, a stand mixer saves time, but a hand mixer works just as well if you pause to scrape down the bowl now and then.
Preparation Method
- Preheat your oven to 325°F (160°C). Line your mini cupcake pans with silicone cups or lightly grease them. This step ensures your cheesecake cups come out cleanly.
- Prepare the red velvet cake batter: In a medium bowl, whisk together the cake mix, vegetable oil (80 ml), eggs, buttermilk, and red food coloring (if using). Mix until smooth but don’t overbeat—it should be thick but pourable. Set aside.
- Make the cheesecake filling: In a large bowl, beat the softened cream cheese with an electric mixer until creamy and smooth (about 2 minutes). Gradually add sugar and continue beating until fluffy. Add the vanilla extract, egg, sour cream, and cayenne pepper, mixing until just combined. The filling should be silky and free of lumps.
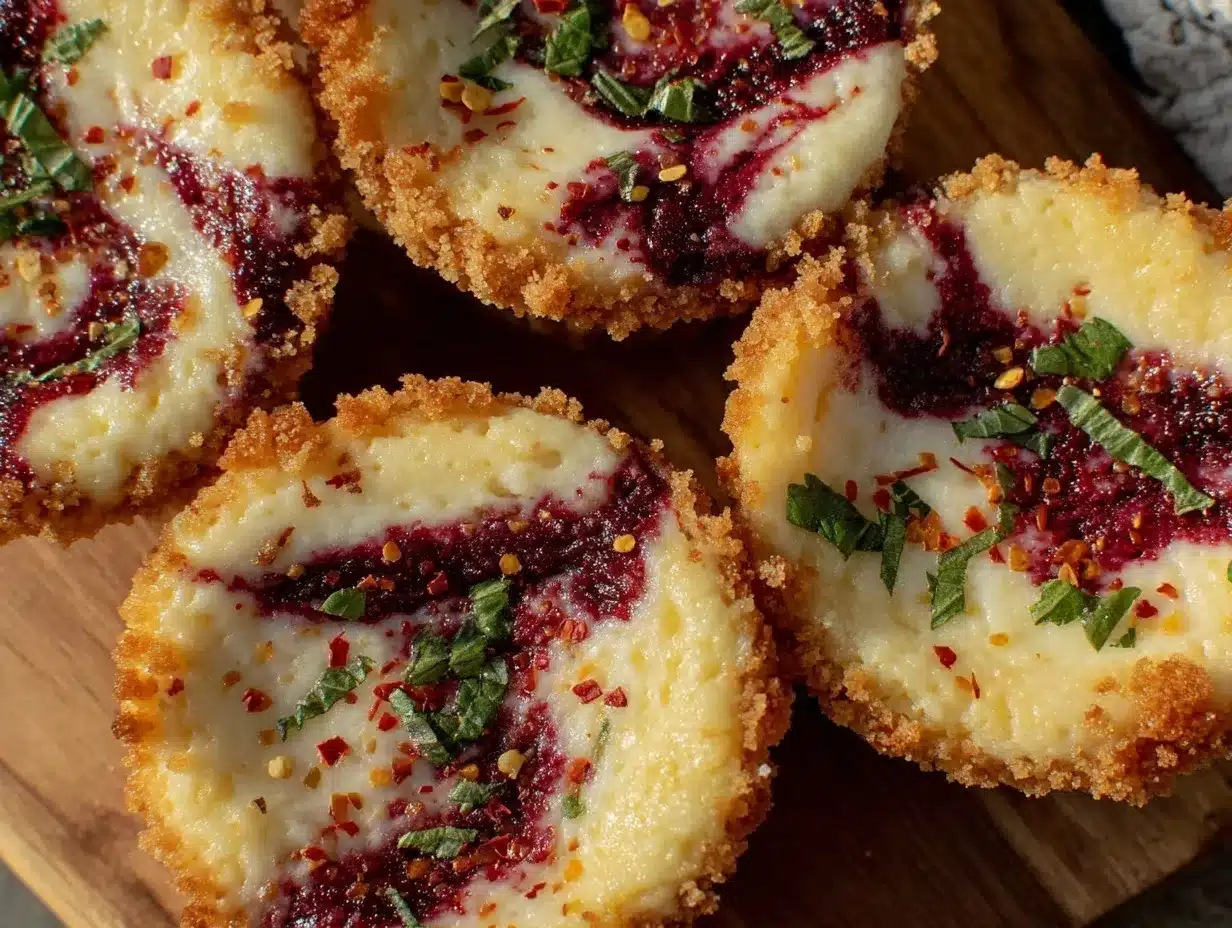
- Assemble the cups: Spoon about 1 tablespoon (15 g) of red velvet batter into the bottom of each cup. Then, layer about 2 tablespoons (30 g) of cheesecake filling on top of the cake batter. Use a toothpick or skewer to gently swirl the two layers for a marbled effect, but don’t overmix or they’ll blend completely.
- Bake for 18–22 minutes. The cheesecake filling should be set around the edges but still slightly jiggly in the center. Avoid overbaking to keep the texture creamy. Remove from oven and cool on a rack for 20 minutes, then refrigerate for at least 2 hours before serving to let flavors meld and texture firm up.
Quick tip: If the cheesecake cups puff up like little domes during baking, don’t worry—they’ll settle as they cool. Also, keeping the eggs at room temperature helps prevent cracks in the cheesecake layer.
This recipe pairs beautifully with other crowd-pleasing party bites like creamy deviled eggs or brie cherry pastry cups, making your gathering feel effortless and well-rounded.
Cooking Tips & Techniques
One thing I’ve learned the hard way is not to rush the cheesecake filling. Cream cheese must be softened fully before mixing; otherwise, you end up with lumps that don’t dissolve even with extra beating. Leaving it out on the counter for about an hour usually does the trick.
Another tip: swirl the cake and cheesecake layers gently. I’ve made the mistake of overmixing the layers, which turned the whole thing into a uniform red velvet cheesecake—still tasty, but missing that fun marbled look and textural contrast.
When baking, the key is to watch the texture, not the clock. Oven temperatures can vary, and cheesecake is notorious for cracking when overbaked. The center should be just slightly wobbly when you take it out.
Also, chilling is crucial. I’ve skipped this step once or twice when I was in a hurry, but the texture suffers—it just doesn’t slice or hold as nicely. A couple of hours in the fridge lets the flavors settle and the texture become luxuriously creamy.
For multitasking, I often prepare the cheesecake filling first, then mix the cake batter while the cream cheese is softening. It saves time and keeps things moving smoothly in the kitchen.
Variations & Adaptations
- Spice Level Adjustment: If you want less heat, reduce the cayenne pepper to a pinch or omit it altogether for a classic red velvet cheesecake flavor.
- Chocolate Lovers’ Twist: Add mini chocolate chips to the red velvet batter or sprinkle some on top before baking for an extra chocolate punch.
- Seasonal Flair: Swap the cake crumbs topping with crushed peppermint candy canes during the holidays or fresh strawberries in summer. I once tried a blueberry compote on top, and it was a delightful twist.
- Dairy-Free Version: Use dairy-free cream cheese and sour cream alternatives. The texture shifts a bit but still comes together nicely with the same layering technique.
- Different Cake Base: Instead of using cake mix, bake a simple red velvet sponge from scratch if you want to control sugar levels or avoid processed ingredients.
Serving & Storage Suggestions
Serve these cheesecake cups chilled, straight from the fridge. They taste best cold, with the creamy filling firm yet silky. I like to garnish mine with a dollop of whipped cream and a sprinkle of red velvet crumbs or crushed nuts for a little crunch.
Pair them with a hot cup of coffee or a sparkling rosé for a lovely contrast. If you’re hosting a party, they stand out beautifully on a dessert table alongside other treats like no-bake strawberry cheesecake bites or a fresh fruit compote platter.
Store leftovers in an airtight container in the refrigerator for up to 4 days. These cups also freeze well—just wrap them tightly and thaw overnight in the fridge before serving. Freezing might slightly alter the texture, making it a bit denser but still delicious.
Flavors tend to deepen after a day or two, so if you can resist, making them a day ahead can actually improve the taste.
Nutritional Information & Benefits
Each firecracker red velvet cheesecake cup contains approximately 250 calories, 15 grams of fat, 25 grams of carbohydrates, and 4 grams of protein. Keep in mind these values can vary based on portion size and specific ingredients.
The cream cheese provides a good source of calcium and protein, while the buttermilk adds probiotics for gut health. The slight cayenne pepper kick may even boost metabolism a bit—though don’t count on it as a diet trick!
This dessert is gluten-containing due to the cake mix, but substituting with gluten-free red velvet mix can make it suitable for gluten-sensitive diets. It’s not vegan, but dairy-free swaps can accommodate those needs.
From a wellness perspective, this treat feels indulgent yet approachable—perfect for balancing enjoyment with everyday eating without too much fuss.
Conclusion
These firecracker red velvet cheesecake cups have become one of those recipes I keep coming back to—not just because they taste amazing, but because they’re so darn easy and fun to make. Whether you’re looking for a last-minute dessert or something special to impress, these cups hit that sweet spot between simple and spectacular.
Feel free to tweak the spice level or experiment with toppings to suit your taste. I love how versatile and forgiving this recipe is, which makes it perfect for home cooks who want a bit of flair without the stress.
Honestly, every time I make these, I find a new reason to smile—and I hope you do too. If you try them out, drop a comment and let me know how you customized your firecracker red velvet cheesecake cups. Sharing those little twists is what keeps the kitchen exciting!
Happy baking, and may your dessert moments be as sweet and satisfying as these cups.
FAQs About Firecracker Red Velvet Cheesecake Cups
Can I make these cheesecake cups ahead of time?
Yes! They actually taste better after chilling for a few hours or even overnight. Just keep them covered in the fridge until ready to serve.
What if I don’t have buttermilk for the cake batter?
No worries. You can make a quick substitute by adding 1/2 tablespoon of lemon juice or white vinegar to 1/2 cup of milk. Let it sit for 5 minutes before using.
Can I use homemade red velvet cake instead of cake mix?
Absolutely. Just use your favorite red velvet cake recipe, bake it, and crumble it into the cups as the base layer.
How spicy is the cayenne pepper in this recipe?
The cayenne adds a subtle warmth rather than intense heat. You can reduce or omit it if you prefer a classic sweet cheesecake flavor.
What’s the best way to remove the cheesecake cups from the pan?
If using silicone cups, they pop right out easily. For metal pans, lightly grease or use cupcake liners to prevent sticking and gently loosen edges with a knife if needed.
Pin This Recipe!
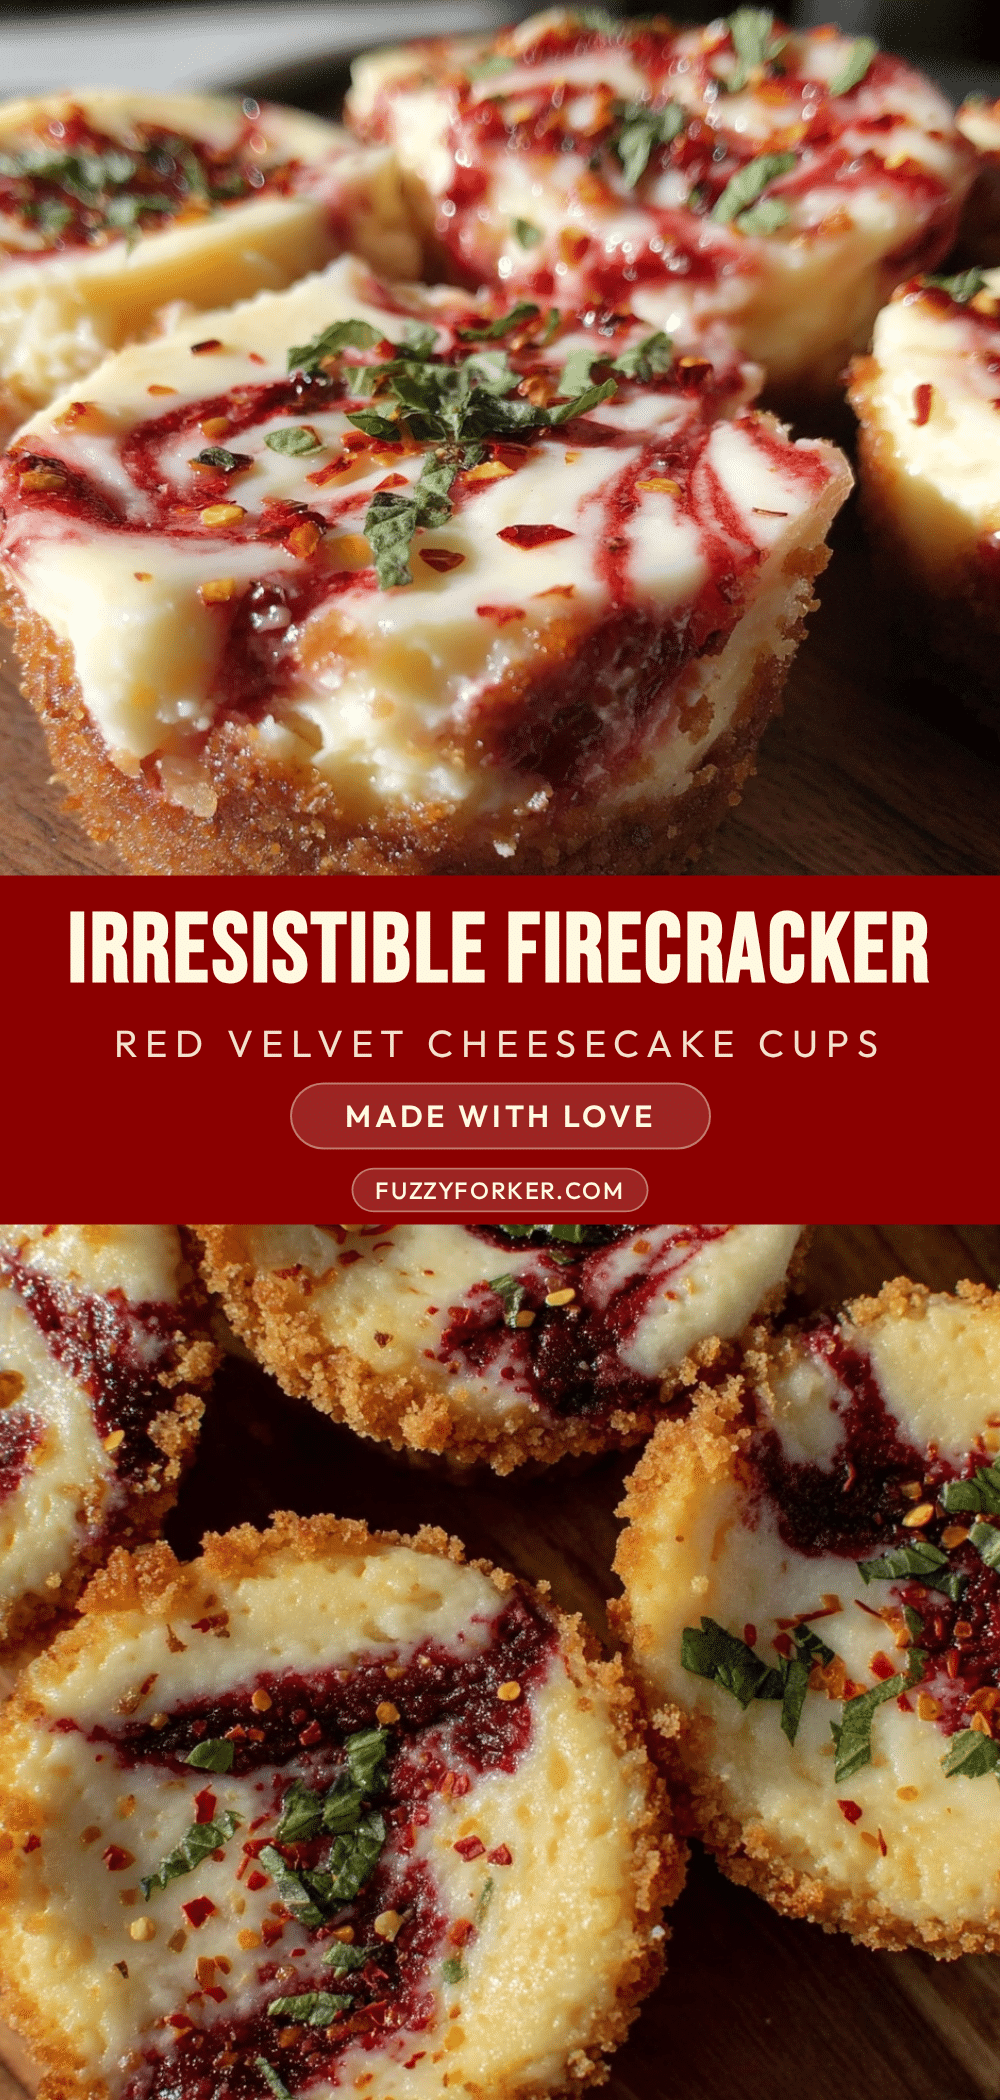
Firecracker Red Velvet Cheesecake Cups
These firecracker red velvet cheesecake cups combine rich red velvet cake with creamy cheesecake and a subtle cayenne pepper kick for a fun and indulgent dessert that’s quick and easy to make.
- Prep Time: 15 minutes
- Cook Time: 22 minutes
- Total Time: 2 hours 37 minutes
- Yield: 12 servings
- Category: Dessert
- Cuisine: American
Ingredients
- Red velvet cake mix (about 15.25 oz box)
- Vegetable oil (1/3 cup or 80 ml)
- Large eggs (2, room temperature)
- Buttermilk (1/2 cup or 120 ml)
- Red food coloring (1 tsp, optional)
- Cream cheese (16 oz or 450 g, softened, full-fat recommended)
- Granulated sugar (2/3 cup or 135 g)
- Vanilla extract (1 tsp)
- Large egg (1, room temperature)
- Sour cream (1/4 cup or 60 ml)
- Cayenne pepper (1/4 tsp, adjust to taste)
- Whipped cream (optional, for serving)
- Red velvet cake crumbs or crushed pecans (optional, for texture)
- Fresh berries like raspberries (optional, for garnish)
Instructions
- Preheat your oven to 325°F (160°C). Line mini cupcake pans with silicone cups or lightly grease them.
- Prepare the red velvet cake batter by whisking together the cake mix, vegetable oil, eggs, buttermilk, and red food coloring (if using) until smooth but thick and pourable. Set aside.
- Make the cheesecake filling by beating softened cream cheese with an electric mixer until smooth. Gradually add sugar and beat until fluffy. Add vanilla extract, egg, sour cream, and cayenne pepper, mixing until just combined.
- Assemble the cups by spooning about 1 tablespoon of red velvet batter into the bottom of each cup, then layering about 2 tablespoons of cheesecake filling on top. Gently swirl the two layers with a toothpick or skewer for a marbled effect without overmixing.
- Bake for 18–22 minutes until the cheesecake filling is set around the edges but slightly jiggly in the center. Cool on a rack for 20 minutes, then refrigerate for at least 2 hours before serving.
Notes
Use room temperature eggs to prevent cracks in the cheesecake layer. Do not overmix the cake and cheesecake layers to maintain a marbled effect. Chill the cups for at least 2 hours for best texture. Silicone muffin cups make removal easier. For gluten-free, substitute cake mix with gluten-free red velvet mix. For dairy-free, use coconut-based cream cheese and sour cream alternatives.
Nutrition
- Serving Size: 1 cheesecake cup
- Calories: 250
- Fat: 15
- Carbohydrates: 25
- Protein: 4
Keywords: red velvet cheesecake, firecracker cheesecake cups, easy dessert, quick dessert, party dessert, red velvet cake, cheesecake cups, cayenne pepper dessert


