
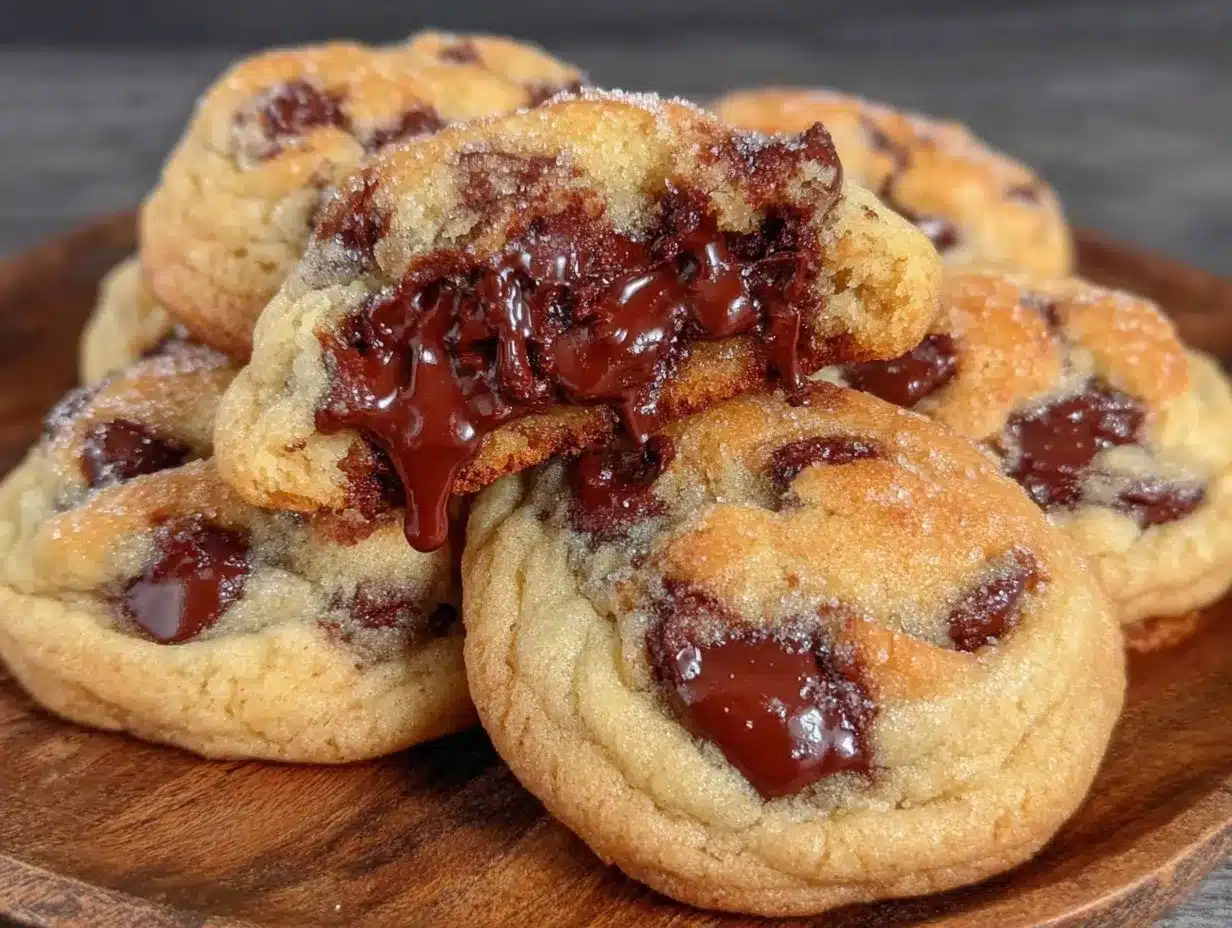
“Wait, are those cookies supposed to be that soft?” my roommate asked, eyebrows raised as I pulled the tray from the oven. Honestly, I wasn’t sure at first either. I was halfway through a late-night baking experiment, armed with a recipe that promised gooey, molten-centered chocolate chip cookies but seemed a bit too good to be true. I’d been craving that perfect cookie — the kind that’s chewy on the edges but oozes warm chocolate in the middle, like a tiny celebration with every bite.
It all started with a tired evening and a half-empty chocolate bar. Instead of reaching for the usual snack, I tossed together some pantry staples on a whim, tweaking the dough to hold more chocolate chunks inside. The first batch came out almost raw in the center, but instead of throwing them away, I took a bite. That molten, chocolatey core was unexpectedly heavenly! It reminded me of the red velvet lava cakes I’d made before, but in cookie form — warm, indulgent, and just a little bit messy. Since then, I’ve made these cookies a dozen times in one week (no exaggeration), each batch better than the last.
What I love most is that these gooey extra chocolate chip cookies with molten centers bring a sense of comfort and fun to baking. You don’t have to be a pro to get that melty middle just right, and the smell of melting chocolate wafting through the kitchen is its own reward. Plus, it’s a treat that feels special but is surprisingly simple to whip up, even on a hectic weeknight or a spontaneous gathering. If you’re anything like me, you’ll find yourself reaching for these cookies whenever you want a little moment of joy.
So yeah, this recipe stuck with me because it’s more than just a cookie — it’s that warm, gooey hug you didn’t know you needed.
Why You’ll Love This Recipe
After testing this recipe multiple times (and sharing with anyone willing to try), I can confidently say these gooey extra chocolate chip cookies with molten centers are a must-try for cookie lovers everywhere. Here’s why they stand out:
- Quick & Easy: From mixing the dough to pulling warm cookies off the tray takes about 25 minutes — perfect for last-minute sweet cravings or a fast dessert fix.
- Simple Ingredients: No fancy or hard-to-find items here — just staples like all-purpose flour, butter, sugar, and of course, plenty of chocolate.
- Perfect for Any Occasion: Whether it’s a cozy night in, a casual party, or a fun baking project with the kids, these cookies always hit the spot.
- Crowd-Pleaser: Every time I bring these cookies to a get-together, they disappear fast — adults and kids alike swear by their melty, soft centers.
- Unbelievably Delicious: The texture strikes a perfect balance — slightly crisp edges with a molten chocolate core that melts in your mouth.
What really makes this recipe different? It’s the technique of underbaking just enough so the centers remain molten but the cookies hold shape. Plus, a little extra chocolate is folded right into the dough, not just sprinkled on top, so every bite is packed. I also love how these cookies don’t feel too sweet or heavy — more like a rich, indulgent treat that leaves you wanting just one more.
Honestly, after making these cookies, I started thinking about how small tweaks — like chilling the dough briefly or using a mix of milk and dark chocolate chunks — can impact the texture and flavor in such a good way. It’s a recipe that’s approachable but flexible, which makes it a real winner for anyone who loves baking but doesn’t want to fuss over complicated steps or ingredients.
What Ingredients You Will Need
This recipe uses simple, wholesome ingredients to deliver bold flavor and that signature molten texture without any fuss. Most are pantry staples you might already have on hand, but I’ll also suggest a few tips to help you pick the best versions.
- All-purpose flour (2 ¼ cups / 280 g) – The base for the dough; measure carefully for the best texture.
- Baking soda (1 teaspoon) – Helps the cookies rise just right.
- Salt (½ teaspoon) – Balances sweetness and enhances flavor.
- Unsalted butter (1 cup / 227 g), softened – I prefer using a good-quality butter like Plugrá for that perfect creamy richness.
- Granulated sugar (¾ cup / 150 g) – Adds sweetness and crispness to the edges.
- Brown sugar (¾ cup packed / 165 g) – Provides moisture and depth of flavor; light brown sugar works best here.
- Large eggs (2), room temperature – They bind everything and add moisture.
- Pure vanilla extract (2 teaspoons) – For that warm, comforting aroma.
- Chocolate chips and chunks (2 cups / 340 g) – I recommend a mix of semi-sweet chips and chopped bittersweet chocolate bars for texture and that molten center effect.
- Optional: Sea salt flakes – To sprinkle on top just before baking, adding a salty crunch that complements the chocolate beautifully.
Substitution tips: For a gluten-free twist, you can swap the all-purpose flour with a 1-to-1 gluten-free baking flour blend. If dairy is a concern, try using vegan butter and dairy-free chocolate chips — they won’t melt quite the same, but still delicious! For a lower-sugar version, reduce granulated sugar slightly and increase brown sugar, which adds moisture.
In summer, I sometimes add chopped toasted nuts or swap half the chips for fresh berries to add a juicy contrast. But honestly, the classic combo of gooey chocolate chips and buttery dough is what makes this recipe feel like a little treasure every time.
Equipment Needed
- Mixing bowls: A large one for dough mixing and a smaller one for dry ingredients.
- Electric mixer or stand mixer: Helpful for creaming butter and sugars, but a sturdy whisk or wooden spoon can work if you don’t have one.
- Measuring cups and spoons: Precise measuring is key for consistent cookies.
- Baking sheets: I prefer heavy-duty, rimmed baking sheets for even heat distribution.
- Parchment paper or silicone baking mats: Prevent sticking and help with easy cleanup.
- Spoon or cookie scoop: For portioning dough evenly; I use a 1.5-inch cookie scoop for perfect size.
- Cooling racks: To let cookies cool without sogginess on the bottom.
Pro tip: If you don’t have a stand mixer, don’t sweat it. I’ve made these cookies countless times just mixing by hand — it takes a bit more elbow grease but the result is the same. For those on a budget, silicone mats last forever and help keep your baking sheets clean without extra greasing.
Preparation Method
- Preheat your oven to 350°F (175°C). Line two baking sheets with parchment paper or silicone mats. This usually takes about 10 minutes, including warming up your kitchen.
- Mix dry ingredients: In a medium bowl, whisk together 2 ¼ cups (280 g) all-purpose flour, 1 teaspoon baking soda, and ½ teaspoon salt. Set aside. This keeps your leaveners evenly distributed.
- Cream butter and sugars: Using an electric mixer or a sturdy wooden spoon, beat 1 cup (227 g) softened unsalted butter with ¾ cup (150 g) granulated sugar and ¾ cup (165 g) packed light brown sugar for about 3 minutes until the mixture is light and fluffy. This step is crucial for that tender crumb.
- Add eggs and vanilla: Beat in 2 large eggs (room temperature) one at a time, then add 2 teaspoons pure vanilla extract. The dough will become creamy and smooth.
- Combine wet and dry ingredients: Gradually add the flour mixture to the wet ingredients, mixing on low speed or folding gently with a spatula. Stop when just combined — don’t overmix or the cookies will be tough.
- Fold in chocolate: Stir in 2 cups (340 g) of chocolate chips and chunks. I like to chop about half the chocolate into bigger pieces for those molten pockets that surprise you mid-bite.
- Chill the dough (optional but recommended): Cover the bowl and refrigerate for 30 minutes to 1 hour. This step firms up the dough, making it easier to handle and helping the cookies keep their shape.
- Scoop dough onto baking sheets: Use a cookie scoop or spoon to drop rounded tablespoons of dough about 2 inches apart. If desired, sprinkle a pinch of sea salt flakes on each mound for flavor contrast.
- Bake: Place in the preheated oven and bake for 10 to 12 minutes, until the edges are set but centers still look slightly soft and underbaked. (This is key to that molten center!) You’ll notice a gorgeous golden color around the edges and glossy center spots.
- Cool briefly: Let cookies cool on the baking sheet for 5 minutes before transferring to a wire rack. They’ll firm up a bit but stay gooey inside.
If you’re worried about underbaking, remember it’s better to check early — ovens vary! The cookies continue to cook slightly as they cool. Overbaking kills the molten magic, so keep a close eye near the end. Also, if your dough feels too sticky, a quick chill will help with scooping.
Cooking Tips & Techniques
The secret to these gooey extra chocolate chip cookies with molten centers lies in timing and ingredient balance. Here are some tips I’ve picked up through trial and error:
- Don’t overmix the dough. Once you add flour, fold gently until just combined. Too much mixing develops gluten, making cookies tough.
- Chill the dough. This helps control spread and intensifies flavor. I sometimes chill overnight when I plan ahead, which gives the best texture.
- Use a mix of chocolate sizes. Combining chips and chopped chunks creates pockets of molten chocolate that melt differently, adding interest in every bite.
- Watch baking time carefully. Pull the cookies when edges look set but centers still look wet. It’s tempting to bake longer, but that kills the molten effect.
- Try sea salt flakes on top. It’s a small touch that amps up flavor and offsets the sweetness beautifully.
- Multitasking tip: While the cookies bake, clean your mixing bowl and utensils — saves time and keeps the kitchen tidy!
One time, I left a batch in too long and ended up with crispy cookies that were tasty but missed the gooey factor. That mistake taught me to trust the visual cues more than the timer. Also, experimenting with different chocolates — like adding a few chunks of milk chocolate or even white chocolate — can shift the flavor profile delightfully.
Variations & Adaptations
If you want to switch things up, these cookies are surprisingly flexible. Here are some ideas I’ve tried or recommend:
- Gluten-free version: Use a 1-to-1 gluten-free baking flour blend. The texture is a bit different but still rich and gooey.
- Double chocolate: Add ¼ cup cocoa powder to the dry ingredients and use only dark chocolate chunks for a deep chocolate experience.
- Nutty twist: Fold in ½ cup chopped toasted pecans or walnuts for crunch and extra flavor.
- Molten caramel centers: Place a small caramel candy or soft caramel piece in the center of each dough ball before baking for a caramel surprise.
- Dairy-free adaptation: Substitute vegan butter and dairy-free chocolate chips; the cookies won’t have quite the same melt but still satisfy that chocolate craving.
One of my favorite personal tweaks is adding a teaspoon of instant espresso powder to the dough — it doesn’t make the cookies taste like coffee but intensifies the chocolate flavor beautifully. Also, if you want to bake these as bars, press the dough into a pan and bake slightly longer for a gooey chocolate chip blondie vibe.
Serving & Storage Suggestions
These cookies are best enjoyed warm, fresh from the oven when the centers are still molten and luscious. Serve them with a cold glass of milk or a scoop of vanilla ice cream for an extra indulgent treat. For a cozy touch, I sometimes pair them with a warm cup of coffee or hot cocoa.
If you’re serving at a party or gathering, arrange the cookies on a pretty platter sprinkled with a little extra sea salt or chocolate shavings — they’re sure to disappear fast! They also make a fun, unexpected dessert after savory bites like the creamy baked crab dip or the creamy deviled eggs I sometimes bring to potlucks.
To store, place cooled cookies in an airtight container at room temperature for up to 3 days. For longer storage, freeze them in a single layer on a baking sheet, then transfer to a freezer-safe bag for up to 3 months. When ready to eat, reheat gently in a warm oven or microwave for 10–15 seconds to bring back that molten magic.
Just a heads-up: these cookies firm up a bit as they cool but still keep a soft, chewy texture. The chocolate centers won’t be quite as molten after refrigeration but will soften nicely when warmed.
Nutritional Information & Benefits
Each cookie (based on 24 cookies per batch) contains approximately:
| Calories | 190 kcal |
|---|---|
| Fat | 10 g |
| Carbohydrates | 24 g |
| Protein | 2 g |
| Sugar | 16 g |
Key ingredients like unsalted butter provide richness, while the eggs contribute protein and structure. The chocolate chips bring antioxidants from cocoa, and a pinch of salt balances flavor and enhances sweetness perception.
These cookies are not gluten-free by default but can be adapted easily. They contain dairy and eggs, so keep that in mind if you have allergies. From a wellness perspective, they’re best enjoyed as an occasional treat — but hey, life’s too short not to savor a gooey chocolate chip cookie now and then!
Conclusion
These gooey extra chocolate chip cookies with molten centers are the kind of recipe you’ll find yourself making again and again, whether for a quick pick-me-up or a crowd-pleasing dessert. Their irresistible molten core and buttery, chewy edges hit that perfect balance of comfort and indulgence without any complicated steps or ingredients.
Feel free to customize with your favorite chocolates, add nuts, or even try a hint of espresso — it’s a versatile recipe that rewards experimentation. I love that it turns simple pantry ingredients into something that feels special, and honestly, I can’t resist breaking off a warm piece straight from the tray every time.
If you give these cookies a try, I’d love to hear how you make them your own or what moments you pair them with. Sharing a great cookie story is almost as good as eating one — almost!
Frequently Asked Questions
How do I get the molten center without underbaking the whole cookie?
Bake until the edges are set but the centers still look slightly wet and glossy. The cookies will firm up as they cool, keeping the centers soft and gooey.
Can I use only chocolate chips instead of chunks?
Yes, but I recommend mixing chips with chopped chunks for a better molten texture and gooey pockets of chocolate.
Is it necessary to chill the dough?
Not strictly, but chilling helps control spreading, improves flavor, and makes scooping easier. If you’re short on time, a quick 30-minute chill works well.
Can I freeze these cookies?
Absolutely. Freeze baked cookies in an airtight container for up to 3 months. Reheat briefly to bring back their gooey texture.
What’s the best way to store leftover cookie dough?
Wrap the dough tightly and refrigerate for up to 48 hours or freeze for up to 3 months. Let it thaw and chill again before baking.
Pin This Recipe!
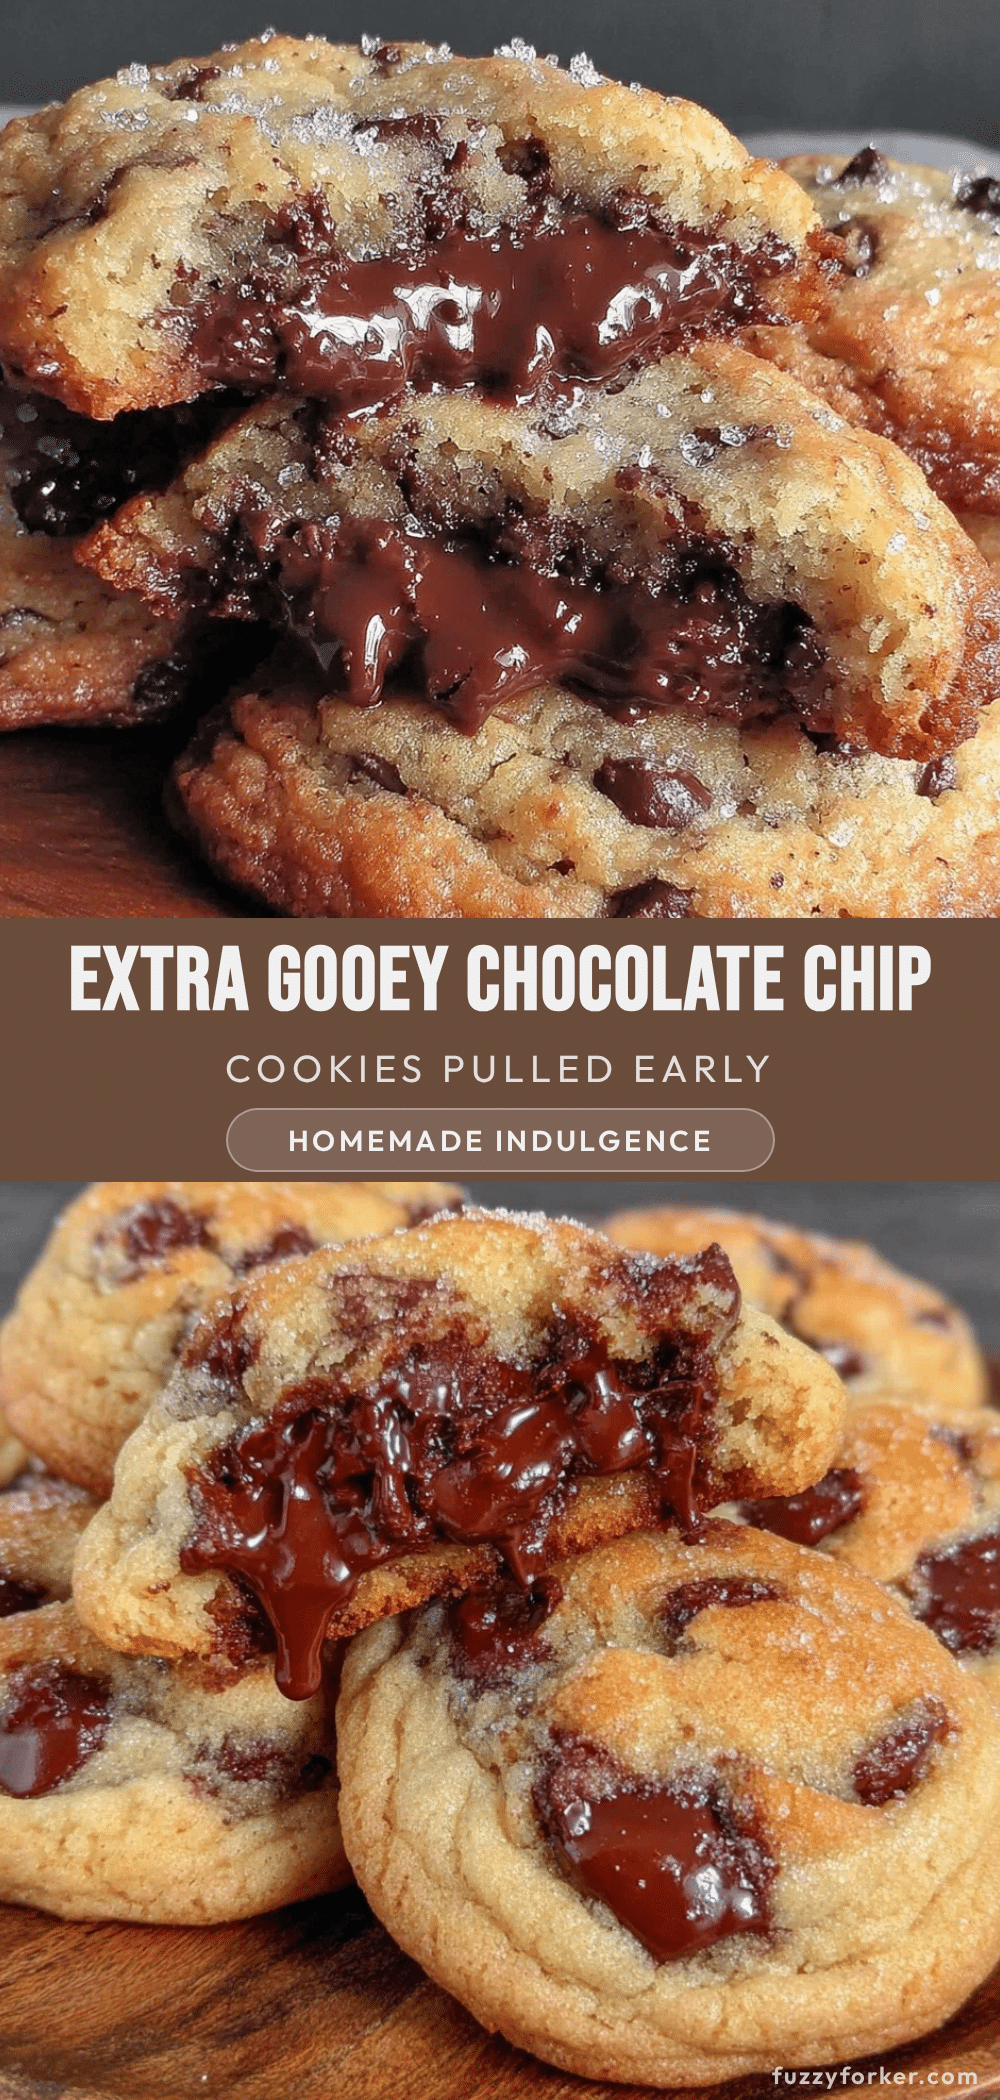
Gooey Extra Chocolate Chip Cookies Recipe Easy Molten Center Treats

These gooey extra chocolate chip cookies feature a molten chocolate center with chewy edges, delivering a warm, indulgent treat that’s quick and easy to make.
- Prep Time: 15 minutes
- Cook Time: 12 minutes
- Total Time: 27 minutes
- Yield: 24 cookies 1x
- Category: Dessert
- Cuisine: American
Ingredients
- 2 ¼ cups (280 g) all-purpose flour
- 1 teaspoon baking soda
- ½ teaspoon salt
- 1 cup (227 g) unsalted butter, softened
- ¾ cup (150 g) granulated sugar
- ¾ cup packed (165 g) light brown sugar
- 2 large eggs, room temperature
- 2 teaspoons pure vanilla extract
- 2 cups (340 g) chocolate chips and chunks (mix of semi-sweet chips and chopped bittersweet chocolate)
- Optional: sea salt flakes for sprinkling
Instructions
- Preheat your oven to 350°F (175°C). Line two baking sheets with parchment paper or silicone mats.
- In a medium bowl, whisk together the flour, baking soda, and salt. Set aside.
- Using an electric mixer or wooden spoon, beat the softened butter with granulated sugar and brown sugar for about 3 minutes until light and fluffy.
- Beat in the eggs one at a time, then add the vanilla extract until the dough is creamy and smooth.
- Gradually add the flour mixture to the wet ingredients, mixing on low speed or folding gently until just combined. Do not overmix.
- Fold in the chocolate chips and chunks.
- Optional: Cover the dough and refrigerate for 30 minutes to 1 hour to firm up.
- Use a cookie scoop or spoon to drop rounded tablespoons of dough about 2 inches apart on the prepared baking sheets. Sprinkle sea salt flakes on top if desired.
- Bake for 10 to 12 minutes, until edges are set but centers look slightly soft and underbaked.
- Let cookies cool on the baking sheet for 5 minutes before transferring to a wire rack to cool completely.
Notes
Do not overmix the dough to avoid tough cookies. Chilling the dough helps control spread and intensifies flavor. Bake until edges are set but centers remain slightly wet for the molten effect. Cookies continue to cook slightly as they cool. Optional sea salt flakes enhance flavor. Dough can be frozen for up to 3 months.
Nutrition
- Serving Size: 1 cookie
- Calories: 190
- Sugar: 16
- Fat: 10
- Carbohydrates: 24
- Protein: 2
Keywords: chocolate chip cookies, gooey cookies, molten center cookies, easy chocolate chip cookies, chewy cookies, chocolate treats


