“You really think this is going to work?” my friend asked, eyeing the bubbling oil and sizzling garlic in my tiny kitchen. Honestly, I was skeptical too. I’d been on a bit of a spicy condiment kick, inspired by a late-night scroll through food forums, and decided to try making my own chili crisp oil with garlic and sesame. I wasn’t after just heat, but that perfect balance of crunch, aroma, and flavor that makes your mouth wake up and smile.
It started as a last-minute idea when I realized I was out of store-bought chili crisp, but had all the ingredients to whip up something homemade. The kitchen quickly filled with the toasty scent of garlic mingling with nutty sesame seeds. I watched the oil shimmer and bubble, a bit nervous it might burn, but hopeful that this simple concoction would turn out better than expected.
That batch ended up on everything for the next week—drizzled over noodles, stirred into scrambled eggs, and even splashed on some classic hummus for a little kick (reminded me of a creamy classic hummus recipe I love). It wasn’t long before friends started asking for the recipe, and I realized this fiery, flavorful chili crisp oil wasn’t just a kitchen experiment—it had become a staple.
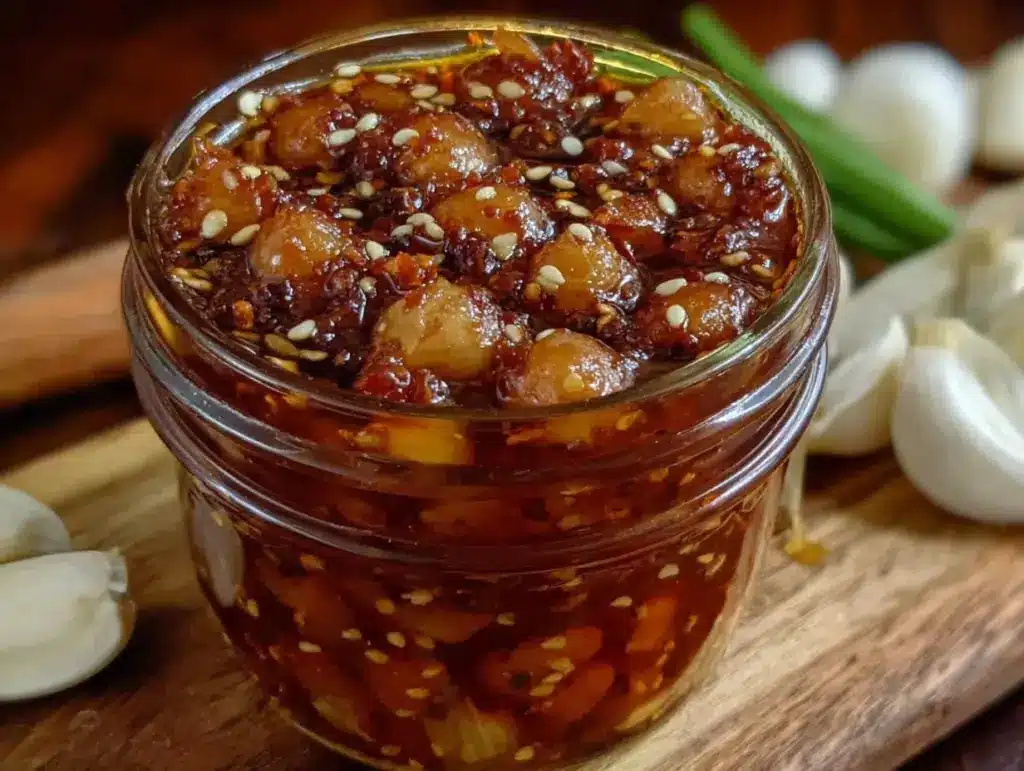
There’s something quietly satisfying about making your own chili crisp oil with garlic and sesame. It’s the kind of condiment that feels like a little gift to yourself—bold, a bit addictive, and always ready to add that extra pop to simple dishes. This recipe stuck because it’s approachable, flexible, and honestly, it tastes like a tiny celebration in a jar.
Why You’ll Love This Recipe
After multiple trials and tweaks, this homemade chili crisp oil with garlic and sesame has proven itself as a must-have in my kitchen. Here’s why it might become yours too:
- Quick & Easy: You can have this chili crisp oil ready in about 20 minutes. Perfect for those evenings when you want to spice things up without the fuss.
- Simple Ingredients: Uses pantry staples like dried chili flakes, garlic, and toasted sesame seeds—no exotic shopping required.
- Perfect for Many Dishes: Whether you’re jazzing up noodles, eggs, or even a creamy baked crab dip, it adds that crave-worthy crunch and heat.
- Crowd-Pleaser: It’s spicy but not overwhelming, so it tends to win over even those who are usually cautious about chili oils.
- Unbelievably Delicious: The toasted garlic and nutty sesame seeds give it a depth you won’t find in store-bought versions.
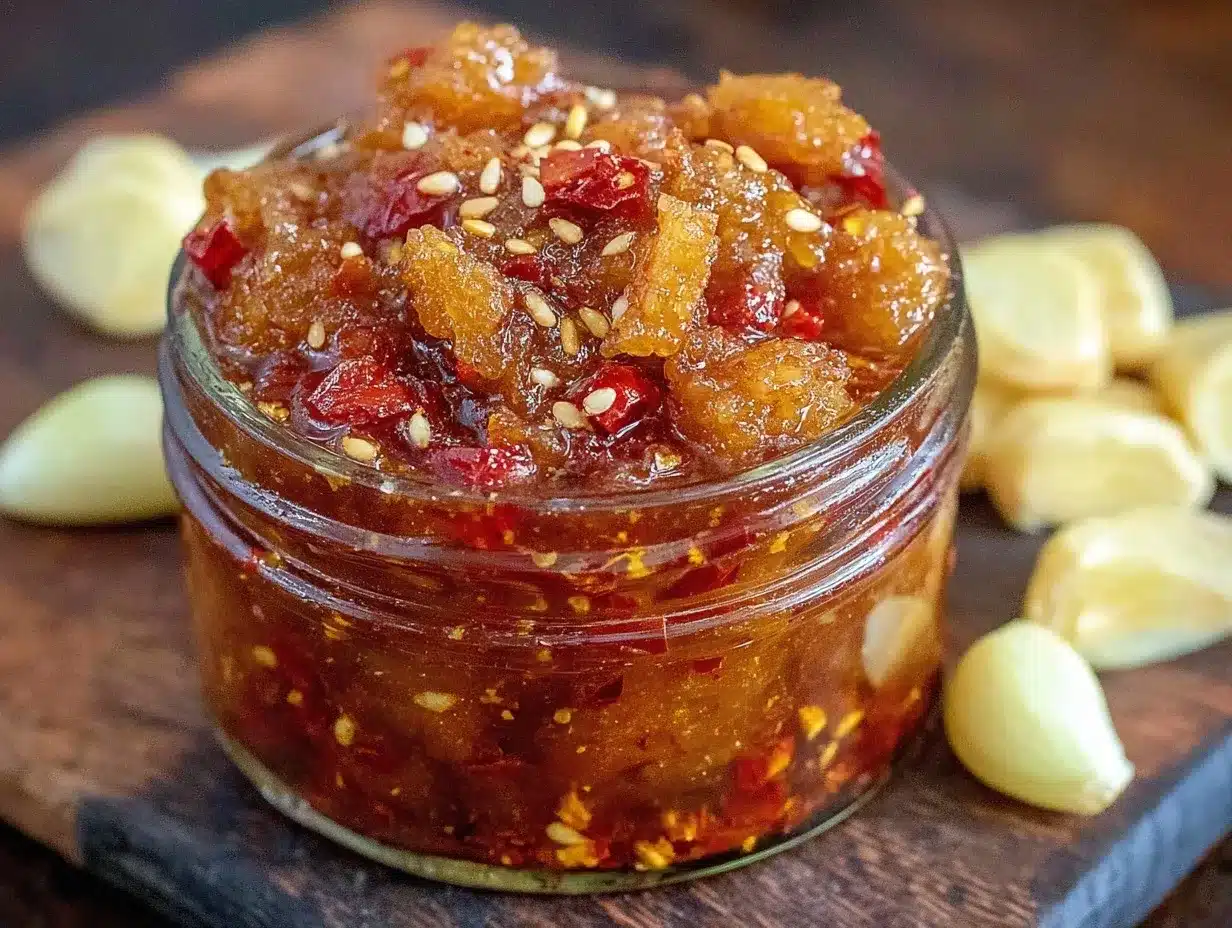
This isn’t just another chili crisp oil recipe. The trick is in the slow-toasted garlic that gets perfectly golden without burning, and the carefully measured sesame seeds that add a smoky crunch. Plus, I love that you can tweak the heat level to suit your taste—from a gentle warmth to a fiery punch.
It’s the kind of condiment that makes you pause mid-bite, close your eyes, and appreciate the layers of flavor. If you’ve ever felt that store-bought chili oils were either too one-dimensional or too harsh, this homemade version will feel like a breath of fresh air—balanced, authentic, and totally addictive.
What Ingredients You Will Need
This chili crisp oil recipe uses simple, wholesome ingredients to deliver bold flavor and satisfying texture without any fuss. Most of these are pantry staples, but I’ll also share tips on choosing the best versions for the richest taste.
- Neutral oil: 1 cup (240 ml) vegetable or canola oil (neutral oils with a high smoke point work best; I personally prefer grapeseed oil for its clean flavor)
- Garlic: 10 cloves, finely minced or thinly sliced (this is the heart of the flavor—fresh and aromatic)
- Dried chili flakes: 1/4 cup (20 g) (go for crushed red pepper flakes with seeds for authentic heat; adjust based on your spice tolerance)
- Sesame seeds: 2 tablespoons, toasted (lightly toasting them brings out a deep, nutty flavor)
- Soy sauce: 1 teaspoon (adds umami depth, but optional if you prefer a pure oil)
- Sugar: 1/2 teaspoon (balances the heat and bitterness)
- Salt: 1/2 teaspoon, or to taste (kosher salt or sea salt recommended for clean taste)
- Sichuan peppercorns (optional): 1 teaspoon, lightly crushed (for a subtle, numbing spice that complements the chili)
For substitutions, if you want a gluten-free version, swap soy sauce with tamari. You can also use coconut or avocado oil if you want a different flavor profile, but stick to neutral oils for the best results.
If fresh garlic isn’t your jam, garlic powder can work in a pinch, but it won’t give the same crunchy texture that makes this chili crisp oil so addictive.
Equipment Needed
- Small heavy-bottomed saucepan: For gently heating the oil without burning the garlic.
- Heatproof mixing bowl: To combine the chili flakes, sesame seeds, and other ingredients safely.
- Fine mesh strainer or slotted spoon: Optional, if you want to remove the solids after infusing (though I recommend keeping them for texture).
- Glass jar or airtight container: For storing your chili crisp oil (a clean jar with a tight lid is best to keep it fresh).
- Spoon or spatula: For mixing and scooping.
If you don’t have a heavy-bottomed pan, a small stainless steel or cast-iron skillet can work too. Just keep the heat low to avoid burning the garlic. I once tried using a nonstick pan, but it didn’t give me the same golden crisp garlic bits I love.
For toasting sesame seeds and Sichuan peppercorns, a dry skillet works wonders. I keep a small pan just for toasting spices because it makes cleanup easier and helps maintain the pure flavors.
Preparation Method
- Toast the sesame seeds and Sichuan peppercorns: Heat a dry skillet over medium heat. Add 2 tablespoons sesame seeds and 1 teaspoon Sichuan peppercorns. Stir frequently for about 2–3 minutes until seeds are golden and peppercorns fragrant. Remove peppercorns to cool, leaving seeds in the pan for a few more seconds. Transfer to a bowl and set aside. (Keep a close eye to avoid burning.)
- Prepare the garlic: Peel and finely mince or thinly slice 10 cloves of garlic. Uniform pieces help crisp evenly. (I prefer thin slices for that crunchy texture.)
- Heat the oil: In a small heavy-bottomed saucepan, pour 1 cup (240 ml) of neutral oil. Warm over low-medium heat until shimmering but not smoking (around 275°F / 135°C if you have a thermometer).
- Add the garlic: Carefully add the minced or sliced garlic to the warm oil. Stir gently to separate pieces. The garlic should bubble gently—if it crackles violently or darkens too fast, lower the heat. Cook for about 10-12 minutes until garlic turns golden brown and crispy. (This step takes patience; rushing will burn the garlic and ruin the flavor.)
- Remove from heat and add spices: Immediately pour the hot oil and garlic over a heatproof bowl containing 1/4 cup (20 g) dried chili flakes, toasted sesame seeds, 1/2 teaspoon sugar, 1/2 teaspoon salt, and 1 teaspoon soy sauce (optional). Stir well to combine. (The oil will bubble up as it hits the chili—this is the good stuff.)
- Cool and jar: Let the mixture cool completely to room temperature before transferring to a clean glass jar. Seal tightly and store at room temperature for up to 2 weeks or refrigerate for longer shelf life. (The flavors meld beautifully after a day or two.)
One important tip: don’t rush the garlic cooking. It’s tempting to crank the heat, but slow and steady is the way to get that perfect golden crispiness without bitterness. Also, always use fresh oil and fresh ingredients for the best results—stale chili flakes or old oil will dull the flavor.
If you want to keep the chili crisp oil on hand for quick snacks, it’s fantastic spooned over soft-boiled eggs or mixed into a creamy dill pickle dip recipe you might have tried before.
Cooking Tips & Techniques
Getting chili crisp oil just right can feel tricky the first few times, but here are some pro tips that I learned the hard way:
- Low and slow garlic cooking: The key is gently frying garlic at a low temperature. Too hot, and it burns bitter; too cool, and it never crisps. Keep the oil shimmering but not smoking.
- Use fresh, good-quality chili flakes: Old chili flakes lose their vibrant color and heat. I always pick up a fresh batch from my local spice shop or trusted brands online.
- Toast sesame seeds separately: Toasting them dry in a pan brings out their nutty flavor and adds crunch. Don’t skip this step!
- Don’t overcrowd the pan: When cooking garlic, too many pieces at once can lead to uneven cooking and soggy bits.
- Let the oil cool before jarring: Jarring while hot can create condensation, which leads to quicker spoilage.
I once forgot to toast the sesame seeds and the flavor was flat. Another time, I turned the heat up too high and ended up with burnt garlic that I had to toss. These little lessons taught me to respect the process and be patient. Also, multitasking helps—while the garlic cooks, I prep the spice mix and toast the seeds to save time.
Variations & Adaptations
This chili crisp oil recipe is a fantastic base for experimentation. Here are some ways to switch it up:
- Spice variations: Add crushed Sichuan peppercorns for that numbing sensation or swap in smoked paprika for a smoky twist. I’ve also tried a pinch of ground cumin for warmth.
- Oil options: For a richer flavor, try using toasted sesame oil mixed with neutral oil (50/50). Be careful with the sesame oil’s low smoke point.
- Garlic alternatives: Swap garlic for shallots or add finely chopped ginger for a different aromatic base. I once made a batch with equal parts garlic and ginger for a zesty flavor.
- Heat level: Adjust dried chili flakes quantity to suit your taste. For a milder version, use Korean chili flakes (gochugaru) which are less intense but flavorful.
- Allergen substitutions: Omit sesame seeds if allergic and replace with toasted sunflower or pumpkin seeds for crunch.
My personal favorite variation is adding a teaspoon of fermented black beans to the chili mix before pouring the hot oil over. It adds a funky umami punch that’s addictive.
Serving & Storage Suggestions
This homemade chili crisp oil is incredibly versatile. Serve it at room temperature for the best texture and flavor. Here are some ideas:
- Drizzle over steamed vegetables, noodles, or rice bowls for an instant flavor boost.
- Add a spoonful to creamy dips like my creamy classic hummus or a rich baked crab dip.
- Mix into scrambled eggs or an avocado toast for a spicy, crunchy surprise.
- Use as a marinade base or finishing oil for grilled meats and seafood.
Store chili crisp oil in a sealed jar at room temperature for up to two weeks, or refrigerate for longer shelf life (up to 1 month). The oil may solidify or cloud when chilled—simply bring to room temperature before using. Flavors deepen and meld after a day or two, so if you can wait, it’s worth it!
Nutritional Information & Benefits
This chili crisp oil delivers concentrated flavor with modest calories, mostly from the oil and sesame seeds. Here’s a rough estimate per tablespoon (15 ml):
| Calories | 120 |
|---|---|
| Total Fat | 14 g |
| Sodium | 120 mg (varies by soy sauce) |
| Carbohydrates | 1 g |
| Protein | 0.3 g |
Key health benefits come from garlic’s antioxidant properties and sesame seeds’ healthy fats and minerals. Using a neutral oil with a good fatty acid profile like grapeseed or avocado oil adds more heart-healthy fats. For those avoiding gluten, swapping soy sauce with tamari keeps this recipe gluten-free.
Conclusion
Making your own chili crisp oil with garlic and sesame is one of those simple kitchen triumphs that keeps you coming back for more. It’s approachable and forgiving, yet packed with bold, crunchy flavor you just can’t get from store-bought jars. Whether you spoon it over noodles, stir it into dips, or splash it on your eggs, this oil brings a little spark of joy to everyday meals.
Feel free to tweak the heat, swap oils, or try new spices to make it your own. Personally, this recipe reminds me that some of the best flavors come from just a few humble ingredients treated with care. If you enjoy adding homemade touches to your cooking, you might also appreciate the ease of a creamy deviled eggs recipe or the cozy satisfaction of my comfort chili with cornbread.
I’d love to hear how you make this chili crisp oil your own, so don’t hesitate to share your twists or questions below. Here’s to many flavorful meals ahead!
FAQs
What is chili crisp oil?
Chili crisp oil is a spicy, crunchy condiment made by infusing oil with dried chili flakes, garlic, and sometimes other aromatics like sesame seeds. It adds heat and texture to many dishes.
How long does homemade chili crisp oil last?
Stored in an airtight jar, it lasts about 2 weeks at room temperature or up to 1 month refrigerated. Always check for off smells or mold before use.
Can I make this recipe vegan and gluten-free?
Yes! Use tamari instead of soy sauce to keep it gluten-free, and all other ingredients are plant-based.
Is it possible to adjust the heat level?
Absolutely. Use less chili flakes for milder heat or swap in milder chili powders like gochugaru for a gentler spice.
Can I use this chili crisp oil as a cooking oil?
It’s best as a finishing oil or condiment due to the garlic and chili flakes, which can burn at high heat. Use neutral oil separately for cooking.
Pin This Recipe!
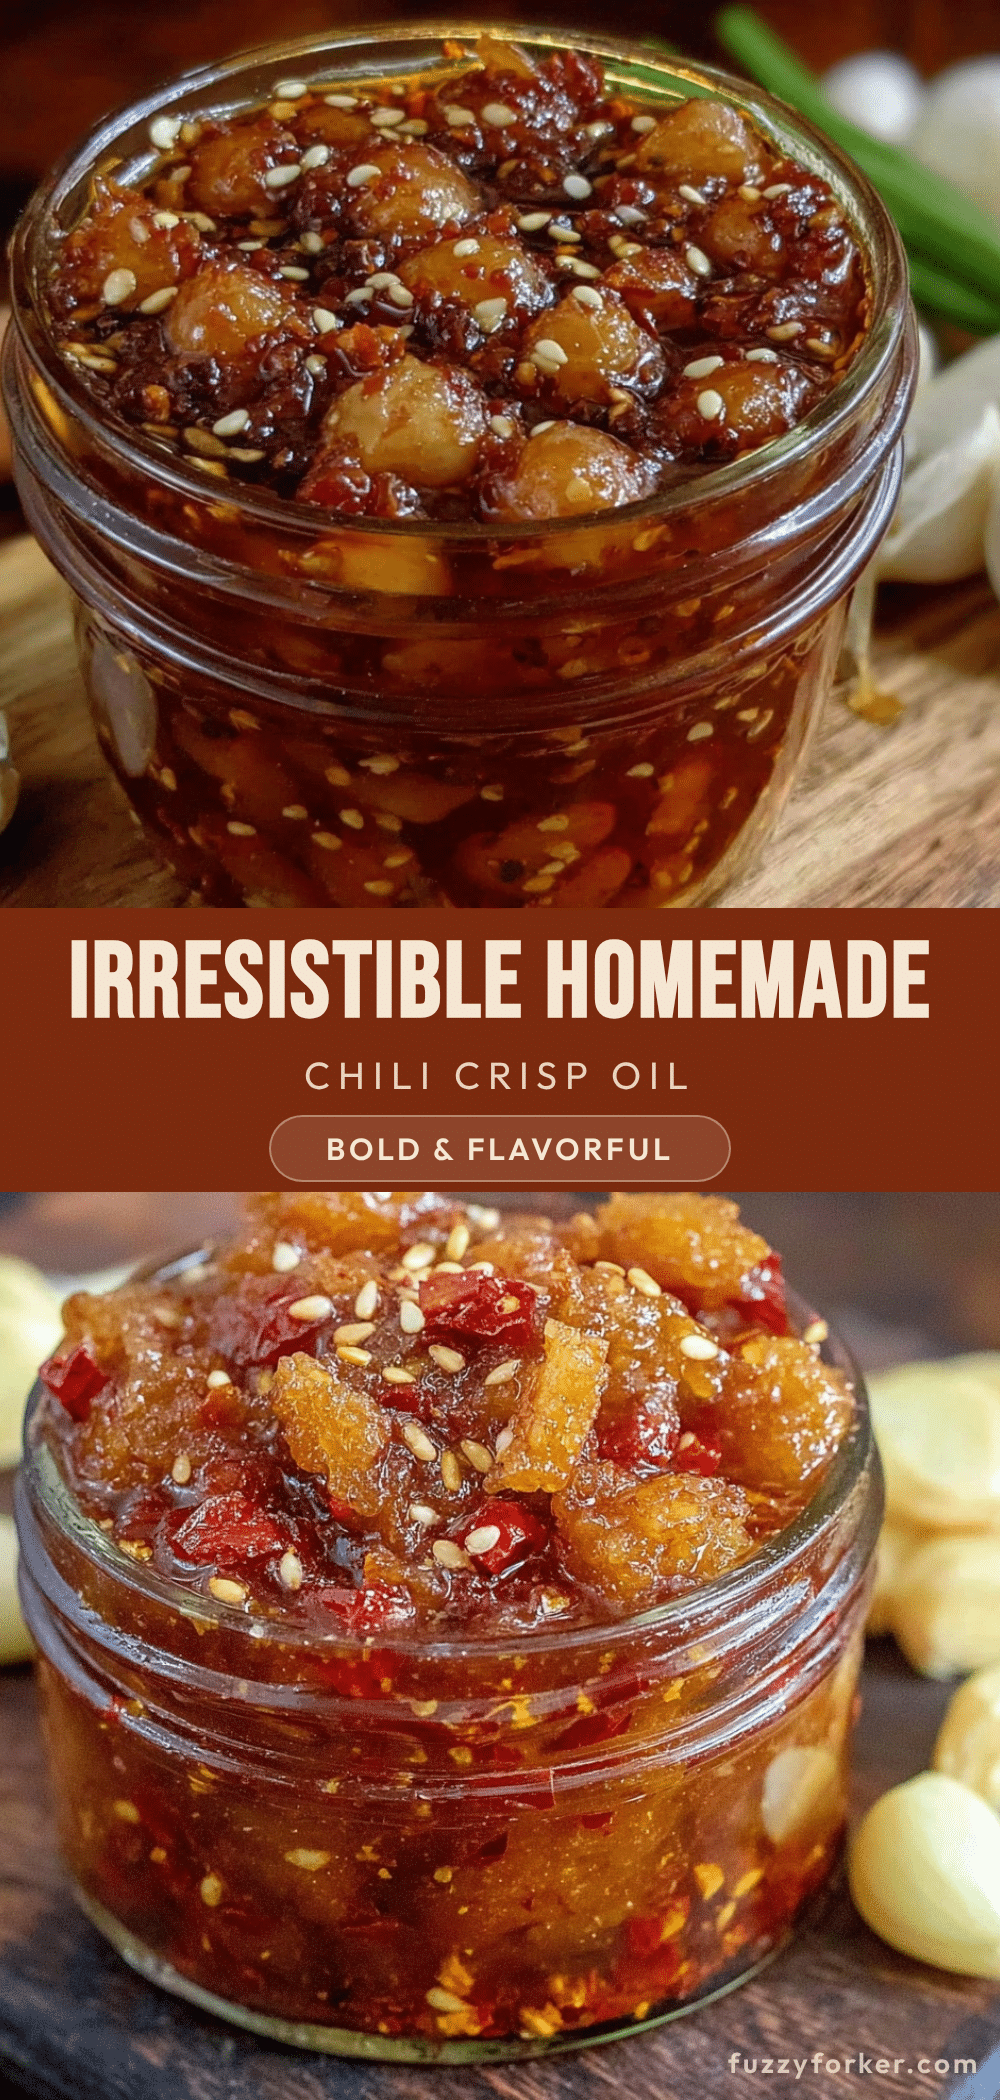
Flavorful Homemade Chili Crisp Oil Recipe with Garlic and Sesame

A bold and crunchy homemade chili crisp oil infused with garlic and toasted sesame seeds, perfect for adding heat and texture to a variety of dishes.
- Prep Time: 10 minutes
- Cook Time: 12 minutes
- Total Time: 22 minutes
- Yield: About 1 cup (16 tablespoons) 1x
- Category: Condiment
- Cuisine: Asian-inspired
Ingredients
- 1 cup (240 ml) neutral oil (vegetable, canola, or grapeseed oil preferred)
- 10 cloves garlic, finely minced or thinly sliced
- 1/4 cup (20 g) dried chili flakes (crushed red pepper flakes with seeds)
- 2 tablespoons toasted sesame seeds
- 1 teaspoon soy sauce (optional)
- 1/2 teaspoon sugar
- 1/2 teaspoon salt (kosher or sea salt recommended)
- 1 teaspoon Sichuan peppercorns, lightly crushed (optional)
Instructions
- Toast the sesame seeds and Sichuan peppercorns in a dry skillet over medium heat for 2–3 minutes until seeds are golden and peppercorns fragrant. Remove peppercorns to cool, leaving seeds in the pan for a few more seconds. Transfer to a bowl and set aside.
- Peel and finely mince or thinly slice 10 cloves of garlic.
- Heat 1 cup (240 ml) of neutral oil in a small heavy-bottomed saucepan over low-medium heat until shimmering but not smoking (around 275°F / 135°C).
- Carefully add the garlic to the warm oil and stir gently to separate pieces. Cook for 10-12 minutes until garlic turns golden brown and crispy, adjusting heat to avoid burning.
- Remove from heat and immediately pour the hot oil and garlic over a heatproof bowl containing dried chili flakes, toasted sesame seeds, sugar, salt, and soy sauce (if using). Stir well to combine.
- Let the mixture cool completely to room temperature before transferring to a clean glass jar. Seal tightly and store at room temperature for up to 2 weeks or refrigerate for longer shelf life.
Notes
Cook garlic slowly over low heat to avoid burning and achieve perfect golden crispiness. Use fresh chili flakes and oil for best flavor. Toast sesame seeds separately to bring out nutty flavor. Let oil cool before jarring to prevent condensation and spoilage. Store in airtight container at room temperature for up to 2 weeks or refrigerate for up to 1 month.
Nutrition
- Serving Size: 1 tablespoon (15 ml)
- Calories: 120
- Sodium: 120
- Fat: 14
- Carbohydrates: 1
- Protein: 0.3
Keywords: chili crisp oil, homemade chili oil, garlic chili oil, sesame chili oil, spicy condiment, chili flakes, toasted sesame seeds


