When my daughter turned seven, I wanted her birthday cake to be more than just a dessert — I wanted it to be a celebration of childhood memories, summer backyard parties, and a little patriotic sparkle. I remember that afternoon vividly: the backyard buzzing with kids, the sun starting to dip, and this bright, bold American flag cake sitting proudly on the picnic table. It wasn’t perfect the first time (I botched the red stripes once, and the blue frosting looked more purple than navy), but after testing and tweaking it 10+ times, I finally nailed the recipe that felt as joyful and festive as a childhood birthday should be.
This American flag cake recipe easy patriotic dessert for childhood birthdays quickly became our go-to for any summer celebration — simple enough for me to pull together on a busy day, but impressive enough to make the birthday kid feel like a star. I love that it’s colorful, creamy, and feels nostalgic without being fussy. Plus, the kids love helping with the decorating, which makes the whole party vibe even better.
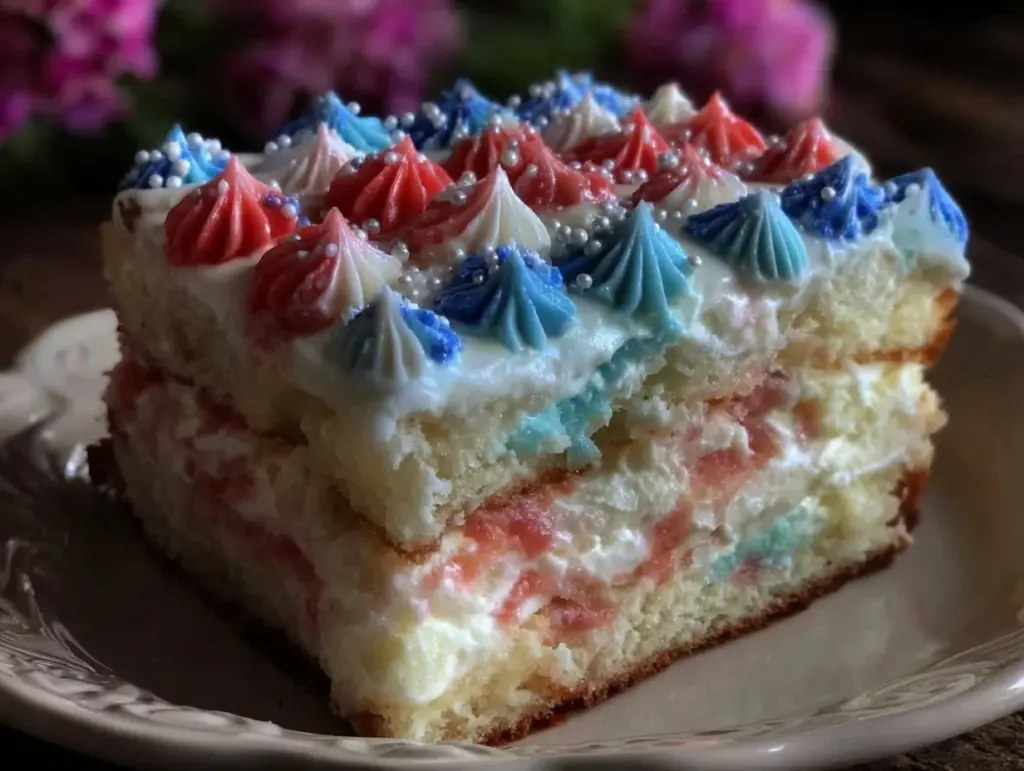
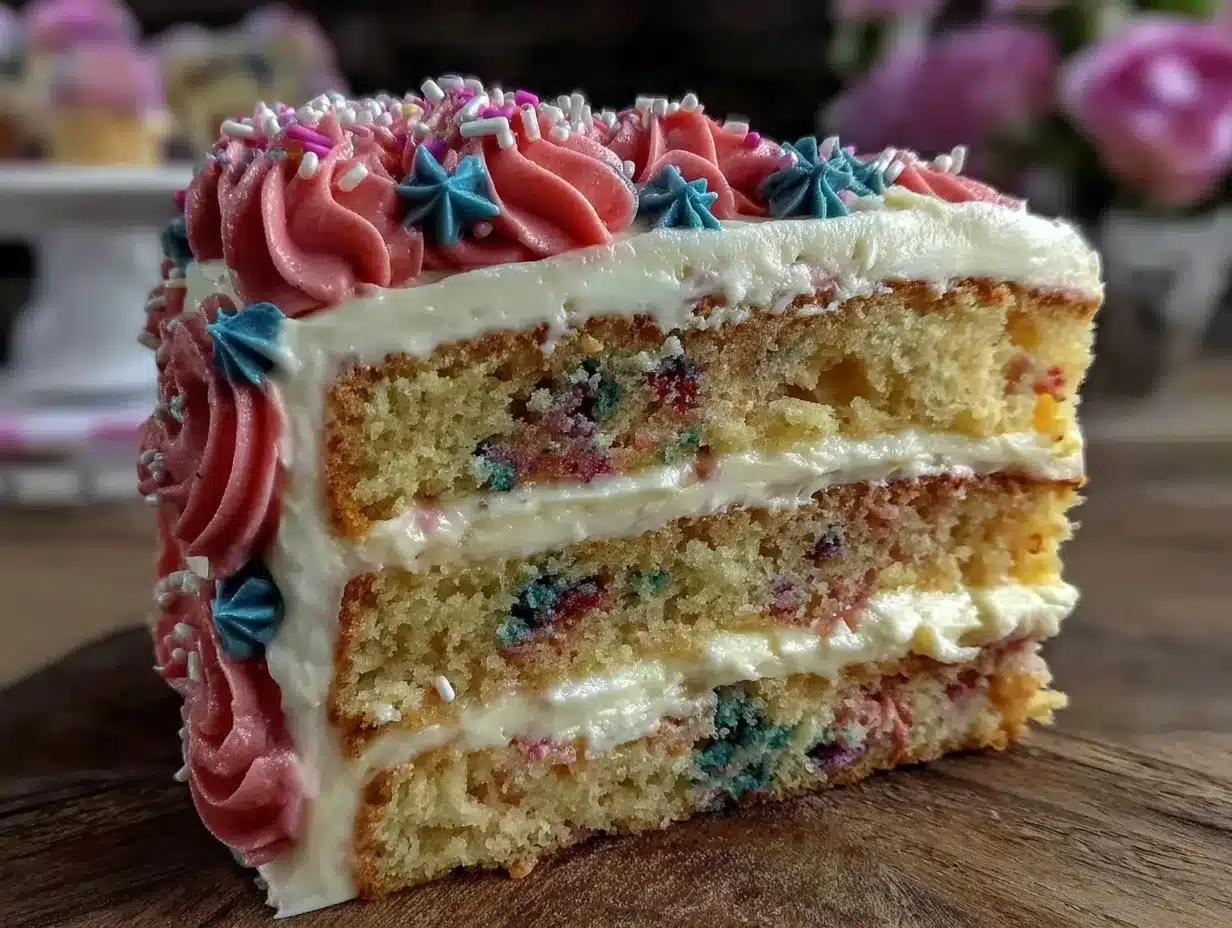
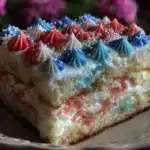
Honestly, there’s something about this cake that brings everyone to the table — the red, white, and blue layers are classic, but the fluffy texture and sweet cream cheese frosting keep everyone coming back for seconds. And because I’ve made this recipe for gatherings ranging from small family celebrations to big backyard barbecues, I’m excited to walk you through how to make it yourself — even if you’ve never tackled a layered cake before.
Why You’ll Love This Recipe
This recipe has completely changed how I handle childhood birthday parties, especially those that fall near the Fourth of July or any patriotic occasion.
- Kid-Friendly Fun — The bold red, white, and blue colors make this cake a hit with kids. They love the layered surprise when you cut into it, and decorating the flag on top is a fun group activity.
- Easy to Make — You don’t need to be a baking pro to get this right. The cake layers bake in under 30 minutes each, and the frosting is a straightforward cream cheese base that comes together in minutes.
- Perfect for Childhood Birthday Celebrations & Summer Gatherings — Whether it’s a birthday or a backyard barbecue, this cake fits right in with casual family fun and patriotic vibes.
- Made with Pantry Staples — Most ingredients are things you probably already have, like flour, eggs, and sugar. I do recommend buying fresh cream cheese for the frosting — it makes a huge difference in taste and texture.
- Feeds a Crowd — This cake comfortably serves 10–12 people, making it great for parties where you want to avoid running out of dessert.
Because this recipe is a classic for childhood birthday celebrations and summer parties, it pairs beautifully with other crowd-pleasers like my creamy deviled eggs or creamy baked crab dip. Those dishes round out the menu perfectly without adding stress.
Ingredients You’ll Need
Here’s the best part: you probably have most of this already. I’m picky about a few ingredients, so I’ll share my tips for the best results.
- All-Purpose Flour (2 ¾ cups / 345g) — The cake’s structure depends on this. I always sift it to avoid lumps, which helps keep the layers light and fluffy.
- Baking Powder (2 ½ teaspoons) — Makes the cake rise evenly. I use Clabber Girl for reliable results.
- Salt (½ teaspoon) — Balances sweetness and enhances flavor.
- Unsalted Butter (1 cup / 227g, softened) — Use real butter, not margarine. It adds richness and helps the cake brown nicely.
- Granulated Sugar (2 cups / 400g) — Sweetness is key for a childhood birthday cake, but not overpowering.
- Large Eggs (4, room temperature) — They keep the cake tender and moist. I always let them sit out for 30 minutes to blend better.
- Whole Milk (1 cup / 240ml) — Adds moisture and richness. I avoid skim or low-fat milk because it dries out the cake.
- Vanilla Extract (2 teaspoons) — The secret flavor booster. Use pure vanilla if you can.
- Red and Blue Gel Food Coloring — Gel colors are best for vibrant, true reds and blues without thinning the batter.
- Cream Cheese (8 ounces / 227g, softened) — For the frosting. Fresh is non-negotiable here — it makes the frosting silky and tangy.
- Powdered Sugar (4 cups / 480g) — Sweetens and thickens the frosting.
- Heavy Cream (2 tablespoons / 30ml) — Adds smoothness to the frosting and helps with spreading.
Equipment Needed
You don’t need anything fancy for this. Here’s what I actually use:
- Two 9-inch round cake pans — I prefer non-stick, but if you only have one, you can bake the layers one at a time and let them cool completely.
- Electric mixer
- Mixing bowls — At least two, one for dry ingredients and one for wet.
- Rubber spatula — For folding and scraping the sides of the bowl.
- Offset spatula or butter knife — Essential for frosting the cake smoothly.
- Cake board or large plate — To assemble and serve the cake.
Optional but useful:
- Turntable — If you want to get fancy with frosting, but not necessary.
- Piping bags and tips — For decorating stars or stripes, but you can also use plastic zip bags with a corner snipped.
How to Make American Flag Cake for Childhood Birthday Celebrations
Alright, let’s get into it. I’ll walk you through exactly how I make this, including the small tricks that actually make a difference.
- Prep Your Ingredients and Pans (10 minutes)
Measure and sift your flour, baking powder, and salt into one bowl. In another bowl, soften the butter and cream it with sugar until light and fluffy — this usually takes about 3–4 minutes with an electric mixer. Grease and flour your cake pans or line them with parchment paper. Getting everything ready upfront saves stress later. - Mix the Batter (5 minutes)
Add eggs one at a time into the butter-sugar mixture, beating well after each. Then alternate adding the dry ingredients and milk in three parts, beginning and ending with the dry. Stir in vanilla extract last. The batter should be smooth, thick, and glossy. If it looks lumpy or too thin, you probably added ingredients out of order. - Divide and Color the Batter (5 minutes)
Separate the batter into three bowls — one larger portion for the white layer, and two smaller equal portions for red and blue. Use gel food coloring to tint the red and blue bowls — start with a small amount and add more until you get that bright, true color you want. The blue should be a deep navy, not purple. Red should be vibrant but not too orange. - Bake the Cake Layers (25–30 minutes)
Pour the red and blue batters into their pans (or bake one at a time if using one pan). Reserve the white batter to bake in a separate pan. Bake at 350°F (175°C) until a toothpick inserted comes out clean — usually 25–30 minutes. The edges should pull slightly away from the pan, and the tops should spring back when touched. - Cool Completely (30 minutes)
Let the layers cool in their pans for 10 minutes, then invert onto wire racks to cool fully. This step is critical — frosting a warm cake will make the frosting melt and slide off. I’ve learned this the hard way more than once! - Make the Cream Cheese Frosting (10 minutes)
Beat softened cream cheese and butter until smooth and creamy. Gradually add powdered sugar and beat until fluffy. Add heavy cream and vanilla extract, then beat again for a few minutes until the frosting is spreadable but still holds its shape. If it’s too thick, add a splash more cream; too thin, add more powdered sugar. - Assemble the Cake (15 minutes)
Place the blue layer on your cake board or plate — this will be the top-left corner of the flag. Frost the top lightly, then add one white and one red layer, stacking in that order. Frost the entire cake with a thin crumb coat and chill for 15 minutes to set. Then add a final thick coat of frosting all around. - Decorate the Flag (15 minutes)
Use a piping bag or zip bag with a small snip to pipe white stars on the blue section. For stripes, spread red and white frosting stripes across the rest of the cake. You can keep it simple or get creative with piping details. The goal is fun — not perfect.
Total time: about 2 hours, most of which is hands-off cooling and chilling. Active prep and bake time is roughly 1 hour.
Expert Tips & Tricks
Here’s everything I’ve figured out from making this American flag cake recipe easy patriotic dessert for childhood birthdays dozens of times. These tips will save you from the mistakes I already made.
- Use Gel Food Coloring Only
Liquid food coloring thins your batter and can mess with the texture. Gel colors give you vibrant red and blue without altering the consistency. - Don’t Skip the Chill Time
Frosting a warm cake is a disaster waiting to happen. Chill your layers and crumb coat before the final frosting to keep everything neat and smooth. - Fresh Cream Cheese Matters
Old or cold cream cheese makes the frosting grainy or lumpy. Always soften it fully at room temperature before mixing. - Keep the Frosting Consistent
If your frosting feels too soft to pipe stars or stripes, pop it in the fridge for 10 minutes. If it’s too stiff, beat in a tablespoon of heavy cream. - Don’t Overbake the Cake
Overbaked cake is dry and crumbly. Start checking at 25 minutes and test with a toothpick to ensure moistness. - Save Time with Make-Ahead Steps
You can bake the layers a day in advance and refrigerate them, tightly wrapped. Bring to room temperature before frosting.
Variations & Substitutions
Once you’ve got the base version down, here’s how I mix it up. I’ve actually tried all of these.
- Red Velvet Twist
Swap the white and red layers with red velvet cake layers for a richer flavor. The blue and white layers stay the same. Great for a more decadent birthday celebration. - Gluten-Free Version
Use a 1:1 gluten-free flour blend instead of all-purpose flour. The texture is slightly different but still moist and delicious — perfect for kids with allergies. - Lighter Frosting
Replace half the cream cheese with mascarpone and reduce powdered sugar by ¼ cup. It’s tangier and less sweet, which balances the cake nicely for adults. - Mini Cupcake Version
Bake the batter in cupcake tins and decorate each with a tiny flag on top. Awesome for classroom birthday parties or picnic-style celebrations. - For Holiday Gatherings
This cake doubles as a festive dessert for July 4th or Memorial Day. I’ve served it alongside my classic creamy hummus and fresh vegetable platters for a full spread.
Serving & Storage
I usually serve this straight from the cake board — the bold colors and simple flag design look so inviting. It pairs beautifully with easy sides like a crisp green salad or even some garlic bread for a savory balance.
When it comes to storage, keep the cake in an airtight container or cover it loosely with plastic wrap at room temperature for up to 2 days. If your house is warm, refrigerate it — just bring it back to room temperature before serving for the best flavor and texture.
Reheating: This cake is best enjoyed fresh or at room temp. Don’t try to microwave slices — it changes the texture weirdly.
Freezing: You can freeze the unfrosted cake layers wrapped tightly in plastic wrap for up to 2 months. Thaw completely before frosting. Avoid freezing the frosted cake — cream cheese frosting doesn’t freeze well and can separate.
Nutrition Information
I’m not a nutritionist, but here’s the breakdown if you’re keeping track. This is based on 12 servings.
| Calories | Protein | Carbs | Fiber | Sugar | Fat | Saturated Fat | Sodium |
|---|---|---|---|---|---|---|---|
| 350 | 5g | 50g | 1g | 35g | 14g | 8g | 220mg |
Look — this is comfort food wrapped in cream cheese and sugar. It’s not a diet recipe, and I’m not going to pretend it is. But it beats store-bought cake hands down, costs less, and feels homemade. When I want something lighter, I pair it with fresh fruit and keep the frosting thin. Most birthdays though? I go all in and enjoy every bite.
Final Thoughts
That birthday afternoon with my daughter and our homemade American flag cake is one of those memories I hold close. It’s not about perfection — it’s about the joy of making something special together and watching the kids light up when the cake comes out. This cake is forgiving, colorful, and celebrates all the good things about childhood birthdays.
Make it yours. More frosting stars? Yes. Extra red stripes? Go for it. Swap in fresh berries for decoration or add a splash of lemon zest to the batter for a twist. The base is forgiving and invites creativity.
If you make this, drop a comment and tell me how it went. And if something goes wrong, I want to hear that too — troubleshooting is half the fun, and that’s what the comments are for.
Happy cooking — I hope your kitchen smells amazing.
Frequently Asked Questions
Q: Can I make this American flag cake recipe easy patriotic dessert for childhood birthdays without gel food coloring?
A: You can, but I don’t recommend it. Liquid food coloring thins the batter, which can affect the cake’s texture and color vibrancy. If you don’t have gel coloring, try using natural alternatives like beet juice for red or blueberry juice for blue, but expect the colors to be more muted. I’ve tried both, and gel colors give the best, brightest results.
Q: Why did my frosting turn grainy or separate?
A: This usually happens if the cream cheese or butter was too cold or old. Always soften both ingredients at room temperature before mixing. Also, add powdered sugar gradually and beat well to create a smooth texture. If your frosting separates, try chilling it for 10 minutes and then beating it again. I’ve had this happen on busy party days — patience is key!
Q: Can I make this American flag cake ahead for a childhood birthday party?
A: Yes! You can bake the layers a day or two in advance and wrap them well in plastic wrap. Store in the fridge or freezer depending on timing. Assemble and frost the cake the day of the party for the freshest taste and best texture. I’ve done this many times when the schedule gets hectic — it saves so much stress.
Q: Is there a gluten-free or dairy-free version of this cake?
A: Yes. For gluten-free, swap all-purpose flour with a 1:1 gluten-free blend — it works well. For a dairy-free version, use dairy-free cream cheese and butter alternatives and a non-dairy milk like almond or oat milk. The texture changes a bit, but I’ve had friends successfully adapt the recipe this way for dietary needs.
Q: Can I double or halve this recipe?
A: Absolutely. The recipe scales well both ways. If doubling, bake in larger pans or multiple pans and adjust baking time accordingly — start checking a few minutes earlier than you think. Halving is perfect for smaller gatherings or a mini cake. I’ve halved it for quick weekend treats with my kids.
Q: How can I make the stars on the flag look neat?
A: Use a small star piping tip or a plastic sandwich bag with a tiny corner cut off. Practice piping stars on parchment paper first — it helps get comfortable with the pressure and motion. If that feels too tricky, you can also use star-shaped sprinkles or edible stickers for a no-fuss alternative. I do a mix depending on how much time I have.
Q: What’s the best way to keep the cake moist?
A: Don’t overbake the layers, and be sure to cool them completely before frosting. Also, store the cake covered at room temperature or in the fridge if it’s warm. I sometimes brush the layers lightly with a simple syrup (equal parts sugar and water heated until dissolved) for extra moisture — especially if I’m making it a day early.
Pin This Recipe!
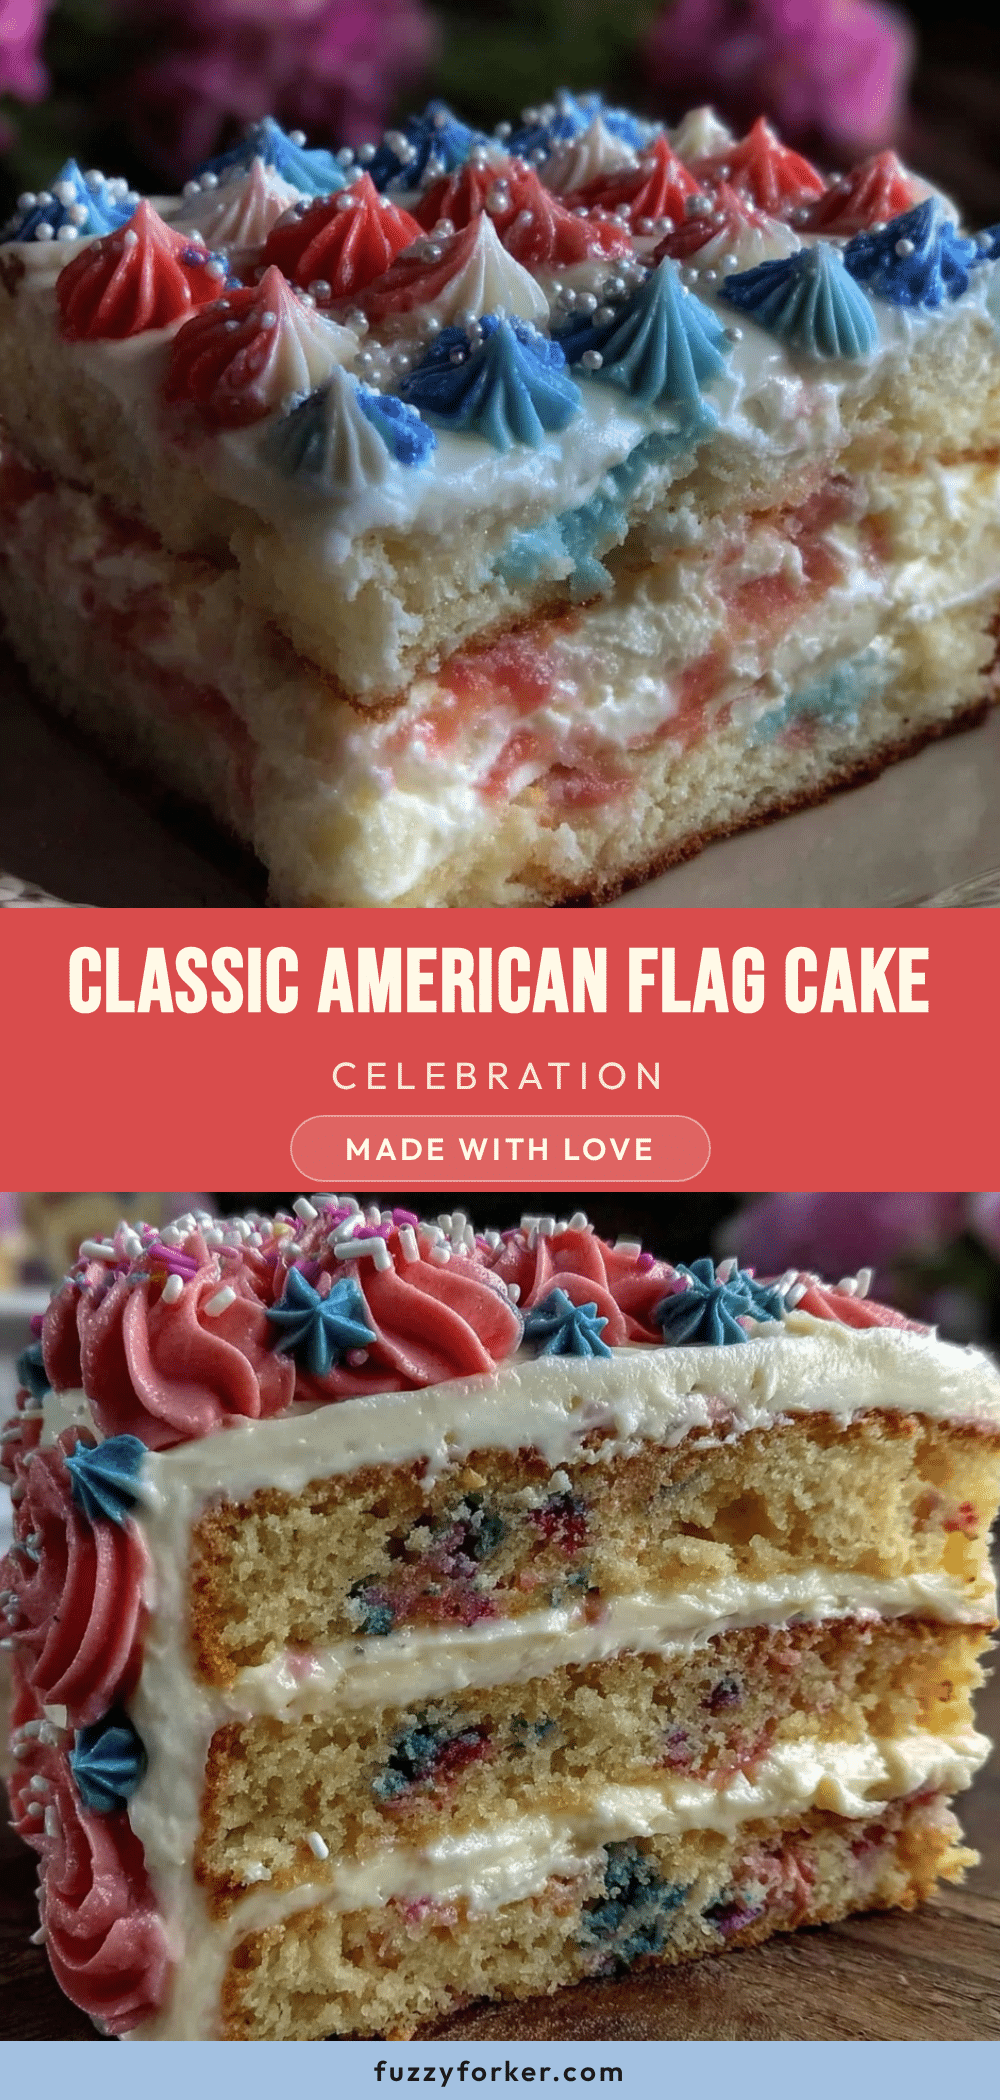
American Flag Cake Recipe Easy Patriotic Dessert for Childhood Birthdays
A colorful, creamy, and nostalgic American flag cake perfect for childhood birthdays and summer celebrations. This easy-to-make layered cake features vibrant red, white, and blue layers with a fluffy texture and sweet cream cheese frosting.
- Prep Time: 20 minutes
- Cook Time: 30 minutes
- Total Time: 2 hours
- Yield: 12 servings 1x
- Category: Dessert
- Cuisine: American
Ingredients
- 2 ¾ cups (345g) all-purpose flour
- 2 ½ teaspoons baking powder
- ½ teaspoon salt
- 1 cup (227g) unsalted butter, softened
- 2 cups (400g) granulated sugar
- 4 large eggs, room temperature
- 1 cup (240ml) whole milk
- 2 teaspoons vanilla extract
- Red gel food coloring
- Blue gel food coloring
- 8 ounces (227g) cream cheese, softened
- 4 cups (480g) powdered sugar
- 2 tablespoons (30ml) heavy cream
Instructions
- Prep Your Ingredients and Pans (10 minutes): Measure and sift flour, baking powder, and salt into one bowl. Cream softened butter and sugar until light and fluffy using an electric mixer. Grease and flour cake pans or line with parchment paper.
- Mix the Batter (5 minutes): Add eggs one at a time into the butter-sugar mixture, beating well after each. Alternate adding dry ingredients and milk in three parts, starting and ending with dry ingredients. Stir in vanilla extract last until batter is smooth and glossy.
- Divide and Color the Batter (5 minutes): Separate batter into three bowls—one larger portion for white layer, two smaller equal portions for red and blue. Tint red and blue portions with gel food coloring until vibrant colors are achieved.
- Bake the Cake Layers (25–30 minutes): Pour red and blue batters into pans (or bake one at a time if using one pan). Bake white batter in a separate pan. Bake at 350°F (175°C) until a toothpick inserted comes out clean, about 25–30 minutes.
- Cool Completely (30 minutes): Let layers cool in pans for 10 minutes, then invert onto wire racks to cool fully before frosting.
- Make the Cream Cheese Frosting (10 minutes): Beat softened cream cheese and butter until smooth. Gradually add powdered sugar and beat until fluffy. Add heavy cream and vanilla extract, beat until spreadable but holds shape.
- Assemble the Cake (15 minutes): Place blue layer on cake board or plate as top-left corner. Frost lightly, then stack white and red layers. Apply thin crumb coat and chill 15 minutes. Add final thick coat of frosting all around.
- Decorate the Flag (15 minutes): Pipe white stars on blue section using a piping bag or zip bag. Spread red and white frosting stripes across the rest of the cake. Keep decoration fun and simple or add piping details.
Notes
[‘Use gel food coloring only for vibrant colors without thinning the batter.’, ‘Chill cake layers and crumb coat before final frosting to prevent melting.’, ‘Always soften cream cheese and butter at room temperature before mixing frosting.’, ‘If frosting is too soft, chill for 10 minutes; if too stiff, add a tablespoon of heavy cream.’, ‘Avoid overbaking to keep cake moist; start checking at 25 minutes with a toothpick.’, ‘Cake layers can be baked a day ahead and refrigerated, bring to room temperature before frosting.’, ‘For gluten-free version, use 1:1 gluten-free flour blend.’, ‘For dairy-free version, use dairy-free cream cheese, butter alternatives, and non-dairy milk.’]
Nutrition
- Serving Size: 1 slice (1/12 of cak
- Calories: 350
- Sugar: 35
- Sodium: 220
- Fat: 14
- Saturated Fat: 8
- Carbohydrates: 50
- Fiber: 1
- Protein: 5
Keywords: American flag cake, patriotic dessert, childhood birthday cake, layered cake, cream cheese frosting, Fourth of July cake, easy cake recipe